
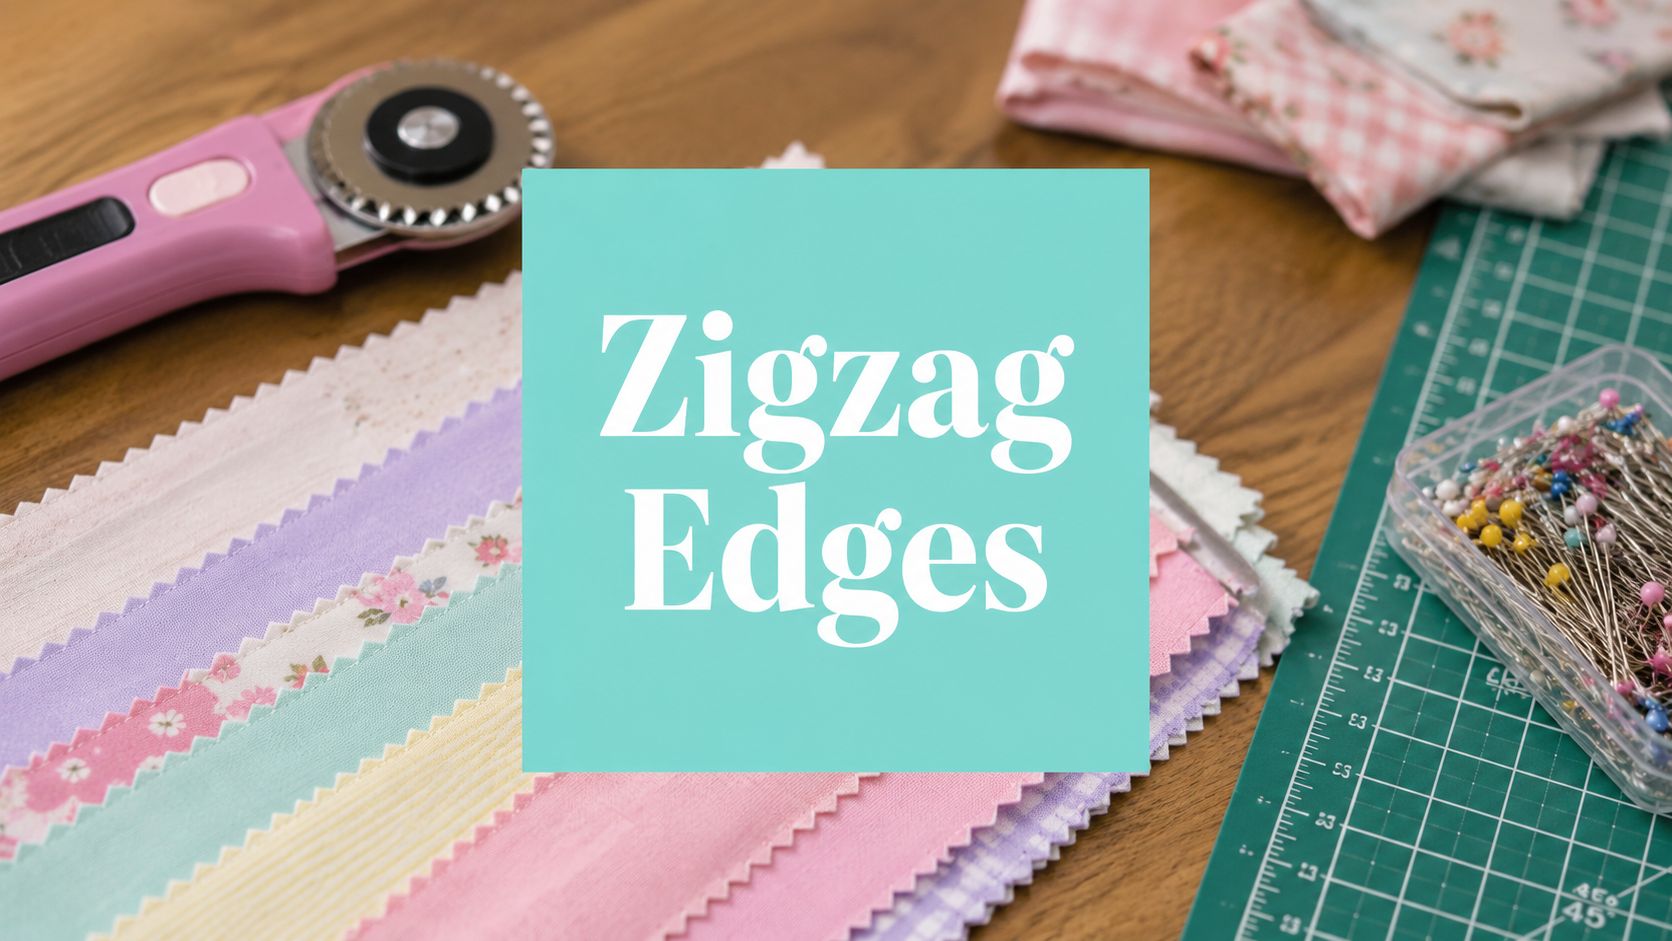
You've got a quilt edge that looked perfect on the table, then started to fuzz, fray, or shed the second it met handling or washing. A rotary pinking cutter gives that edge a zigzag finish that helps slow fraying, and it's most useful on woven seam allowances and raw minky edges that need a little more control.
What a Rotary Pinking Cutter Does
I reach for a rotary pinking cutter when a quilt back or seam allowance needs a cleaner finish than a straight trim can give, but not the structure of binding or a serged edge. It works on the same idea as pinking shears, only the cut happens with a wheel instead of scissor blades, so the edge gets that familiar zigzag profile that leaves less yarn exposed at the cut line.
That matters most after a quilt has already been trimmed and the edge starts to fuzz, especially on softer fabrics. The tool does not change the quilt's construction. It only changes what happens at the raw perimeter, where loose fibers are most likely to catch and unravel.
Why quilters still use it
Pinking has a long history in fabric finishing. Historical summaries of pinking shears show an improved pinking iron patented by Eliza P. Welch in 1874, a well-known shears design patented by Louise Austin in 1893, and a later alignment patent by Benjamin Luscalzo in 1952. That timeline shows the zigzag edge came long before rotary cutting, and the rotary version adapts that finishing idea to a wheel-based cutter. Historical timeline of pinking shear patents
The shift to rotary cutting mattered just as much for quilters. The rotary cutter was introduced by OLFA in 1979 for garment making, then quilters adopted it quickly, and by the early 1980s it had entered quilting alongside Mylar templates, making fabric cutting simpler, faster, and often more accurate than the old trace-and-cut method. Before that change, makers traced templates onto the wrong side of fabric, added 6.4 mm (0.25 in) seam allowances, and cut one piece at a time with heavy scissors, which wore templates down again and again. Rotary cutter history
Practical rule: If you need precision piecing, keep your straight blade. If you need edge finishing, the pinking blade earns its keep.
A rotary pinking cutter is a finishing tool first and a cutting tool second. It helps on seam allowances, backing edges, and long straight finishes, but it is not the right answer for every quilt edge.
How the Serrated Blade Creates a Zigzag Edge
A pinking blade works like a row of tiny stamps along the fabric edge. Instead of slicing one continuous straight line, the serrations cut in staggered points, so the yarns at the cut line are left shorter and less able to unravel.
That's why the blade shape matters so much. The standard size is 45 mm, which is built to fit most 45 mm rotary cutter handles, so for many makers it's a swap-in blade rather than a separate tool category. Manufacturers and retailers commonly describe these blades as stainless or tungsten, including Japanese SKS-7 steel, because harder steel tends to stay sharper longer and drags less through cloth. 45 mm blade construction and fit
What the cut is really doing
The zigzag edge doesn't seal fabric the way a serger does. It just reduces the length of the exposed yarns at the perimeter, which slows unraveling on woven cloth.
That also explains why blade pressure and fabric thickness matter so much. One ergonomic 45 mm cutter is rated for up to six layers of thin material, while some 45 mm soft-handle models are described as suitable for 4 to 8 layers. Layer guidance for 45 mm rotary cutters
The blade does the same job over and over, but fabric doesn't behave the same way every time.
A cutter can technically be compatible with the pinking blade and still perform badly if the stack is too thick, the handle is awkward, or the blade is dull. That's why quilters usually get better results treating the blade as a light finishing attachment rather than a substitute for a full cutting setup.
For more general tool shopping, the right companion piece is a quality handle from a curated rotary cutter selection that already feels balanced in the hand. When the handle is stable, the pinking blade tracks cleaner and the zigzag looks more intentional.
Pinking Versus Other Edge Finishing Methods
Pinking is useful, but it isn't universal. If you've ever wondered whether to pink, serge, zigzag stitch, or just leave a clean cut for binding later, the right answer depends on the fabric and the job you need it to do.
The comparison below is the simplest way to judge it.
| Edge Finishing Method Compared for Quilters | Fray Control | Best For | Learning Curve | Minky Suitability |
|---|---|---|---|---|
| Rotary pinking cutter | Moderate on woven edges | Long straight seam allowances and light finishing | Low once the handle is controlled | Good for finishing, not for forcing through thick stacks |
| Pinking shears | Moderate on woven edges | Quick hand finishing and small jobs | Low | Fair, but tiring on bulky edges |
| Serger | Strong | Garments, seam finishing that needs durability | Higher | Strong, especially for edges that will be handled often |
| Zigzag machine stitch | Moderate to strong | Seams that need stitch-based reinforcement | Moderate | Good when the fabric can be machine handled well |
| Straight cut | None by itself | Edges that will be bound or enclosed later | Very low | Fine as a prep cut before another finish |
Where pinking wins, and where it doesn't
Pinking works best on tightly woven fabrics and long, straight edges. That's why it still shows up in seam finishing conversations even now, because it does one specific job well without adding another row of stitching.
It's weaker when the edge needs structure. Curves, thick plush stacks, and seams that will take repeated wear are usually better served by another method.
A clean straight cut is often the better choice if you're planning to bind right away. A serger is the more professional choice when the raw edge itself has to survive hard use, and a zigzag stitch makes more sense when you want the machine to lock the edge in place.
For readers who want to compare edge finishes alongside fabric choices, the Cuddle fabric collection and the Luxe Cuddle collection are helpful places to think through backing behavior before you cut. If you're pairing the right edge finish with the right cloth, the result is usually cleaner and less fussy later.
Worth remembering: pinking is a finish, not a rescue plan for every edge.
Safe and Accurate Technique Step by Step
A good cut starts with the setup, not the blade. Use a self-healing cutting mat under the fabric and guide the wheel with an acrylic ruler instead of freehand cutting, because that gives the blade something stable to follow and keeps the zigzag line straighter.
The cutter should be locked when it isn't in your hand. That sounds basic, but it matters because a serrated wheel is less forgiving if it slips while you're moving fabric, reaching for a ruler, or clearing scraps. For a helpful refresher on workspace layout, the guide to cutting quilting table setup is a practical reference.
A repeatable cutting sequence
- Lay the fabric flat. Smooth out ripples so the blade doesn't catch and wander.
- Place the ruler where the edge needs to land. Keep the line stable before you start moving the cutter.
- Start about 1 inch in from the fabric edge. That gives the blade a cleaner entry point, as Threads recommends in its cutting guidance.
- Press straight down, then move forward. Don't twist your wrist, because twisting changes the pressure on the serrations.
- Stop before lifting the blade. A controlled exit keeps the edge consistent.
The biggest mistake is trying to force a thick stack through too quickly. Thin quilting cotton behaves differently from a doubled plush backing, and the more resistance the fabric gives, the more likely the cut is to drift or the pile is to shift.
For a fast visual of the general motion, think steady pressure, short travel, clean release. That rhythm matters more than speed.
Using a Pinking Blade on Minky and Extra-Wide Backings
A rotary pinking cutter earns its keep on minky because raw plush edges shed, and a quilt back leaves every edge exposed. Extra-wide backing removes the center seam, so there is no seam allowance in the middle to help hide or control a rough perimeter.

What works on plush fabric
On flatter minky, the pinking wheel can clean up the edge after the fabric has already been cut to size. On a higher-pile backing, I use it as a finishing pass after the main cut, because forcing serrations through thick pile can stretch the cloth and make the blade catch instead of glide.
That difference matters. Pinking helps calm the perimeter, but it does not replace a careful first cut that lands where you want the quilt back to finish.
The same judgment applies to large backings. If you are using 90-inch or 110-inch fabric, there may be no seam line to absorb wear, so the outer edge has to hold up during folding, loading, and shipping. That matters even more during mail-in longarm preparation, because the backing is handled and repositioned more than once before it ever reaches the quilt.
For a fuller look at handling plush cloth cleanly, the how to cut minky fabric without the mess guide gives a useful companion method.
A pinked minky edge is calmer than a straight raw edge, but it still needs careful handling.
Pile direction changes the feel of the cut, too. If the wheel starts dragging instead of gliding, the finish turns rougher and less even. In that case, a straight trim with a different edge finish may serve the quilt better than asking the pinking blade to solve everything at once.
Blade Materials, Sharpness, and Maintenance
Blade material changes how long the edge stays useful. Stainless steel is common, and harder alloys like tungsten or Japanese SKS-7 are often chosen because they hold a sharper edge longer and reduce drag when the blade is running through cloth.
That said, pinking blades do dull faster than plain straight blades in real use. Every tooth is doing work on every rotation, so the serrations lose their crispness sooner, especially if you cut linty or plush fabrics often.
How to care for the blade
- Cap the blade after use. The wheel keeps its edge better when it isn't exposed.
- Lock the cutter before storing it. That protects both the blade and your hands.
- Wipe lint away with a dry cloth. Minky sheds more debris, and that buildup affects the cut.
- Replace the blade instead of trying to sharpen it. Serrated edges are not the kind of blade most quilters can realistically revive at home.
The worst habit is pushing a tired blade through one more project because it still “sort of” cuts. A dull pinking wheel leaves a less defined zigzag, and a less defined zigzag gives fraying more room to start.
A good maintenance routine also keeps your cutting station cleaner. If you're already keeping up with sewing machine maintenance habits, the same mindset applies here, steady care now saves frustration later.
Buying Guide and Compatibility Checklist
A rotary pinking cutter is usually a smaller purchase than the handle itself, because the blade is the part that changes and the cutter body is the part you keep using. If you already own a good 45 mm rotary handle, check that the pinking blade seats firmly, turns smoothly, and feels balanced before you commit to it for regular quilt work.
I use the same filter I would for a tool I plan to keep at the cutting mat, then I ask whether it matches the job I do most often.
What to verify before buying
- Handle compatibility. The blade should be a true 45 mm fit for your cutter body, with no wobble or awkward play.
- Lock mechanism. The handle should close securely for storage and open without fumbling when you start cutting.
- Grip comfort. If you are trimming several quilt backs or long seams, a handle that feels steady in your hand matters more than a decorative shape.
- Handedness. Make sure the cutter feels natural in your dominant hand, especially if you plan to work through a full backing in one session.
- Project match. A pinking blade belongs on edge finishing and seam allowance cleanup, while a straight blade still makes more sense for piecing and other clean cuts.
- Guide quality. If you are comparing handles, best rotary cutter guidance is a useful place to check what makes a cutter body comfortable before you add a specialty blade.
The other choice is the fabric itself. A pinking blade behaves differently on woven seam allowances than it does on plush quilt backs, so it helps to pair the tool with fabric that suits the finish you want. For minky-backed work, that means paying attention to the pile, the edge stability, and how much control you want over the final trim.
Buying the wrong blade is rarely dramatic. It just shows up as a handle that feels awkward, a cut that looks ragged, or a tool that sits unused because it solves the wrong problem. That is why a plain, well-fitted setup usually serves better than a flashy one.
Finish Your Quilt the Right Way
A rotary pinking cutter is worth owning when you want a tidy zigzag edge on woven seam allowances or a calmer raw minky perimeter. It's not a piecing blade, and it's not a replacement for binding, serging, or a clean straight cut when the project needs more structure.
If you want a polished finish without wrestling bulky edges on your own, pair that technique with how to finish quilt edges and a professionally handled backing through mail-in longarm support. For a final polish, shop the soft textures, extra-wide backings, and finishing-friendly fabrics that make the whole process easier, then claim the first-order 15% off offer and free shipping on orders over $70.
On Pins & Needles Quilting Co. has the minky fabrics, extra-wide backings, and longarm finishing support that make a rotary pinking cutter workflow feel more controlled from the first cut to the final trim. If you're ready to finish your next quilt with less fray and more confidence, visit On Pins & Needles Quilting Co. and choose the fabrics and services that fit your project best.