
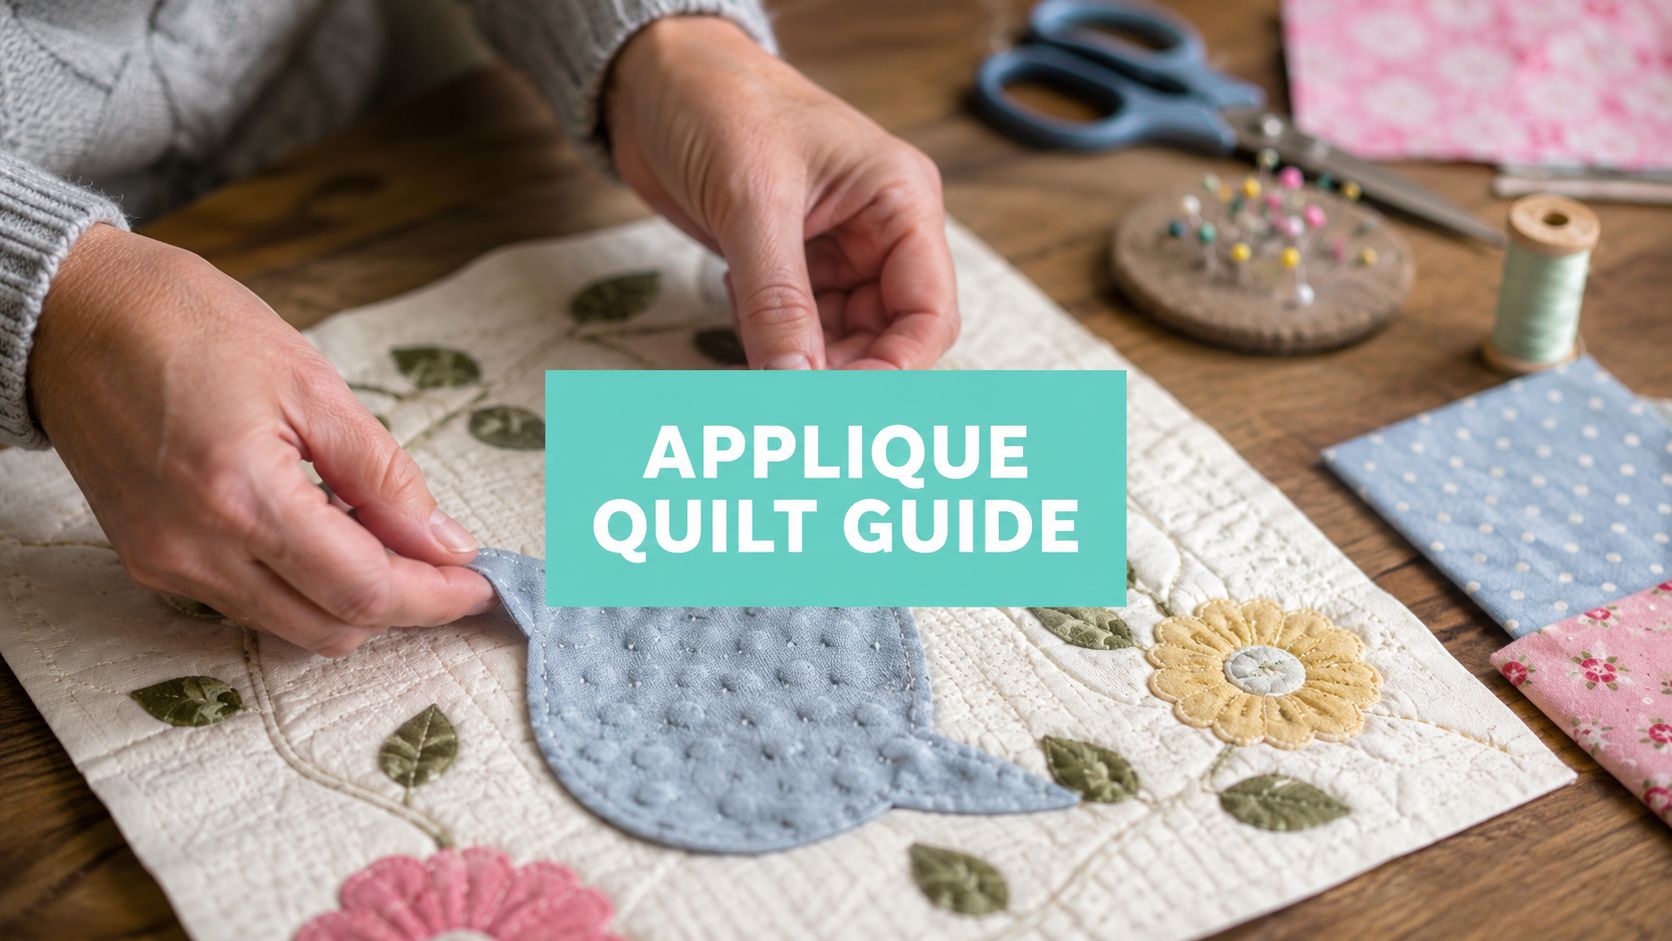
If your appliqué shapes keep creeping on plush fabric, the fix is careful prep, close edge stitching, and a pressing workflow that keeps the nap from stretching out of shape. A solid how to applique quilt tutorial also has to separate hand methods from machine methods, because minky and Cuddle fabrics punish sloppy placement fast.
Introduction to Applique Quilt Tutorial
Appliqué on soft pile looks polished when the edges stay crisp and the motif lands where you planned it. That starts with template control, stable fabric, and the right finish stitch, not with forcing the iron or stitching too far from the edge.
At OPN Quilting, the practical rule is simple. Work with the fabric's texture instead of fighting it, then decide early whether the quilt needs hand finish, machine finish, or a longarm pass after assembly. If you're also building a quilt back, our Mail-in Longarm service is the cleanest way to turn a finished top into a quilt with a professional edge-to-edge finish.
For shoppers who want the softest foundation, textures like Hide, Snowy Owl, and Fawn are worth looking at in our Shannon Luxe Cuddle collection. If you're trying to keep a project moving, the right tools matter as much as the motif itself.
Tools and Materials for Minky Applique
The best appliqué starts with tools that can handle loft and nap without dragging the fabric out of shape. Sharp applique scissors, micro-serrated shears, fine pins or applique grips, a press cloth, and a stable needle setup all help, but the biggest difference comes from choosing materials that match the thickness of the pile.
For minky work, I like to think in layers. The applique fabric, the background block, and any stabilizer each need to behave predictably when pressed and stitched. That's why a thread choice that runs smoothly through plush fabric matters, and why needle size should match the texture instead of guessing your way through it. Our notes on the best thread for sewing minky fabric are a useful reference when you're deciding what to load first.
A simple buying checklist keeps the project sane:
- Sharp cutting tools: Use scissors or shears that cut cleanly without snagging the pile.
- Pressing support: A press cloth and a flat surface help prevent shine and crushed nap.
- Stability aids: Pins, applique grips, or a light stabilizer keep pieces from wandering.
- Texture choice: Hide, Snowy Owl, and Fawn each give a different finish, so test one motif before cutting a whole set.
- Project planning: If you're building a gift set or stash, the Minky fabric collections make it easier to match backing and motif fabrics.
Practical rule: If the fabric feels hard to control in your hands, it'll be worse under the needle. Pick the smoother path before you start cutting.
A lot of quilters also like to keep finished pieces organized in custom packaging, especially when they're gifting or selling. If that's your workflow, order custom bags from MSP Packaging can be a smart reference point for presentation planning.
Preparing Fabric and Patterns
Texture changes everything in prep. On pile fabrics, the safest move is to stabilize first, then cut, then press, because stretching the fabric before the motif is secured usually shows up later as a shifted edge or a wavy outline.

Trace your motif onto cardstock or a printable template, then add the seam allowance the method calls for if you're using a prepared-edge approach. For fusible work, the key is placement before heat. A beginner tutorial recommends a 1/4 inch seam allowance for prepared-edge methods, plus pressing fused shapes for about 5 seconds or a few more if the glue hasn't fully melted, while raw-edge fusible instructions call for a warm iron with no steam for about 5–8 seconds before cooling flat as outlined in this beginner applique tutorial.
Layout matters just as much as heat. Keep shapes separated so they don't overlap accidentally, and check symmetry before anything gets fused down. That kind of planning is especially useful on larger panels or extra-wide backing, where you don't want to discover a misread placement after the adhesive has set.
The video below shows a good visual rhythm for careful prep and placement.
When you're choosing storage or packaging for cut kits, keep the same logic in mind. Flat, labeled, and protected is better than stuffed and rumpled. For organized handling, I often suggest checking the how to cut minky fabric without the mess guide before starting.
Comparing Applique Methods
A quilt can look polished with several applique methods, but the right choice depends on both the finish you want and the fabric under your needle. On minky, the trade-off is simple: cleaner edges take more time, while faster methods are easier to distort if you hurry the cutting or the pressing.

| Method | Edge Finish | Speed | Best Use |
|---|---|---|---|
| Fusible | Clean and controlled once secured | Fast | Motifs that need repeatable placement on plush fabric |
| Raw-Edge | Slightly relaxed edge with visible stitching | Fast to moderate | Casual shapes, juvenile motifs, and layered designs |
| Turned-Edge | Smooth, polished edge | Slower | Shapes where a tidy hand-finished look matters |
| Needle-Turn | Soft, nearly invisible edge | Slowest | Small details and heirloom-style work |
Use fusible when you want speed and repeatability. The process is straightforward. Trace the motif onto fusible web, fuse it to the wrong side of the appliqué fabric, cut on the traced line, peel the backing, then press the shape onto the background before stitching. On minky, that last press deserves care. A medium-hot or wool setting with no steam, an iron lifted straight up for 5–8 seconds, and cooling flat help the adhesive settle without the fabric shifting as described in this fusible applique guide.
That same guide points to the mistakes that cause the most trouble. Misaligned template pages, stretching while cutting, and moving the piece during the final press can all throw the motif off center. I've had the best results by arranging pieces from back to front before fusing, especially with layered petals, leaves, or animal shapes. On plush fabric, that order keeps the layout readable and helps you spot overlap problems before heat makes them permanent.
Raw-edge works better when you want a visible stitched outline and a softer, more casual finish. Turned-edge gives you a cleaner silhouette, but it takes more time and a steadier hand. Needle-turn is the slowest option, and it suits small details or heirloom-style work where the edge should disappear into the fabric. For anyone finishing a quilt at home and then sending it out for longarm quilting, these choices matter twice, once for how the applique sits on the top, and again for how well the quilt lies flat during professional finishing. If the quilt top uses minky, matching the method to the fabric also helps when you choose the best needle size for Shannon Cuddle fabric, because the stitch path and the fabric texture need to work together.
Securing Applique by Hand and Machine
Once the motif is in place, the stitch has one job, hold the edge without taking over the shape. Hand and machine finishes both work best with small, controlled stitches that support the applique instead of framing it too heavily.

Hand finishing that stays subtle
The International Quilt Museum describes the slip stitch, also called an invisible stitch, as one stitch in the appliqué edge and one in the background fabric, which makes the stitches nearly disappear their applique tutorial explains the method here. Independent hand-applique guidance also recommends keeping stitches close together, aiming for about 12 stitches per inch, and placing a stitch at each corner or point for extra security as noted in this hand applique tutorial.
On plush fabric, small habits make the finish cleaner:
- Knot and lock properly: End with a knot or a couple of locking stitches, then trim after the thread is secure.
- Use a scant allowance: Keep the edge allowance modest so the turn stays smooth.
- Respect corners: Add an extra anchoring stitch at points so the motif does not lift later.
Minky can hide tiny irregularities, but it also shows drag if the thread pulls too tightly. A light hand keeps the applique flat and the edge from puckering, especially around curves and pointed shapes.
Machine finishing that holds on pile
Machine appliqué usually stays close to the edge, with a stitch line about 1/8 inch from the raw edge and finishes like blanket, zigzag, or satin stitch as explained in this machine applique guide. That close edge finish matters more on minky than on flat cotton because the pile can hide sloppy placement, but it cannot hide a wandering stitch line.
Keep the edge close, but do not crowd it so hard that the fabric tunnels. Plush fabrics reward patience more than speed.
A test run on scraps saves time later. Stitch length, tension, and presser-foot pressure can all change how the edge sits on a fuzzy surface, so sample first and check the back as well as the front.
If you are sewing on Shannon Cuddle, needle choice can make the edge finish look dramatically cleaner. Our best needle size for Shannon Cuddle fabric notes are a good companion reference before you run test stitches on the actual project.
Basting Quilting and Using Longarm Services
Once the appliqué top is assembled, basting turns it from a stack of layers into a quilt that can be stitched cleanly. On plush fabric, secure layering matters because the backing can shift more than standard cotton, and that movement shows up during quilting if you skip the setup.
Experienced quilters often place quilting stitches about 1/8 inch around appliqué shapes and then plan sashing, cornerstones, and borders around the motifs instead of treating the appliqué as an afterthought as described in this quilting-appliqué planning guide. That's the right mindset for a quilt top with strong applique shapes. The motif is part of the structure, not just decoration.
For basting, use the method that matches the loft and the scale of the quilt. Spray basting can be faster on smaller projects, while pin basting gives you more control on bulky layers. If the quilt is headed to professional finishing, our how to prep a quilt for mail-in longarm services guide is the safest place to start, because trimming, labeling, and packaging correctly saves headaches later.
If you want the quilt finished professionally, OPN's Mail-in Longarm service can handle the final quilting while you keep control over the top design. That's especially helpful when the appliqué is already doing the visual heavy lifting and you want the quilting to support it instead of compete with it.
Finishing and Troubleshooting
Finish by checking the whole quilt top under good light. Trim batting even with the edge, keep binding smooth on the plush back, and re-secure any lifted edge with a small stitch before the problem spreads.
For edge issues, the same technical baseline still applies, a scant 1/4-inch allowance for hand prep, clips cut close to the drawn line, and machine stitching about 1/8 inch from the edge when that's the chosen finish as outlined in this basic applique quilt guide. Dry layout before stitching is still the fastest way to avoid a bad surprise. Trace, cut, lay out, and verify the orientation before anything becomes permanent.
A few common fixes work well on minky and Cuddle:
- Puckers at the edge: Repress lightly through a cloth, then restitch only where the edge has lifted.
- Softened motif points: Reinforce corners with a tiny anchor stitch instead of over-ironing the whole area.
- Thread snags: Trim loose ends early and keep the needle path clear before binding.
For storage and long-term care, quilts deserve the same attention you'd give heirloom textiles. A useful external reference is the 2026 guide to archival care, especially if you're storing finished pieces between shows, gifts, or seasons.
If your plush fabrics are starting to pill, our how to prevent fabric pilling guide can help you keep the finish looking sharp after the quilt is done.
On Pins & Needles Quilting Co. carries premium Shannon Cuddle fabrics, extra-wide backing, and mail-in longarm finishing for quilts that need a polished final pass. If you're ready to turn your appliqué top into a finished quilt, visit On Pins & Needles Quilting Co. and choose the fabric, backing, or longarm service that fits your project.