
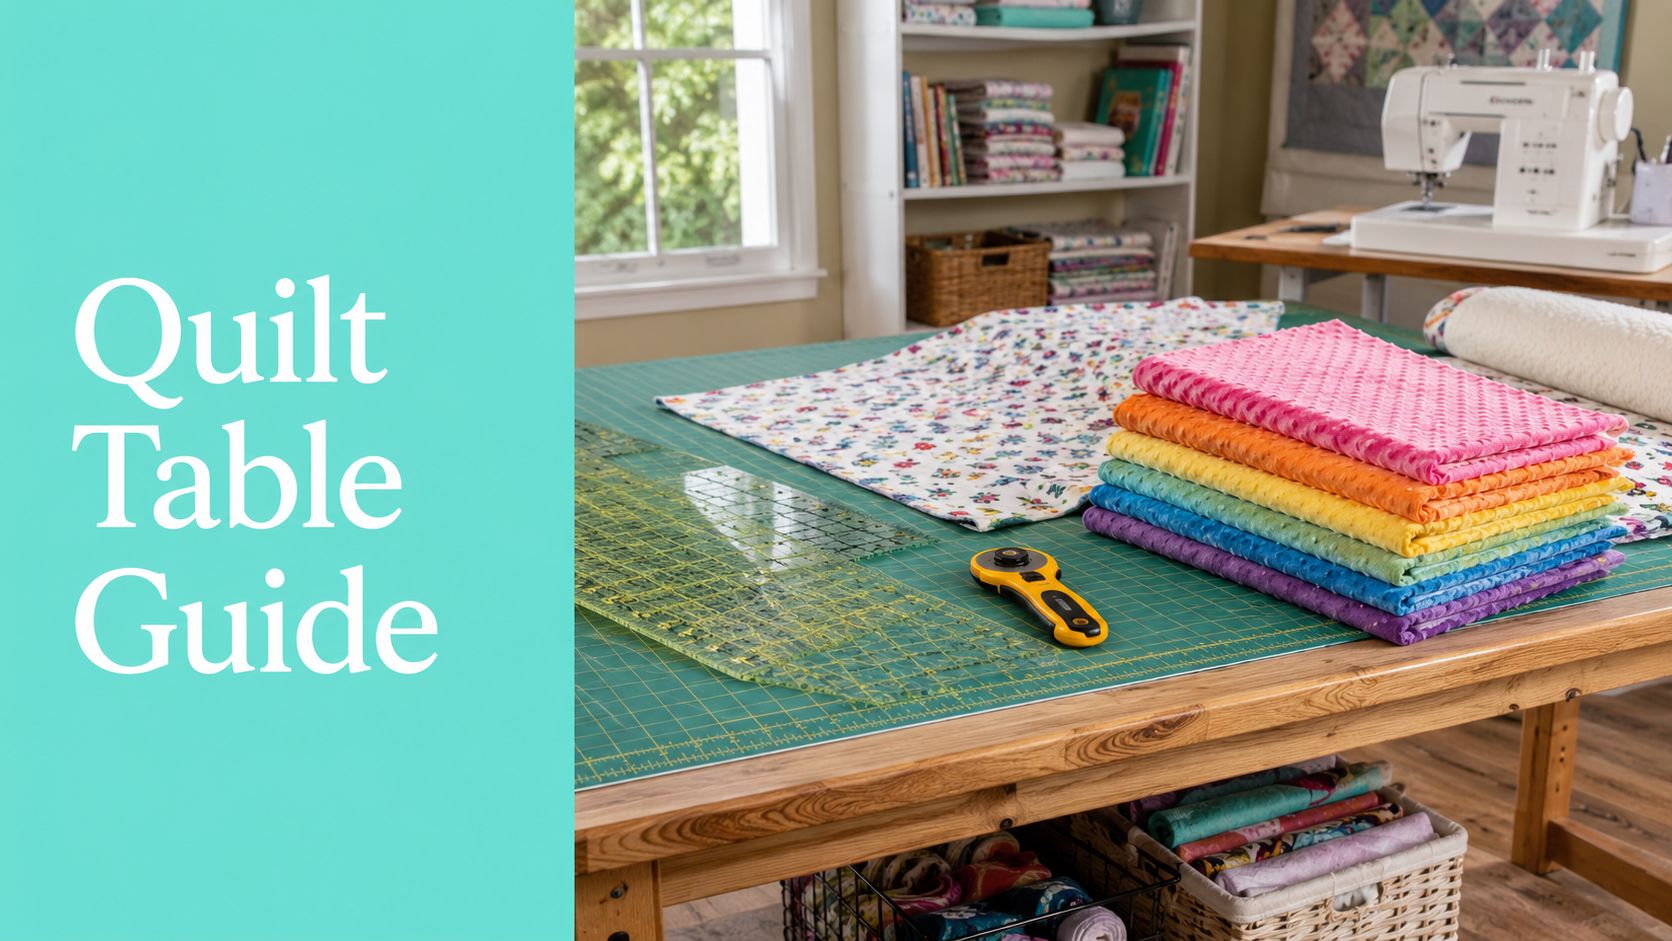
A cutting quilting table is a dedicated, waist-high surface designed for accurately cutting fabric with a rotary cutter. The best cutting quilting table for most quilters is at least 36x60 inches, stands 35 inches tall for proper ergonomics, and offers a stable, smooth surface to prevent cutting errors.
If you're cutting on the floor, hunched over a coffee table, or trying to tame slippery fabric on the dining table, you already know the problem. Your body gets sore, your ruler slips, and the fabric seems to move the second you commit to the cut.
Introduction
A good cutting quilting table changes more than comfort. It changes accuracy, speed, and how confidently you handle tricky fabrics, especially plush backings and stretchy minky that don't forgive rough handling.
A cutting quilting table is a dedicated work surface built for rotary cutting, and for most quilters the sweet spot is at least 36 x 60 inches with a height of 35 inches. That gives you room to spread fabric, support your ruler, and cut without hunching over.
When we work with modern quilt materials instead of just standard cotton, the table matters even more. Extra loft, pile, stretch, and width all magnify small mistakes. If you sew with Shannon textures or want a better sense of how plush fabrics behave, this guide on what Cuddle minky fabric is and how it works is a useful companion.
What Makes a Quilting Table Different from a Dining Table
A dining table can hold fabric. That doesn't make it a good cutting station.
Quilters need a surface that stays steady under pressure, supports a cutting mat without overhang, and lets the body stay in a natural position through repetitive cuts. Dining tables often miss on all three. They're usually too low, sometimes too slick, and often become catch-all surfaces with chairs and aprons getting in the way.
Why rotary cutting changes the requirements
Rotary cutting is not the same as tracing a pattern or snipping threads. You lean into the ruler, apply downward pressure, and move in a long controlled line. If the surface flexes, the blade wanders. If the table shifts, the fabric shifts too.
That becomes obvious when cutting quilt backs, borders, and long strips. A proper cutting surface supports the entire task, not just the fabric.
Practical rule: If you have to brace the table with your hip or keep stopping to smooth the mat back into place, the setup is fighting you.
Why quilters need something different from garment factories
Industrial cutting tables can be very large, but they solve a different problem. In mass garment production, the minimum table length must exceed the marker length, factories often prefer a minimum of 12 feet and some tables extend to 36 feet, with a common width of 6 feet for production efficiency and multiple lays of fabric (industrial cutting table dimensions for garment production).
A quilter's table has a different job. It isn't built for stacks of garment pieces. It's built for precision handling of single large pieces, including quilt tops and backings, where distortion matters more than throughput.
What a real quilting setup does better
A dedicated quilting table helps in ways a dining table usually can't:
- Stable support: Heavy bases or well-built frames reduce wobble during long ruler cuts.
- Clean surface: A smooth top helps fabric slide into place without snagging.
- Better clearance: No table skirt, chair arms, or decorative edge getting in your way.
- Workflow space: Rulers, weights, and cut pieces can stay nearby instead of getting pushed off for dinner.
If you're prepping tops for professional quilting, these quilt prep instructions also show why cleaner cutting and better squaring upstream save frustration later.
How Do I Choose the Right Size and Height for Quilting
Height comes first. Size comes second. Most quilters reverse that order, then wonder why cutting still feels tiring.
For rotary cutting, the best ergonomic table height is 35 inches, which is about 3 to 4 inches below your elbow when your arm is bent at a right angle. That position lets gravity help with downward pressure instead of forcing your shoulders and back to do all the work (rotary cutting height guidance from Healthy Quilting).
Why height matters more than people think
A table that's too low makes you round your shoulders and bend at the waist. A table that's too high forces your wrist and shoulder into an awkward cutting angle. Neither feels terrible for five minutes. Both feel terrible when you're trimming blocks for an hour.
For scissors, waist height is often discussed differently, but for rotary cutting, 35 inches is the number that consistently makes sense for repetitive work.
Cut at the wrong height long enough, and your body starts compensating. Your cuts get less accurate right when you think you're just getting tired.
How much surface do you actually need
For quilting-specific cutting tables, an ideal size is typically 36 x 60 inches or larger, and a minimum personal cutting table recommendation often lands around 3 feet by 6 feet for practical usability (quilting and craft cutting table sizing).
That doesn't mean bigger is always better. It means the table needs to support your typical project without forcing constant refolding. If you mostly cut fat quarters and small blocks, a compact table can work. If you're managing border lengths, backing cuts, and large layout tasks, more surface saves mistakes.
If you're planning a sewing room and need help visualizing clearances around the table, Room Sketch 3D furniture sizing advice is helpful for mapping walking space before you commit.
Common Cutting Table Sizes and Their Best Uses
| Table Dimensions (Inches) | Best For | Notes |
|---|---|---|
| 24 x 36 | Small crafts and occasional trimming | Works for limited space, but you'll refold quilt fabric often |
| 36 x 60 | Most quilters | Strong baseline for block trimming, strip cutting, and general quilt prep |
| 45 x 72 | Large quilts and wide backing work | Gives more support for long cuts and bulky fabrics |
A useful second check is to compare your table size against the projects you make. If your cuts regularly involve backing yardage, border strips, or oversized plush fabric, the larger surface starts earning its keep quickly.
For planning yardage and understanding how fabric dimensions affect setup, this quilt yardage guide helps connect table size to real project demands.
Should I Buy a Pre-Made Table or Build My Own
There isn't one right answer here. Some quilters want a table they can use the day it arrives. Others want a custom workstation that fits an awkward room, specific storage bins, or their exact cutting height.
We've seen both work well in our quilting community. The choice usually comes down to whether you value convenience more, or customization more.
Pre-made tables usually win on speed
A manufactured table makes sense if you want predictable results. The finish is usually cleaner, the top is already leveled, and features like folding leaves, shelves, or locking wheels are already integrated.
The downside is that you're choosing from someone else's dimensions. If your room is narrow or your cutting habits are unusual, you may end up paying for features you don't need while still compromising on the details that matter most.

DIY tables usually win on fit
A DIY table shines when your room has constraints or your projects do. You can choose the exact height, make room for storage underneath, and decide how deep the top should be based on how you cut.
That last point matters more than many guides admit. Some experienced sewists prefer a narrower table, around 30 to 36 inches wide, because it lets them walk around the table and access bias angles without stretching across the fabric or disturbing the layout (discussion of narrow-width cutting table benefits).
A simple way to decide
Choose pre-made if these sound like you:
- You want speed: You'd rather start quilting than build furniture.
- You prefer a polished finish: Matching furniture and manufactured hardware matter to you.
- You don't want trial and error: You'd rather buy once than tweak a homemade setup.
Choose DIY if this list feels more familiar:
- Your room is awkward: Alcoves, sloped ceilings, or shared spaces reward custom sizing.
- You want exact ergonomics: Height, width, and storage can be built around your body.
- You like practical builds: Many quilters use cabinets, shelving units, or repurposed bases successfully.
If you're gathering ideas for practical custom furniture, these productive workspace furniture ideas can spark good solutions without pushing you into a full workshop-level project.
What Essential Features Prevent Cutting Disasters
A cutting table doesn't have to be fancy. It does have to stop problems before they start.
The most common cutting mistakes don't come from bad intentions. They come from a ruler that skates, a top that snags, or a base that wiggles just enough to throw off the blade. That gets worse with soft fabric and textured quilt textures because they react to every little disturbance.
Stability is non-negotiable
If you sew with plush materials like Shannon Fabrics textures such as Hide, Snowy Owl, or Fawn, table movement becomes obvious fast. The fabric has body, pile, and drag. That means the table has to hold firm while your ruler and cutter move over it.
Look for:
- A solid base: Weight helps. So do wide-set legs.
- Locking casters if it rolls: Mobility is nice. Sliding mid-cut isn't.
- No center sag: A bowed top can make ruler work inconsistent.
The surface should help, not fight
A smooth, snag-free top matters more than decorative finish. Seams, chips, and rough edges can catch delicate fabrics or interfere with your mat lying flat.
The best setups also keep essentials close:
- Ruler storage nearby: Long rulers shouldn't live on the floor or behind a door.
- Blade and clip access: If replacements are easy to reach, you replace them on time.
- Open under-table storage: Baskets and bins keep tools close without crowding the cutting area.
A table that stays clear cuts better than a bigger table covered in clutter.
For slippery fabric in particular, these minky sewing tips that reduce sliding pair beautifully with a stable cutting station.
Reader perk: First orders can use a 15% coupon, and free U.S. shipping applies on orders over $70. If you're stocking up on minky, rulers, or project supplies, it's worth building the cart thoughtfully.
How Do I Cut Extra-Wide Minky Without It Shifting
Extra-wide minky exposes every weakness in a table setup. If the surface is too small, the fabric droops. If the table rocks, the pile shifts under the ruler. If you keep lifting and repositioning, distortion creeps in before you notice it.
That's why professionals use a larger surface for this kind of work. A table measuring 45 x 72 inches is the benchmark because it can support the full width of 90-inch or 110-inch minky, preventing distortion and allowing a single, clean rotary cut across the width (professional benchmark for wide minky cutting).

What works with plush backings
Minky isn't just wide. It's soft, flexible, and often has pile that changes how the ruler sits on top. A steady setup matters more here than with ordinary quilting cotton.
A practical sequence helps:
-
Support as much fabric as possible
Don't let large sections hang off the edge if you can avoid it. Hanging weight pulls the piece off grain. -
Use pattern weights, not constant hand tension
Tugging while cutting usually shifts the nap. -
Cut in deliberate passes
One clean pass with a sharp blade is better than sawing back and forth. -
Keep the pile direction consistent
This matters for visual finish, especially on luxe textures.
One reason plush backings are so popular is that they simplify the finished quilt when handled well. For example, Luxe Cuddle® Snowy Owl has a 10mm pile depth, weighs 530 grams per linear yard, and comes in a consistent 58 to 60 inch width, making it useful for soft projects where texture and coverage matter (Snowy Owl product specifications). Luxe Cuddle® Frosted Hide is 100% polyester with an ultra-soft 10mm pile and an embossed texture designed to resist feathering and hold up through repeated washing (Frosted Hide fabric details).
A few material-specific habits help
If you're wrestling with wide minky, these habits save frustration:
- Fresh blade first: Dull blades drag the pile and encourage ruler drift.
- Long ruler second: Short rulers invite tiny pivots that become visible over a wide cut.
- Clear the whole table: Extra tools under the fabric create bumps you may not see at first.
- Test on an edge: With plush fabric, a small test cut tells you quickly if the blade and ruler are behaving.
This walkthrough is also helpful if you want to reduce lint and keep the cut cleaner: how to cut minky fabric without the mess.
A visual demo makes this easier to see in motion:
What Accessories Complete My Cutting Station
The table is the anchor. The accessories determine whether the station feels smooth or frustrating.
Most cutting stations become efficient when the basics are always within reach and always have a home. That means less digging for rulers, fewer interrupted cuts, and far less temptation to pile fabric on any empty corner.
The tools that earn permanent space
A well-set station usually includes these staples:
- Large self-healing mat: It protects the surface and gives the blade a predictable path.
- A few ruler sizes: One long ruler, one square ruler, and one smaller trimming ruler cover most jobs.
- Good task lighting: Shadows hide ruler edges and pile direction.
- Rotary cutter with spare blades: Delaying blade changes costs accuracy.
- Clips and weights: Especially helpful when soft fabric doesn't want to stay put.

How the station works in real life
The best cutting stations don't feel crowded. They feel ready.
You clear the top, unroll the fabric, pull the right ruler from the same spot every time, and start cutting without shifting stacks of unrelated supplies. That's also when project kits and coordinated materials become useful because the prep stage gets simpler when fabric choices are already narrowed and paired.
If your quilt top is headed for professional finishing after the cutting and piecing stage, a neat workstation also makes the prep process easier. Clean backing cuts, squared tops, and organized project pieces all translate into fewer surprises once quilting starts.
Keep tools close enough to grab, but not so close that they live on the cutting mat.
Are You Ready to Upgrade Your Cutting Space
If your current setup leaves your back sore or makes every backing cut feel risky, the answer is probably yes. A better cutting quilting table doesn't have to be elaborate. It just needs to match the way you sew.
Use this quick checklist before you buy or build:
- Height check: Does the surface put your hands in a comfortable rotary-cutting position?
- Size check: Can it support the kinds of quilts and backings you make most often?
- Access check: Can you move around it easily, especially for angled cuts?
- Surface check: Is the top smooth, steady, and free of snag points?
- Storage check: Do your rulers, blades, and weights have a home nearby?
- Fabric check: Will it handle plush and extra-wide materials without sagging or shifting?
A smart cutting quilting table pays you back in cleaner cuts, less strain, and more confidence when you're working with soft fabric, quilt textures, and wide backings that deserve careful handling.
If you're ready to make your next quilt easier from the very first cut, browse On Pins & Needles Quilting Co. for premium Shannon textures like Hide, Snowy Owl, and Fawn, extra-wide minky backing options, beginner-friendly kits, and mail-in longarm finishing. We offer hundreds of verified reviews, a 15% first-order discount, and free U.S. shipping on orders over $70. Shop the Luxe Cuddle Collection