
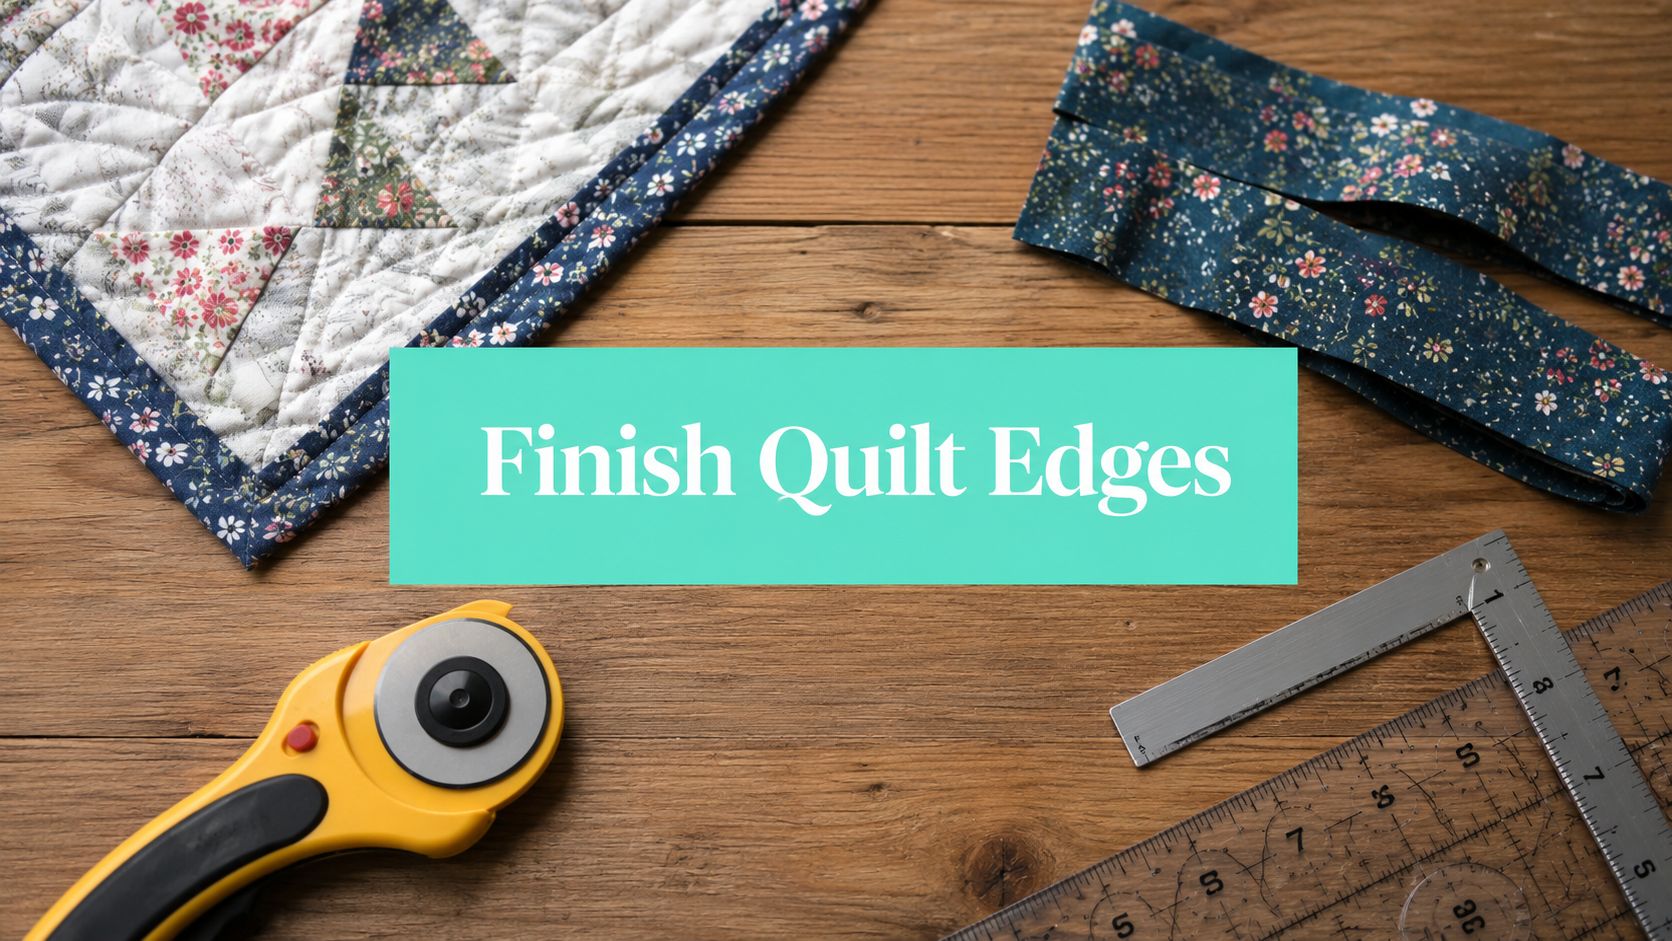
The best way to finish quilt edges is by applying a binding, facing, or using a serged edge, with double-fold binding being the most popular and durable choice for traditional quilts. If you want the cleanest results, start with a square quilt, use 2.5-inch binding strips if you're new, and treat plush backings like minky as their own special case.
You're usually at this stage after the fun part is done. The piecing looks great, the quilting is finished, and now one last edge decision will decide whether the quilt feels crisp, cozy, modern, or slightly homemade in the wrong way.
How to finish quilt edges well depends on the quilt itself. A cotton throw with straight sides usually wants classic binding. A wall quilt with curves may look better with a facing. A baby mat or casual utility quilt may be just fine with a serged edge. And if you're working with soft fabric like Shannon Cuddle or Luxe Cuddle on the back, your edge finish needs a little more control than standard quilting cotton.
Meta description: How to finish quilt edges with binding, facing, or serged finishes. Get cleaner corners, minky tips, and free shipping on $70+.
Suggested URL slug: /blog/how-to-finish-quilt-edges
How Do I Prepare a Quilt for Finishing
A good edge finish starts before the binding ever touches the quilt. If the quilt isn't square, flat, and stable at the perimeter, the binding will advertise every problem.

Crooked binding usually begins at the trimming table, not at the sewing machine. Survey data from quilting forums indicates 68% of beginners struggle with crooked binding due to improper trimming before they even start sewing, and experienced quilters recommend scooting the ruler 1/16" to 1/8" outside the quilt top edge so you don't cut into the design (trimming guidance for quilt prep).
What should you check before trimming
Lay the quilt completely flat. Corners need to read as 90-degree angles, and the quilt top can't be tugged into shape just for the ruler.
Use a large square-up ruler when possible. That makes it much easier to true the first corner and work around the quilt without gradually drifting off line.
A few things matter most:
- Flatness first: Smooth the quilt on the table before every cut. Ripples at the edge become waves in the binding.
- Batting control: Trim excess batting and backing only after the quilt is lying naturally, not stretched.
- Corner accuracy: True one corner, then use that corner to establish the next cut.
Practical rule: If the edge looks “close enough,” it usually isn't. Binding makes small trim errors much easier to see.
How to stabilize the edge before binding
Once the quilt is squared, add a stay-stitch about 1/8 inch from the outer edge before binding. That simple line of stitching helps keep seams from separating and reduces fraying or stretching along the perimeter, especially helpful on pieced borders and soft, mobile backings like Shannon Luxe Cuddle Fawn.
This step matters even more when the quilt has been heavily quilted near the edge. Dense quilting can distort the outside shape just enough to cause flare or drag when the binding goes on.
For a cleaner finish, keep this prep sequence:
- Square the quilt with the ruler just outside the quilt top edge.
- Confirm corners are square.
- Trim backing and batting to a clean edge.
- Stay-stitch around the perimeter.
- Press any border waviness before you start binding.
If you're sending a quilt out for quilting or finishing, solid prep still matters. A good reference is this guide to longarm quilt prep tips, which aligns closely with what careful finishers look for before the final edge goes on.
What Is the Standard Double-Fold Binding Method
A quilt that gets used hard needs an edge finish that can take washing, pulling, and years of handling. Double-fold binding is still the standard for that job. It gives the edge two layers of fabric, hides wear better than a single-fold finish, and holds up well on everything from wall quilts to bed quilts.

The basic method is straightforward. Cut strips, join them on the diagonal, press the strip in half lengthwise, then sew it to the quilt with a consistent seam allowance. Most quilters use a 1/4-inch seam or a slightly wider seam, depending on the loft of the batting and the thickness of the quilt sandwich. On a standard cotton quilt, that range is forgiving. On a quilt with minky backing, loft, and drag at the edge often mean you need to test a small section before committing to the full perimeter.
How wide should binding strips be
For most quilts, binding strips are cut between 2.25 and 2.5 inches wide. I usually recommend 2.5-inch strips for newer quilters because they wrap the edge more comfortably and leave enough fabric to catch cleanly on the back.
That extra width also helps on thicker quilts.
If the quilt includes plush backing or a softer edge profile, pre-cut Cuddle strip bundles can save time and produce a more even result than cutting narrow minky strips yourself. The pile shifts more than quilting cotton, so accuracy during cutting matters more than many people expect.
What does the process look like in practice
Double-fold binding rewards consistency. A small wobble in strip width or seam allowance shows up fast once the binding turns to the back.
| Step | What to do | What goes wrong if skipped |
|---|---|---|
| Cut strips | Cut binding strips at a consistent width | Uneven coverage and visible variation |
| Join strips | Sew strips together diagonally | Bulkier, more obvious joins |
| Attach to front | Sew binding to the front edge evenly | Twist, drag, or inconsistent wrap |
| Fold to back | Wrap fully and secure by hand or machine | Exposed raw edge or loose finish |
A reliable workflow looks like this:
- Cut one width and stay with it: Mixed strip widths create uneven wrap on the back.
- Join diagonally: The seam bulk spreads out and disappears better along the edge.
- Press the strip in half before sewing: A crisp fold gives you a cleaner finish at the back.
- Leave a generous tail at the start and finish: Joining the final ends is much easier when you have room to work.
For a step-by-step visual guide, keep this tutorial on how to bind a quilt for beginners beside your machine.
Here's a video demonstration that pairs well with the written steps:
How do you get neat mitered corners
Corners make or break the look of binding. Sew toward the corner and stop 1/4 inch from the edge. Fold the strip up at a 45-degree angle, then fold it back down so the raw edge aligns with the next side. That sequence creates the fabric allowance needed for a crisp miter, as shown in this corner folding guidance for quilt binding.
Two points matter most:
- Stop at the same distance from every corner.
- Keep the folded edge aligned before you start the next seam.
If you stop too soon, the corner rounds off. If you sew past the turning point, the corner bunches and resists folding flat.
This is also where cotton and minky behave very differently. Cotton corners usually finger-press into place without much trouble. Minky adds bulk, hides the fold line, and can spring open while you stitch. For quilts with minky backing, I often clip more aggressively, reduce speed, and check each corner before sewing the next side. If the project is a gift quilt, a large bed quilt, or anything with thick plush layers, that is the point where many quilters decide to outsource the finish. OPN's mail-in longarm service is the better choice when you want the durability of classic double-fold binding without wrestling a heavy quilt through a domestic machine.
How Do I Use Specialty and Minky Bindings
A specialty binding can finish a quilt beautifully, or turn the last hour of sewing into a wrestling match. The difference usually comes down to bulk, texture, and how much control you have over the edge.
When does flange binding make sense
Flange binding adds a narrow accent line that sharpens the perimeter and gives the quilt a more precise frame. I use it when a quilt top needs clearer separation between the design and the outer edge, especially with busy piecing or strong color changes.
It is a decorative choice, so I recommend it most for cotton quilts and lighter loft projects. The extra layers look great, but they also create more thickness at the joins and corners. On a plush-backed quilt, that same buildup can make the edge stiff and harder to finish cleanly on a domestic machine.
Flange binding is a good fit when:
- The quilt needs a stronger outline: A small flange can define the edge without adding a full border.
- The fabrics are stable: Cotton handles the extra folding and pressing better than high-pile plush.
- Appearance matters more than speed: This method rewards careful prep and accurate seam work.
What changes when the binding is minky
Minky binding gives a quilt a soft, inviting edge, but it asks for a different approach than standard cotton. The pile shifts under the foot, the seam line disappears into the nap, and the folded edge takes up more space than many quilters expect.
That changes the decision-making. A classic cotton binding is usually the easier DIY finish. A minky binding can be the better tactile choice for baby quilts, cuddle quilts, and throws that will be handled constantly, but only if you are ready for the extra bulk and slower sewing.
A practical comparison helps:
| Finish | Best use | Main challenge | Best approach |
|---|---|---|---|
| Flange binding | Decorative traditional quilts | Extra thickness at seams and corners | Precise pressing and tidy joins |
| Minky binding | Cozy quilts, baby quilts, cuddle-backed quilts | Shifting pile and hidden seam line | More clips, slower stitching, wider binding |
For minky, I usually cut the binding a little wider than I would for quilting cotton. That extra width gives the plush enough room to wrap the edge and still catch securely on the back. Clips work better than pins in most cases because they hold the layers without crushing the pile.
A walking foot helps, but it does not solve everything. Heavy minky still drags, and textured surfaces can make it hard to judge whether your stitch line is landing where it should. If you are new to plush edging, read this guide on how to bind a minky quilt for beginners before you cut strips.
Texture also changes the result. Smooth minky tends to fold more predictably. Embossed or textured minky feels wonderful on the finished quilt, but it can hide your edge and make a crisp binding line harder to maintain.
That is where the DIY versus outsource choice becomes practical. If the quilt is small, the minky is low pile, and you enjoy slow finishing work, bind it yourself. If the quilt is large, heavily textured, gift-bound, or backed in thick cuddle fabric, OPN's mail-in longarm service is the better option. You get the softness people love about minky without fighting a bulky edge through a domestic machine.
Plush binding rewards patience and control. Fast stitching usually shows on the corners and the back of the quilt.
Exclusive OPN Quilting Offer! As you plan your next project, remember that all first-time customers get 15% off their entire order. Plus, enjoy free shipping on all U.S. orders over $70.
Are There Good No-Binding Finishing Options
Yes, and they're better than many quilters think. Binding is the standard, but it isn't the right answer for every quilt.
At least 3 non-binding finishing techniques, including facing and rag quilting, have been recently popularized in social media tutorials, which helps fill a long-standing gap for modern and art quilters who want clean, binding-free edges on non-standard shapes (recent non-binding technique examples).
When is facing better than binding
Facing is the cleanest option when you don't want a visible frame around the quilt. That makes it especially useful for art quilts, minimalist designs, and quilts with unusual outlines.
A bound edge says “finished quilt.” A faced edge lets the design run to the perimeter with less interruption.
Facing is usually the better call when:
- The quilt has curves or an irregular shape: Traditional binding can fight the line instead of supporting it.
- The front design should go edge to edge: No fabric frame means less visual interruption.
- The quilt will hang on a wall: The back-turned finish reads more like textile art.
When is a serged edge acceptable
A serged or closely zig-zagged edge is a practical option, not a formal one. I'd use it for utility projects, play mats, some rag-style finishes, and pieces where speed matters more than a traditional heirloom look.
It also works when the quilt fabric itself is the statement and you don't want a separate binding print. Decorative thread can make this choice look intentional rather than unfinished.
Here's the trade-off:
| Finish | Look | Best for | Downside |
|---|---|---|---|
| Facing | Gallery-clean | Art quilts, wall pieces, curves | Less traditional, more hidden handwork |
| Serged edge | Casual and quick | Utility quilts, play mats | Not as polished as binding |
| Traditional binding | Framed and durable | Most bed and throw quilts | More visible and more time-consuming |
A lot of quilters stick with binding because it's familiar. That makes sense. But if the quilt shape is unusual or the style is modern, facing often solves a design problem that binding creates.
For soft-backed projects, I still prefer testing on scraps first. Plush backings can turn beautifully to the back with facing, but only if the seam bulk is managed carefully.
When Should I Use a Professional Finishing Service
You finish piecing a quilt top, spread it out, and realize the last 10 percent is the part that can make the whole project feel heavy. That moment comes up a lot with big quilts, dense quilting plans, and especially minky-backed pieces that shift, stretch, and build bulk faster than cotton.

I use a simple test. If the quilt is physically hard to control, if the backing adds drag or loft, or if the finish needs to look polished the first time, professional help usually saves time and frustration. That is often true for gift quilts, king-size quilts, and tops paired with plush backings.
Minky changes the decision more than many quilters expect. A cotton quilt can be awkward but still predictable under a domestic machine. A minky-backed quilt can feel soft and forgiving right up until you try to keep the layers square, trim the edge cleanly, and wrap binding over that extra thickness. Classic binding methods still work, but the handling is less forgiving.
DIY still makes sense in the right situations. Practice matters, and smaller projects are the best place to build it.
Choose home finishing if:
- The quilt is small enough to move comfortably through your machine
- You want the experience of trimming, binding, and finishing by hand
- The quilt design can tolerate a little variation at the edge
- You have time to test your binding method on scraps first
Outsourcing makes more sense when finishing has turned into the part you keep postponing. I see that most often with larger tops, deadline quilts, and quilts that need edge-to-edge quilting before binding. If that sounds familiar, mail-in longarm quilting with free shipping is the option I recommend first because it removes the hardest handling step without asking you to invest in more equipment.
A few decision points help clarify it fast:
- Size: Large quilts are harder to keep even while quilting, trimming, and binding.
- Backing: Plush and extra-wide soft backings reduce seams, but they also add bulk and drag.
- Design density: Denser or more intricate quilting takes more control and more time at every stage.
- Deadline: A baby gift due next week is not the best project for learning through preventable mistakes.
For many quilters, the best split is practical. Piece at home, choose your backing and quilting pattern, then send the top out for longarming and finish the binding yourself if you enjoy that part. If you want the project to move from quilt top to finished quilt with less wrestling, OPN's pattern gallery and Mail-in Longarm Quilting Service are the strongest fit I know for that handoff.
Reviews matter here too. You want to know other quilters received clean stitching, good communication, and careful handling before you put a favorite quilt in the mail.
What Are Common Quilt Edge Finishing Mistakes
The usual trouble starts at the trimming table. A quilt can look fine laid flat, then fight you the minute binding goes on because one edge is off grain, the batting is uneven, or a plush backing has crept past the top. By the time you see a wavy side or a corner that will not fold cleanly, the mistake is already built in.

I see four problems more than any others, especially on quilts that mix traditional cotton piecing with minky or cuddle backings.
- Wavy edges: The quilt was not squared well, or the edge stretched while the binding was sewn on.
- Bulky corners: Too much backing and batting was left in the corner, or the folds were stacked without trimming.
- Batting poking out: The edge layers were not trimmed evenly before binding wrapped around.
- Messy binding joins: The tails were joined in a cramped space or cut at the wrong angle.
Minky adds its own version of each problem. It shifts more than quilting cotton, it hides fold lines, and its loft can make a standard corner feel twice as thick. That does not mean minky is harder to finish well. It means the margin for sloppy prep is smaller.
A quick fix list usually points you to the cause:
- Binding that flares out usually means the quilt needed better squaring before finishing.
- Corners that feel stiff and heavy need more bulk removed before the final fold.
- Stitches missing on the back often come from binding cut too narrow for the quilt's loft.
- A shifting plush edge needs clips, slower feeding, and less pulling by hand.
Tool choice matters here because edge finishing is a control problem. Cotton quilts forgive more. Minky-backed quilts do not.
| Tool | Why it helps |
|---|---|
| Square-up ruler | Keeps trimming true before binding goes on |
| Walking foot | Feeds layered or plush edges more evenly |
| Binding clips | Hold folds in place without stretching or distorting them |
| Extra-wide backing | Cuts down seam bulk on larger quilts |
If pins have been leaving drag marks or letting the edge creep, quilting binding clips for better edge control are worth keeping beside the machine. They are one of the simplest upgrades for both cotton and minky finishes.
The biggest trade-off is honesty about the project. A small cotton throw is a good place to practice. A king quilt with a plush backing, dense quilting, and a deadline is where many DIY finishes start to go sideways. In my shop, that is the point where outsourcing the quilting step saves time, saves fabric, and often gives you a cleaner edge to bind at home.
Clean edges come from square prep, controlled feeding, and trimming without hesitation. That is true for classic double-fold binding and even more true when soft, lofty backings are in the mix.