
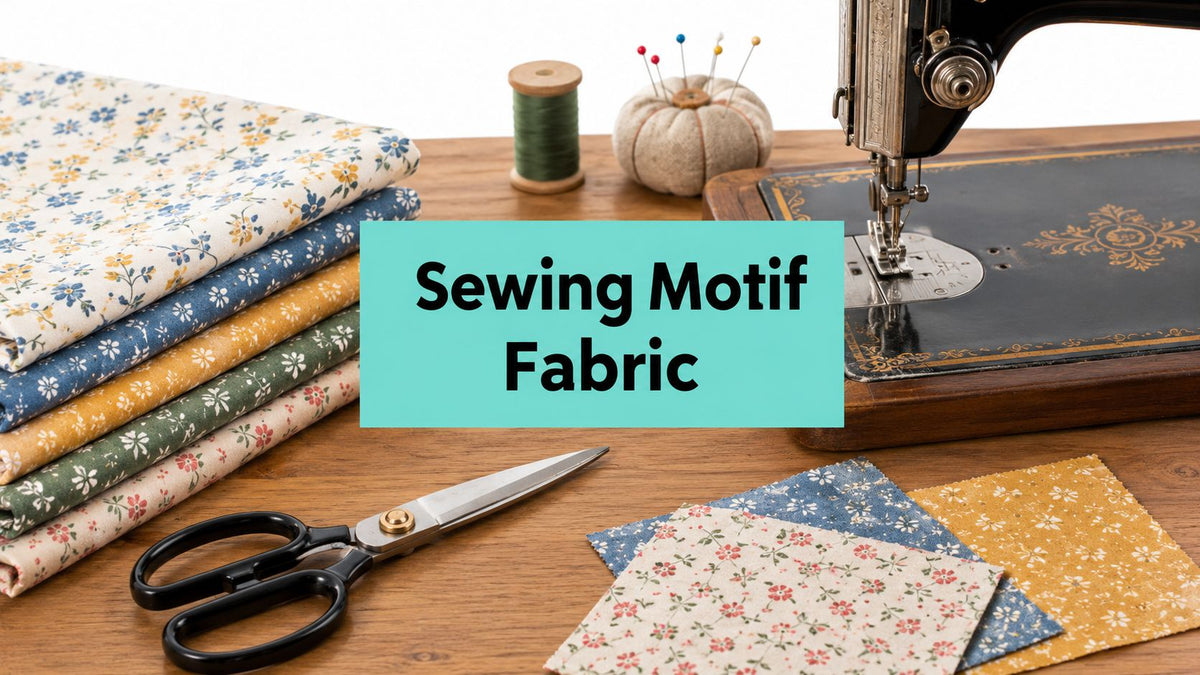
Staring at a beautiful large-scale print and wondering where to place the flowers, animals, or medallions? Sewing motif fabric works best when you plan the repeat before cutting, reserve extra yardage for placement, and match the fabric's handling needs to the project. That approach protects the design instead of forcing the motif into scraps.
A bold print can become the focal point of a quilt block, pillow panel, garment front, or blanket back. The same fabric can also create frustration if you ignore nap direction, seam matching, pile, or the amount of cloth needed to center a feature.
Understanding Sewing Motif Fabric and Its Appeal
A sewist may keep a large-scale floral print in the stash for months because every cutting option seems risky. Cut through the flower, and the design loses its impact. Shift the pattern piece, and the most attractive section may disappear into the seam allowance. The fabric isn't difficult because it's expensive or delicate. It's difficult because the design needs to participate in the cutting plan.
Sewing motif fabric has a recognizable subject or focal element that repeats across the cloth. Florals, birds, animals, architectural ornaments, medallions, and illustrated scenes all qualify. A small geometric repeat behaves differently. It can usually be rotated, divided, and pieced without anyone noticing a specific element has moved. A motif print asks you to decide what the viewer should see.
What makes a motif different from a blender
A blender fabric supports other fabrics through texture, tiny marks, or restrained color movement. A motif fabric carries visual information of its own. One well-placed medallion can anchor a quilt block, while a large flower can turn an otherwise simple pillow into a feature panel.
The strongest results usually come from assigning the fabric a job before cutting:
- Feature panels: Reserve the clearest motif for a pillow front, quilt center, bag flap, or garment yoke.
- Fussy-cut blocks: Isolate repeated flowers, animals, or ornaments and frame them with quieter coordinates.
- Background movement: Use a smaller motif where you want interest without competing with intricate piecing.
- Directional accents: Treat borders, architectural lines, and elongated leaves as directional unless testing proves otherwise.
Color planning also matters. A useful reference for combining strong prints with supporting fabrics is this guide to modern quilt color schemes, especially when the motif already contains several competing hues.
Where plush motifs change the process
Plush motif fabrics, including minky and Shannon Cuddle, add a tactile dimension that flat cotton prints can't provide. They can make a quilt back, baby blanket, or accessory feel soft and substantial, but the pile can hide cutting marks and shift beneath the presser foot.
That means motif planning isn't only visual. You also need to consider nap direction, seam bulk, edge stability, and how the pile will frame the printed or embossed design. A motif that looks centered on a smooth cotton may appear visually displaced when the surrounding pile catches the light.
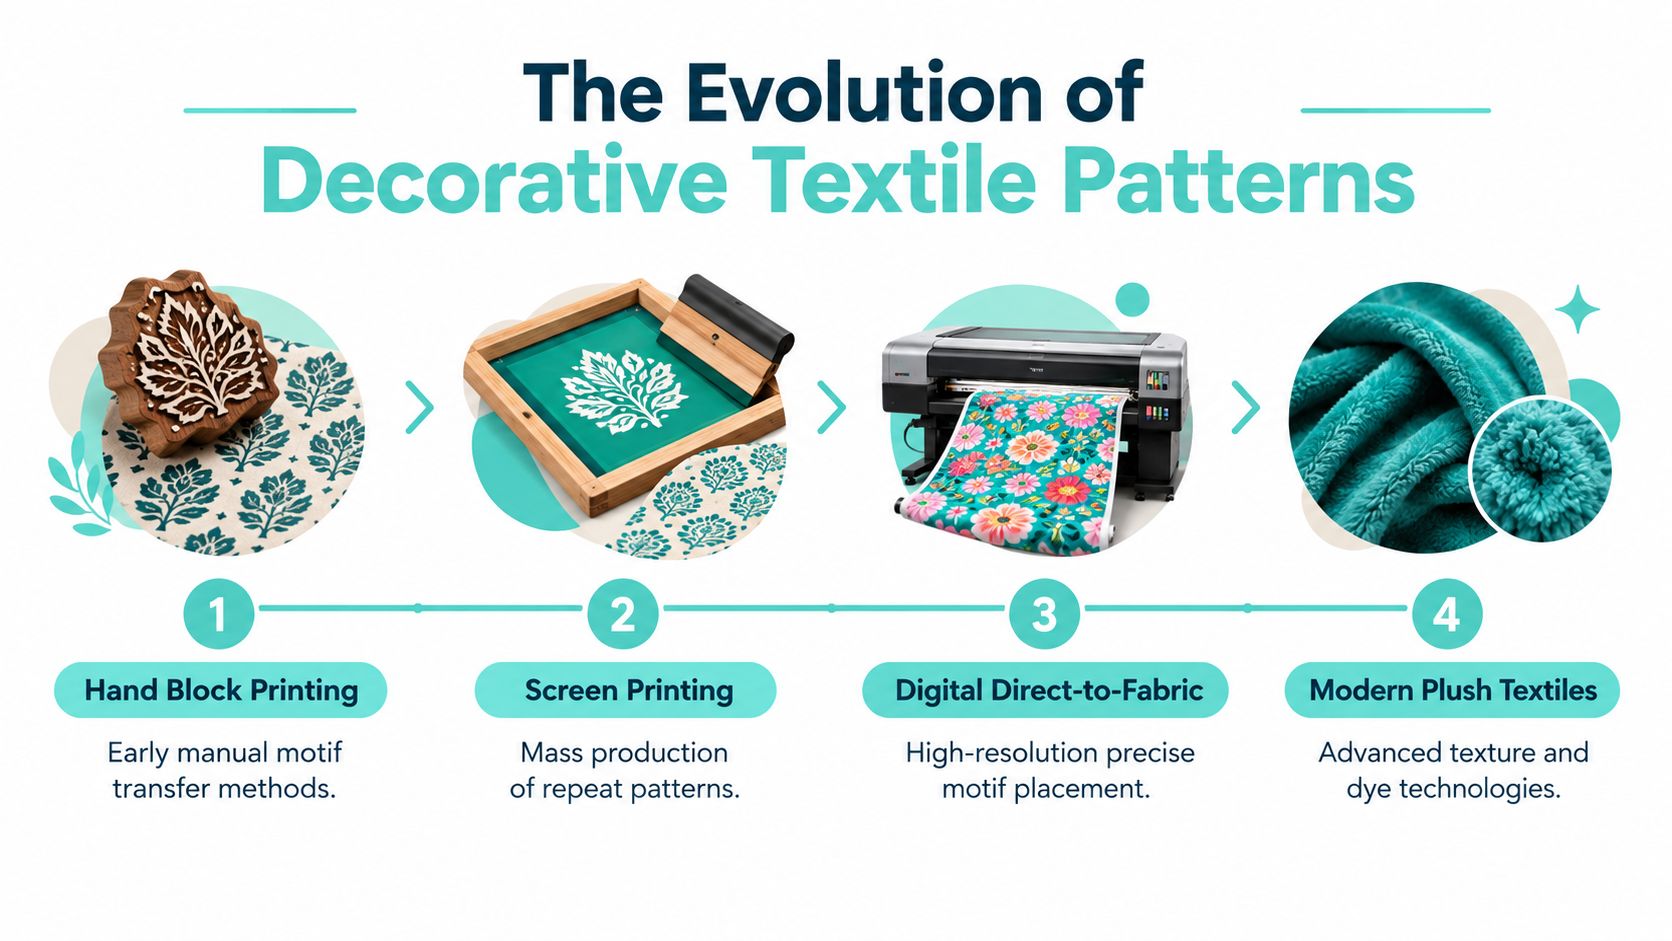
The Evolution of Decorative Textile Patterns
Decorative fabric motifs have a long history, but industrial production changed who could use them and how consistently they could be made. In 1801, French inventor Joseph Marie Jacquard introduced a mechanism that helped produce woven patterned textiles more efficiently, moving decorative fabric away from labor-intensive hand production toward repeatable industrial fabrication. Textile history research connects that shift with the wider spread of patterned cloth during the nineteenth century.
The change was more than a manufacturing improvement. Once mills could reproduce motifs reliably, florals, geometric repeats, and ornamental borders became ordinary choices for household textiles, garments, and quilt fabrics rather than options limited to elite workrooms.
Why historical context matters at the cutting table
Revival-style design in the 1800s often borrowed architectural and ornamental motifs. That detail helps explain why many contemporary prints feel connected to wallpaper, carved decoration, botanical illustration, or historic dress. The motif isn't merely surface decoration. It reflects a broader design language.
The Baltimore Album Quilt tradition offers a particularly clear example. These quilts emerged between 1845 and 1860 in Baltimore's elite social circles and often used patriotic, botanical, and religious imagery. One documented quilt contained 121 hand-pieced, appliquéd blocks, including 37 distinct floral motifs worked in silk, velvet, and wool on a cotton foundation. Research on Baltimore Album Quilts records that only an estimated 175 to 200 complete examples survive, with fewer than 40 having full maker attribution and unbroken provenance.
A motif carries design value before it carries monetary value. The maker's decisions about placement, repetition, handwork, and contrast are what turn decorated cloth into a coherent textile object.
The documented $2,705,000 public sale of the 1854 Reconciliation Quilt in 2023 shows how motif-rich textiles can become significant cultural artifacts. Modern sewing fabric won't automatically acquire that status, but the history reinforces a useful principle: pattern complexity deserves deliberate handling.
Calculating Yardage for Large Pattern Repeats
Buying fabric by project dimensions alone is a common mistake. A pattern piece may technically fit across the cloth, yet the motif may land too close to a seam, lose its central element, or fail to match its neighbor. Fabrics with longer repeats generally require additional yardage when you need to align or center the design, a point also addressed in this guide to choosing designer fabrics in Atlanta.
Start by identifying the repeat rather than guessing from the overall appearance.
How to measure the repeat
- Find two identical points. Choose the top edge of the same flower, the tip of a leaf, or a matching corner in a geometric ornament.
- Measure vertically and horizontally. A print may have a long vertical repeat, a wide horizontal repeat, or both.
- Mark the focal zone. Decide which part of the motif must remain visible on the finished piece.
- Add seam and placement allowance. The cloth needs room for the motif to move away from the seam, not just room for the pattern piece itself.
- Lay out the actual pieces. Use paper templates or pattern tissue before cutting fabric. This reveals whether the repeat falls where you expect.
- Buy for the most demanding piece. A front panel that must be centered usually controls the allowance for the whole project.
The practical formula is:
Required fabric = pattern length + seam allowance + placement allowance + repeat allowance for matching.
The repeat allowance isn't a universal percentage. It depends on whether you're cutting independent quilt blocks, matching garment seams, centering a pillow panel, or positioning a specific animal or flower. For a one-off feature panel, preserving the focal area may matter more than matching every surrounding repeat.
Motif repeat yardage estimator
| Repeat size | Project type | Extra yardage needed |
|---|---|---|
| Short repeat | Scrap-friendly quilt blocks and small accessories | A modest placement allowance may be sufficient |
| Medium repeat | Pillow fronts, bag panels, and ordinary garment pieces | Allow fabric for centering and seam positioning |
| Long repeat | Large quilt blocks, borders, and garment fronts | Budget an additional full repeat where matching or centering matters |
| Directional or irregular repeat | Feature panels and carefully aligned seams | Use a full paper layout before purchasing |
For quilts, cut the most visually important block first and save the remaining fabric for less demanding pieces. For garments, keep the front, collar, pocket, and yoke pieces together during layout. If the motif is directional, mark the top of every template before it touches the fabric.
Our more detailed guide to calculating yardage for quilts is useful when the project includes multiple block sizes, borders, or a backing plan. It's also wise to purchase from a supplier that can provide consistent cuts, because a last-minute replacement may not contain the same section of the repeat.
Mastering Fussy Cutting Techniques for Plush Textiles
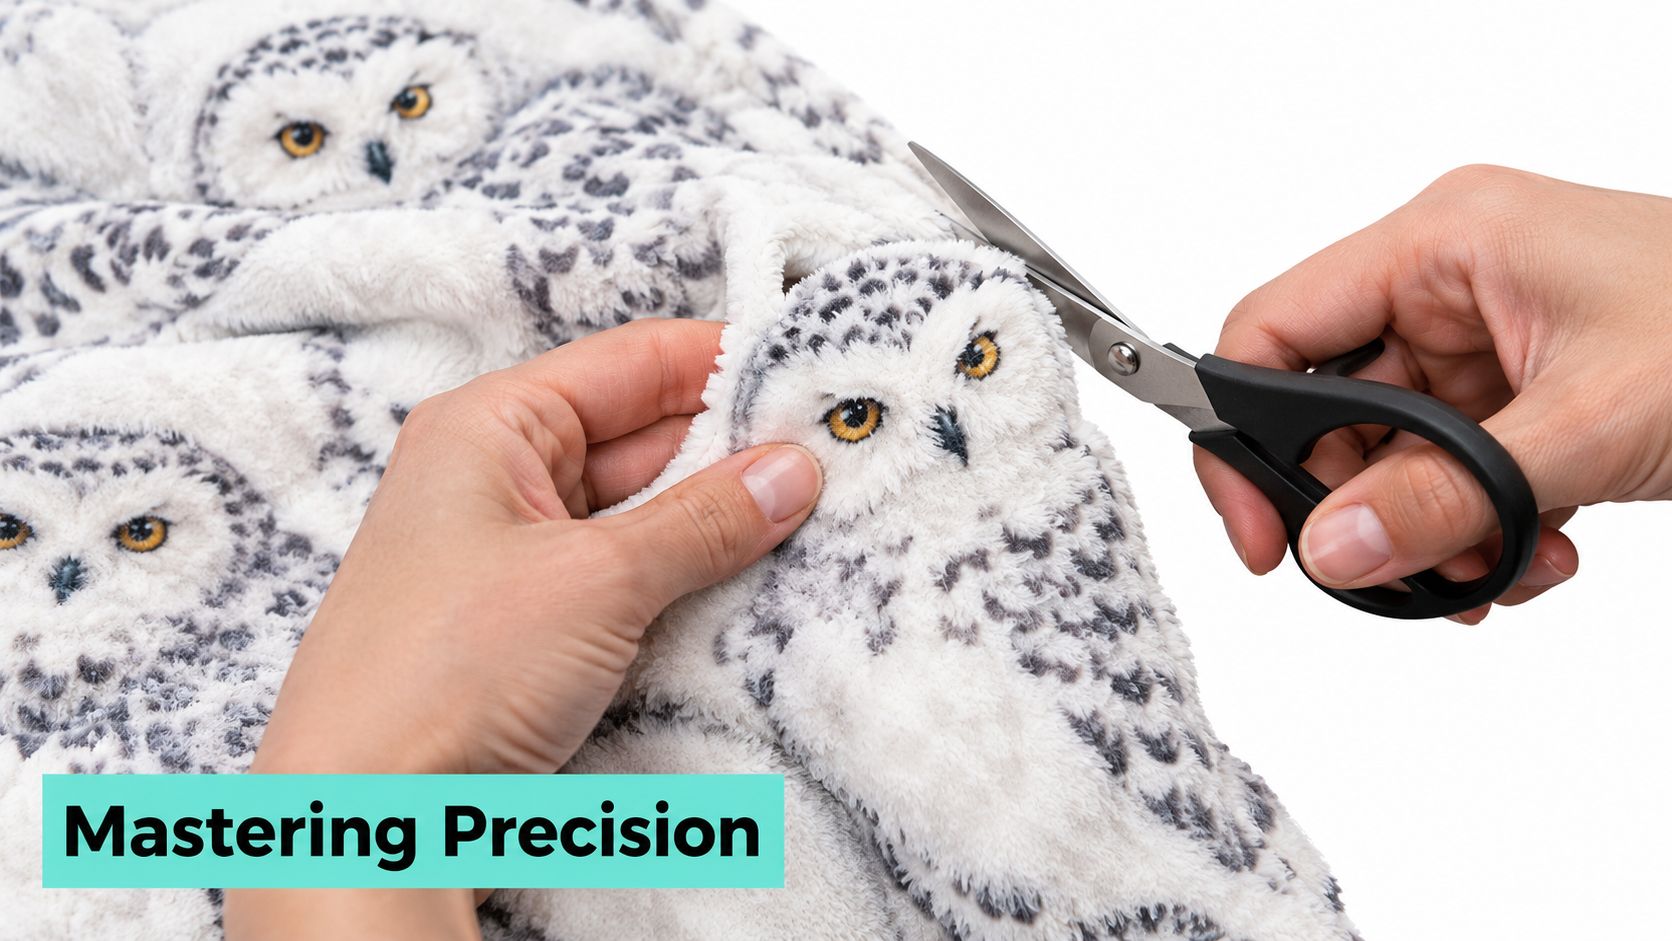
Fussy cutting means choosing a precise part of a print instead of cutting solely for efficiency. With plush fabric, the challenge is doubled. The pile can conceal the motif's edge, the fabric can move while cutting, and standard marking tools may disappear between the fibers.
How to stabilize the fabric
Begin with the fabric laid pile-side up on a clean, flat surface. Avoid dragging it across the table because the pile can catch and distort the edge.
- Brush the pile consistently: Run your hand over the surface to establish the nap direction before positioning templates.
- Use a paper window: Cut an opening in template paper so you can move it over the motif and see the finished placement.
- Mark the backing: Use removable markings on the knit or woven backing rather than drawing across the pile.
- Cut from the reverse: Small, sharp scissors can help you cut the backing without chopping through unnecessary fibers.
- Support the full piece: Keep the fabric flat instead of lifting it as you cut. Lifting encourages the edges to stretch.
For an animal motif, place the paper window around the eyes or central body rather than around the entire printed shape. That gives you a repeatable focal point and leaves the surrounding pile available for seam allowances.
How to sew the selected motif
Use clips instead of relying on pins alone when the fabric is thick or slippery. Clips keep the layers aligned without creating repeated holes in the backing. A walking foot can help feed plush layers more evenly, but test the combination on scraps first.
This tutorial on cutting minky without the mess is particularly relevant when the project includes a large amount of plush fabric. Cut over a surface that can be cleaned easily, and keep a lint roller nearby for loose fibers.
Let the fabric rest flat after cutting. Then check that the nap runs in the same direction on every block or panel. Two pieces with identical printed motifs can look different if one catches the light against the pile and the other follows it.
A short visual demonstration can help you judge how the fabric shifts under the scissors.
Before joining the final seam, place the pieces side by side and smooth the pile in the intended direction. If the motif looks correct but the surface feels bulky, reduce bulk at the seam allowance rather than trimming the visible design.
Choosing Between Bold Motifs and Quiet Textures
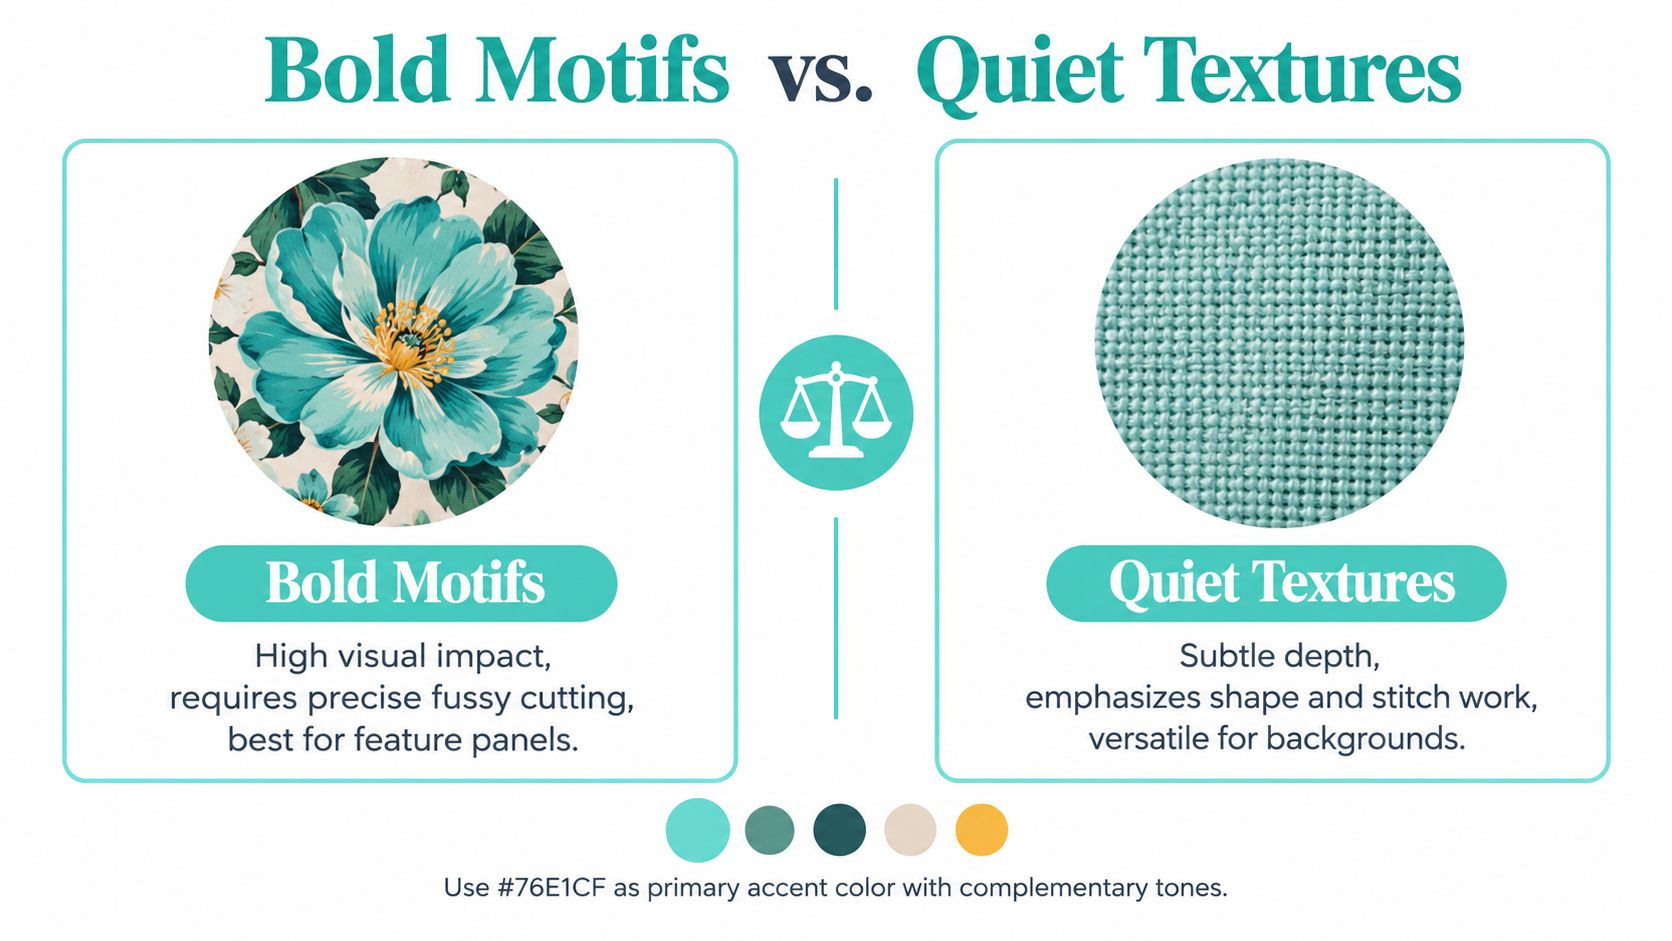
Bold sewing motif fabric makes a strong statement, but it also claims attention. Quiet textures do the opposite. They add depth without dictating where the eye should land, which makes them valuable for backgrounds, sashing, borders, and areas of dense quilting.
Which fabric suits the project
Choose the fabric based on the job it must perform, not only on whether you love it in the shop.
| Project need | Bold motif | Quiet texture |
|---|---|---|
| Feature pillow or quilt panel | Creates an immediate focal point | Provides a calmer, tailored appearance |
| Intricate piecing | Can hide seams and disrupt block reading | Keeps shapes and stitch work visible |
| Simple blanket | Adds character without complex construction | Lets softness and quilting carry the design |
| Beginner garment | Requires more placement planning | Usually gives more freedom during cutting |
| Plush quilt backing | Can make the reverse side decorative | Shows off pile, loft, and texture clearly |
Large-scale prints and stripes are harder for beginners to match at seams, so a motif-heavy project rewards a slower layout. That doesn't make bold fabric a poor choice. It means the fabric should be assigned to a construction method that can support it.
When quiet texture is the better partner
A textured solid is often the right counterweight to a dramatic quilt top. Embossed minky can create a soft, dimensional reverse without introducing another competing illustration. It also allows the quilting pattern to remain visible through changes in surface direction.
Use a bold motif when the project has a clear feature area. Use quiet texture when the pattern already contains several colors, complicated piecing, or a prominent quilting design. Pairing the two can be more effective than choosing either one throughout.
Design rule: If the viewer needs to study the piecing, quiet texture usually serves the quilt better. If the viewer needs one immediate point of focus, reserve the boldest motif for that location.
The decision also depends on waste. A fabric that requires extensive matching may produce a beautiful result, but it can be inefficient for small pieces or projects with many seams. A smaller repeat or textured solid may preserve more usable yardage and reduce the risk of a nearly centered motif that looks accidentally off-center.
Preparing Motif Quilts for Professional Longarm Finishing
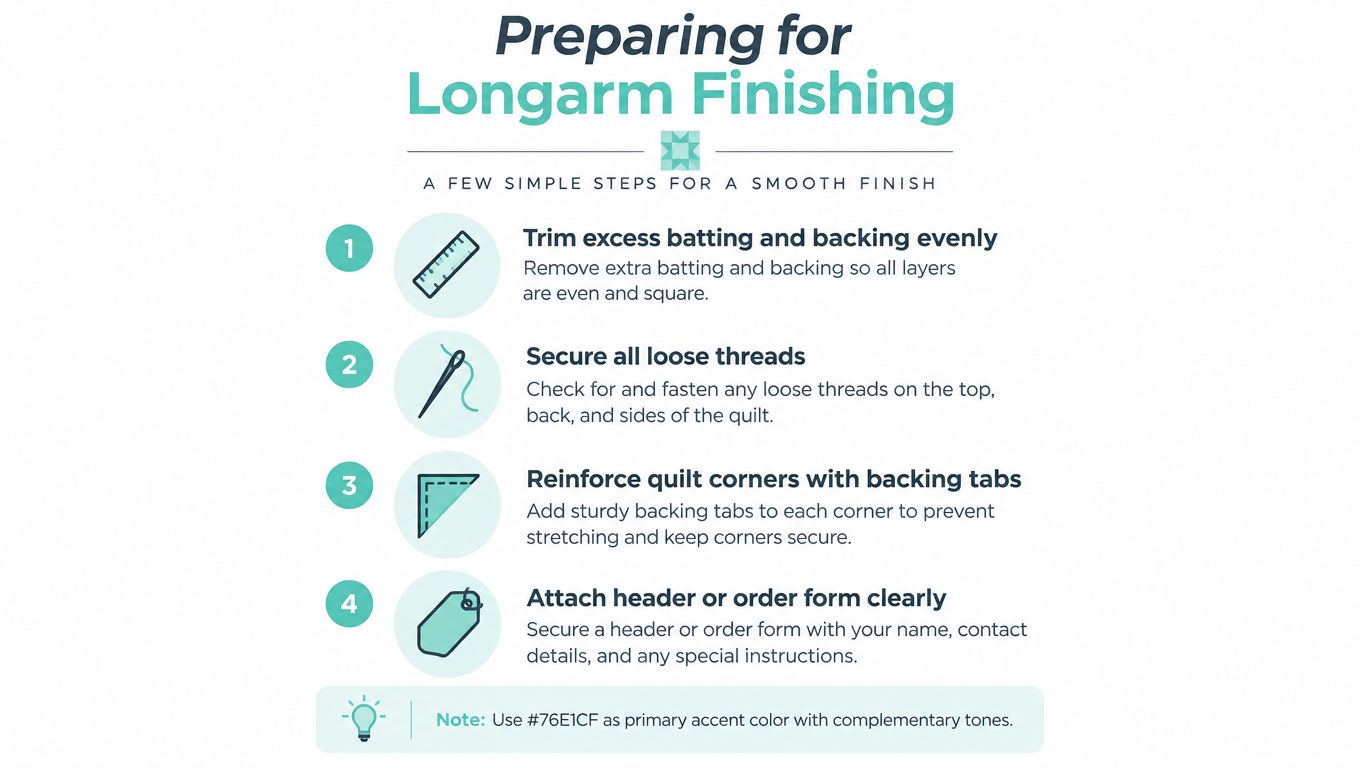
A motif quilt top can look precise on the design wall and still create problems during quilting if the layers arrive wrinkled, uneven, or undersized. Mail-in longarm work depends on preparation because the operator needs stable edges and enough material to load the quilt without pulling the design out of alignment.
What to prepare before shipping
Press the quilt top and backing. Remove loose threads from the front and back, because stray threads can show through light fabric or become caught in the quilting.
The backing should be cut straight and prepared with seams running widthwise rather than from top to bottom. A neutral longarm preparation guide specifies that the backing should extend at least 4 inches beyond the quilt top on all four sides, while supplied batting should be 5 inches longer and 5 inches wider than the quilt top. These mail-in longarm preparation requirements give the machine adequate working margin.
- Press the top: Flatten seams and remove folds before packing.
- Clip loose threads: Check both sides, especially around appliqué and fussy-cut sections.
- Square the backing: Keep the cut edge straight so the quilter can load it evenly.
- Piece backing seams widthwise: This arrangement supports smoother loading than a seam running from the top edge to the bottom edge.
- Label the layers: Make the top, backing, and preferred orientation obvious.
Why minky backing needs extra care
Minky and plush fabrics are typically 58 to 60 inches wide and require more deliberate handling than standard quilting cotton. Independent quilting guidance describes minky as an intermediate material and recommends not pre-washing it before cutting. Minky handling guidance supports keeping the fabric stable and preserving its original cut dimensions.
When a plush backing contains a motif or embossed texture, mark the top edge with a temporary note or safety pin outside the quilting area. This prevents the design from being loaded upside down and helps maintain a consistent nap.
For a mail-in edge-to-edge finish, these longarm quilt preparation tips provide a useful checklist. OPN's Mail-in Longarm service is one option for makers who have completed the top but don't have the equipment or time to finish the quilting themselves.
Sourcing Premium Prints and Textures for Your Next Project
The best fabric choice solves a construction problem as well as a design problem. A bold printed panel can supply the focal point, while a soft embossed backing can add comfort without forcing you to match another busy repeat. For larger quilts, extra-wide material can also reduce the need for a central backing seam.
Shannon Fabrics says its Cuddle collection began with solid-color minky and expanded into embossed fabrics, prints, metallic-sparkle styles, and double-sided minky. The solid Cuddle line is available in over 100 colors, with a 3mm pile height, and the brand offers extra-wide 88/90-inch Cuddle for larger projects. The Shannon Cuddle collection illustrates why texture-specific shopping matters when the fabric will become a quilt back rather than a small accent.
Which Luxe Cuddle texture fits the job
Hide creates a pronounced, cozy surface when you want the backing to feel plush and substantial. Snowy Owl is a 58/60-inch-wide embossed minky that evokes snowy hills and is listed for quilt backs, pet pads, and spa products. The Snowy Owl product information makes it a useful reference when comparing embossed textures by width and intended use.
Fawn suits makers looking for a soft animal-inspired surface, while quieter textures such as Marble or Seal can support a top with strong piecing or a highly visible quilting pattern. Always confirm the pile direction before cutting, particularly when combining panels with a plush backing.
A retailer such as On Pins & Needles Quilting Co. offers Shannon Cuddle and Luxe Cuddle materials, including Quilting Cuddle, Mirage, extra-wide options, prints, panels, dimples, Hide, Snowy Owl, and Fawn. Its assortment also includes curated cuts, kits, pillow projects, infinity scarf kits, ready-made minky items, and Mail-in Longarm finishing. The shop has hundreds of verified reviews, which gives shoppers a useful customer feedback record when evaluating a specialist supplier.
How to choose a reliable source
Check the fabric width, pile, motif direction, and cut size before ordering. A product that looks ideal in a close-up photograph may not provide enough width for a continuous backing or enough repeat length for a centered panel.
For makers comparing fabric beyond quilting, a custom uniform fabric guide offers a broader reminder that weight, durability, color, and intended use should be evaluated together. The same logic applies to sewing motif fabric. A decorative surface still needs to withstand the seams, handling, washing, and use demanded by the finished item.
Before purchasing, review this guide to where to buy material for quilts, then match the fabric to the project's most demanding requirement. Properly fixed pigment inkjet prints on pretreated cotton can retain acceptable colorfastness through 50 to 80 cold, gentle machine-wash cycles, while unfixed prints may show visible fading after 3 to 5 washes. Fabric printing and quilting guidance explains why fixation quality matters when a printed motif will be washed repeatedly.
For printed quilt fabric, water-based pigment inks are preferred over plastisol because plastisol can stiffen the cloth. Recommended technical targets include lightfastness around ISO 105-B02 Class 7 and washfastness around ISO 105-C06 Class 4 to 5, which support sharper motifs and better handling in sewn projects. Hand-printing guidance provides the relevant technical context.
Plan the fabric and the finishing together. A carefully centered motif deserves a backing, quilting method, and wash plan that preserve the effect you created at the cutting table.
On Pins & Needles Quilting Co. offers premium Shannon Cuddle and Luxe Cuddle fabrics, curated project cuts, kits, and Mail-in Longarm finishing for motif-rich quilts and plush-backed projects. Visit On Pins & Needles Quilting Co. to shop the Luxe Cuddle collection, use the 15% first-order coupon, and qualify for free U.S. shipping on orders over $70.