
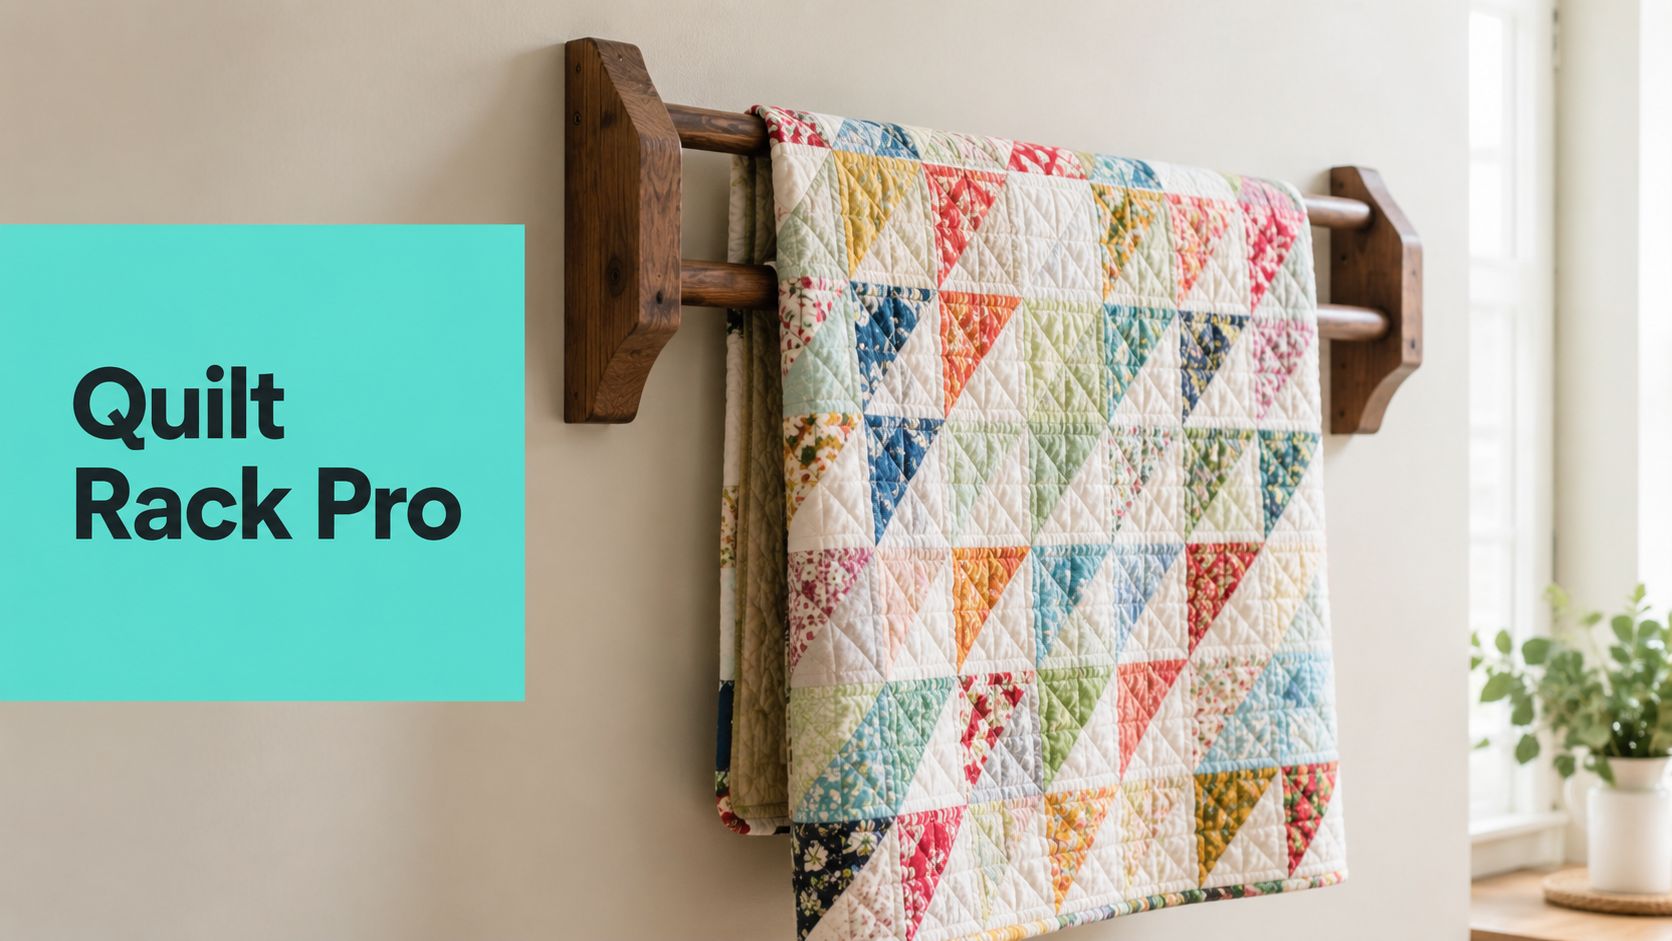
You've found the perfect wall for a favorite quilt, but the rack looks more like décor than structural hardware. A safe quilt rack wall mount must distribute the textile's load across a full-width support and connect securely to the wall material, rather than relying on a single nail or two stressed points.
That matters even more with bulky minky-backed quilts. The right display starts with the quilt's actual weight, width, backing, and the construction of the wall behind the rack.
Why Quilt Weight Changes Everything About Wall Mounting
Many homeowners approach a quilt rack the same way they'd hang a lightweight frame. That assumption causes trouble. A large quilt places a sustained downward pull on its supports, and a plush backing can increase bulk, drag, and stress against the brackets.
A king-size quilt with premium minky backing can weigh 8 to 12 pounds, as outlined in the provided installation brief. The weight itself isn't the only concern. If the quilt hangs from narrow clamps or isolated hooks, the load concentrates at a few points instead of spreading across the textile and wall.

Why point support fails
A single nail may hold a light wall decoration, but it doesn't provide a sound plan for a heavy textile. The rack can tilt, the rod can bow, or the quilt's top edge can develop distortion as the fabric bears uneven tension.
Museum practice offers a better model. Textile guidance from The George Washington University recommends overall support across the piece, while Winterthur advises sewing the softer loop side of hook-and-loop fastener to cotton twill tape so support extends evenly along the top edge.
That approach evolved from informal household storage into conservation-led display. The American Museum & Gardens reports that its quilts have been displayed this way since the museum opened over 50 years ago, using large wall panels capable of holding over 40 quilts. Those figures come from the museum guidance summarized in the brief, not from a recommendation that a household rack carry the same load.
Before buying hardware, inspect the quilt:
- Measure the finished width: Include the portion that will rest over the rack, not only the quilt top.
- Consider the backing: Minky fabrics such as plush Shannon Cuddle textures add loft and can make folds heavier.
- Check the top edge: A sleeve, hanging tape, or reinforced binding spreads force more effectively than a clamp gripping one small area.
- Weigh the finished quilt: Use the textile, including its backing and batting, before selecting brackets.
For readers comparing display hardware with broader quilting equipment, choose the right quilting frame is a useful resource because frame selection also depends on project size, support, and handling requirements. A wall rack isn't a substitute for a frame, but the same principle applies. The equipment must suit the textile rather than forcing the textile into a decorative format.
Practical rule: If the support only touches the quilt at a couple of narrow points, assume the textile and the wall are carrying more stress than the rack's appearance suggests.
Batting also affects how the finished piece behaves. Understanding what quilt batting does can help you anticipate loft, drape, and bulk before mounting. A thin cotton quilt may tolerate a simple display rail, while a high-loft minky-backed piece deserves broader support and more careful load testing.
Choosing the Right Rack Style for Your Quilt Collection
The best rack style depends on whether you're displaying one quilt, rotating several pieces, or storing a bulky textile between uses. Decorative appearance matters, but it should come after support width, wall connection, and textile contact.
| Rack Style | Max Weight | Max Width | Best For |
|---|---|---|---|
| Clamp-style hanger | Depends on the manufacturer's tested rating and wall attachment | Usually limited by the crossbar or clamp span | A single quilt with a reinforced top edge |
| Sleeve-and-rod system | Depends on the rod, brackets, and wall fasteners | Adaptable when the rod is long enough and supported properly | Wide quilts needing continuous top-edge support |
| Magnetic mount | Depends on the magnet system and textile interface | Often suited to smaller or lighter pieces | Quick-change display where the textile is light |
| Hook-and-loop display | Depends on the tape, fastener, and wall support | Well suited to broad, full-width support | Large or fragile flat textiles requiring distributed support |
Clamp hangers
Clamp-style hangers are convenient because the quilt can be installed without sewing a sleeve. They're visually tidy, and a quilt-clamp guide recommends measuring the distance between keyholes, marking a level position, checking fit, tightening the screws after positioning, and load-testing the rack before use.
The weakness is contact concentration. A clamp gripping only a narrow strip can crease or stress a thick minky edge, particularly if the rack is too short for the quilt.
Sleeve-and-rod systems
A sewn sleeve distributes the quilt's upper edge across a rod, but the rod still needs enough brackets and a reliable connection to the wall. For an extra-wide quilt, a long unsupported span can sag even if the fasteners are secure.
Hook-and-loop systems offer a conservation-minded alternative. The Fine Arts Museums of San Francisco describes quilts being rolled on a long tube and displayed by attaching Velcro on the quilt back to a wood strip mounted to the wall. Museum Textile Services likewise identifies wall display as suitable for large flat textiles when room conditions are appropriate, while the Western Australian museum manual describes hook-and-loop fasteners, sealed wooden battens, foam board, and acid-free board as part of a mounting workflow.
For styling ideas that keep the textile central rather than treating it like a framed print, see how to hang quilted wall hangings. That distinction is important for collections. One quilt may suit a clamp, while a rotating gallery benefits from a rail or full-width system that minimizes repeated handling.
Magnetic mounts can be appealing for small, lightweight pieces, but they're not my first choice for a heavy minky-backed quilt. If a product listing doesn't clearly state tested capacity, usable width, and compatible wall hardware, it isn't ready for a serious textile.
Matching Hardware to Your Wall Type
Wall material determines how the fastener resists pullout. A bracket screwed into a wood stud behaves differently from an anchor placed only in gypsum board, and plaster can crumble if drilled without care.
The most useful neutral installation guidance recommends screwing into a stud for safety and stability. If a stud isn't available, it strongly suggests 100-pound wall anchors or toggle bolts, but that rating belongs to the anchor under its specified conditions, not automatically to the entire rack assembly or wall.

Drywall
For drywall, locate studs first with a stud finder, then verify the location with a small pilot hole. If the brackets can't align with studs, use heavy-duty toggle bolts or anchors whose rating exceeds the expected rack-and-quilt load.
Don't confuse the anchor's packaging rating with a guaranteed installation result. The rating depends on the wall condition, fastener placement, bracket design, and whether the load pulls straight down or outward.
Plaster and lath
Plaster walls need a gentler approach. Drilling too aggressively can chip the surface or loosen the surrounding plaster, and a stud may sit behind lath in a position that isn't obvious from the surface.
A stud remains the preferred support. If you can't reach one, choose hardware specifically approved for plaster rather than assuming a drywall anchor will perform the same way. Pre-drilling and avoiding holes close to damaged plaster reduce the chance of cracking.
Concrete and masonry
Concrete requires a masonry bit and fasteners designed for masonry. Sleeve anchors or appropriate masonry screws can provide a firm connection, but the hole must be drilled to the manufacturer's diameter and depth.
A bracket attached to concrete may be strong while the rack itself remains underbuilt. Match the whole assembly, including the rod, screws, washers, brackets, and wall plugs, to the textile's load.
Wood paneling and challenging walls
Wood paneling may be decorative rather than structural. If possible, drive screws through the paneling and into studs. Metal studs, hollow partitions, and rental walls require a careful assessment of what sits behind the visible finish.
For textile storage principles that also apply to avoiding compression, abrasion, and unsuitable environments, how to store oriental rugs offers useful adjacent guidance. Quilts and rugs aren't identical, but both can suffer when storage or display hardware concentrates force.
Before drilling, gather the quilt's measured weight and the rack manufacturer's tested capacity. Then use the quilt prep instructions to make sure the textile itself is prepared for handling, especially if it will be moved between finishing, storage, and display.
Step-by-Step Installation for a Secure Mount
A secure installation begins before the first hole. Lay out the entire rack, measure the quilt, and identify the wall structure rather than marking bracket locations from a rough visual estimate.
Mark the footprint
Hold the assembled rack against the wall and mark its full footprint with a level. Include the outer ends of the rod, each bracket, and the area the quilt will occupy.
For a typical residential installation, expert rack guidance places the rod about 60 to 66 inches from the floor, with 12 to 16 inches of projection from the wall, and at least 2 inches of clearance below an overhead shelf. These measurements come from the installation guidance in the brief and should be adjusted for furniture, traffic, ceiling height, and the quilt's finished dimensions.
Confirm the support
Locate every stud or structural fixing point that can receive a screw. If the brackets don't align with structure, stop and select suitable heavy-duty anchors rather than angling screws into weak material.
Pre-drill pilot holes sized for the chosen fastener. Pilot holes help prevent wandering, reduce damage around the opening, and make it easier to keep the bracket level.
Mount in sequence
Secure the primary brackets first, keeping the screws loose enough for small alignment adjustments. Add washers where the bracket design permits, then tighten gradually while checking the level from several positions.
Attach the crossbar or rod only after the primary supports are stable. Check that the rod seats fully in each bracket and that the quilt-facing edge is smooth, with no sharp hardware exposed.
Load-test before hanging the heirloom
Perform a controlled test with a temporary load at about half the expected final weight, as recommended in the cited rack installation guidance. Watch for bracket movement, screw pullout, wall cracking, rod deflection, or an assembly that settles out of level.
Don't use the quilt as the test load. A short test with a safe substitute can reveal a loose fastener before an heirloom is exposed to a fall.
A quilt-clamp installation guide also recommends testing stability before full use. If the rack shifts, remove the load and correct the wall connection. A stripped screw hole may need a new structural location, a larger approved fastener, or a different anchor system, not just another turn of the same screw.
Once the hardware passes inspection, hang the textile slowly and support the folded or draped portion as you work. For quilters sending a finished top out before the display stage, how to prep a quilt for mail-in longarm services helps prevent avoidable handling problems before the quilt reaches its final home.
Displaying and Caring for Mounted Quilts
A rack can be structurally sound and still be hard on a quilt if the textile is folded sharply, exposed to harsh light, or left untouched in one position for too long. I prefer to style the display around the quilt's drape, not force a rigid fold just because it looks symmetrical.

Keep the textile supported
A full-width sleeve or hook-and-loop tape gives the upper edge a broad support zone. If you use a clamp, place it over a reinforced area and check that the clamp isn't biting into a plush pile or creating a visible ridge.
Museum collections use wall panels and distributed support because repeated handling and concentrated stress can distort large textiles. The American Museum & Gardens says its quilt display method has been used since the museum opened, with panels that hold over 40 quilts, while its overall collection exceeds 250 quilts, according to the institutional information in the brief.
Control the display environment
Keep the quilt away from direct sun and strong heat sources. Soft, indirect lighting shows texture without making the display compete with glare, and rotating pieces helps limit prolonged exposure in one position.
A mounted quilt shouldn't be pressed against a damp exterior wall or crowded behind furniture. Leave enough breathing room to inspect the top edge, the backing, and the wall connection without tugging the textile.
For racks and textile-support systems beyond quilts, this collector's guide to storage racks provides useful context about organizing valuable materials while keeping access and protection in balance. The same mindset works in a sewing room or guest bedroom.
Rotate and inspect
During a rotation, support the quilt's weight with both hands and remove it without dragging the backing across the rod. Look for pile compression, loose stitching, dust, fading, or a change in the rack's level.
Don't vacuum a mounted quilt with a standard floor attachment. Follow the textile's care instructions, and address surface dust gently. If a plush backing begins to pill or mat, consult how to prevent fabric pilling before applying a brush, solvent, or aggressive cleaning method.
Quilts not on display should be stored clean, dry, and supported without hard creases. Rolling on an appropriate tube can be preferable for large textiles, a method also reflected in museum storage and display practice.
When Wall Racks Aren't the Best Solution
A wall rack isn't automatically the right answer for every quilt. Extra-wide projects can exceed the practical span of a decorative rod, and an oversized minky backing may drape better from a broad hanging system than from a narrow rack.
The width decision deserves more attention than the usual advice to buy a hanger slightly wider than the quilt. A 90-inch or 110-inch backing can make a single-rack display awkward if the support ends leave heavy fabric hanging beyond the bracketed area. The issue isn't only appearance. Unsupported width can encourage folds, uneven loading, and edge stress.
Consider alternatives when:
- The quilt is extra-wide: A ceiling-mounted rail, professional gallery system, or broad textile panel may provide more even support.
- The home is a rental: A freestanding quilt ladder or movable display can avoid permanent wall penetrations.
- The wall is high traffic: A quilt near a doorway, chair, or pet path may be safer stored flat or displayed behind a protective barrier.
- The collection is extensive: Rotating one quilt on the wall while storing the rest on properly supported tubes can reduce crowding and handling.
A ladder offers flexible styling but usually concentrates weight along its rungs, so it needs careful placement and stable footing. Freestanding panels can support a larger surface, while ceiling systems work when the wall can't accept reliable fasteners. Archival storage is the better choice when preservation matters more than constant visibility.
For extra-wide minky-backed quilts, the right question is not just whether a rack fits the wall. Ask whether the system preserves the quilt's drape, distributes its load, and lets you remove it without repeated strain.
On Pins & Needles Quilting Co. offers premium Shannon Cuddle and Luxe Cuddle fabrics, including extra-wide backing options, along with mail-in longarm finishing for quilts that need professional support before display. Visit On Pins & Needles Quilting Co., use the 15% first-order coupon, and take advantage of free U.S. shipping on orders over $70.