
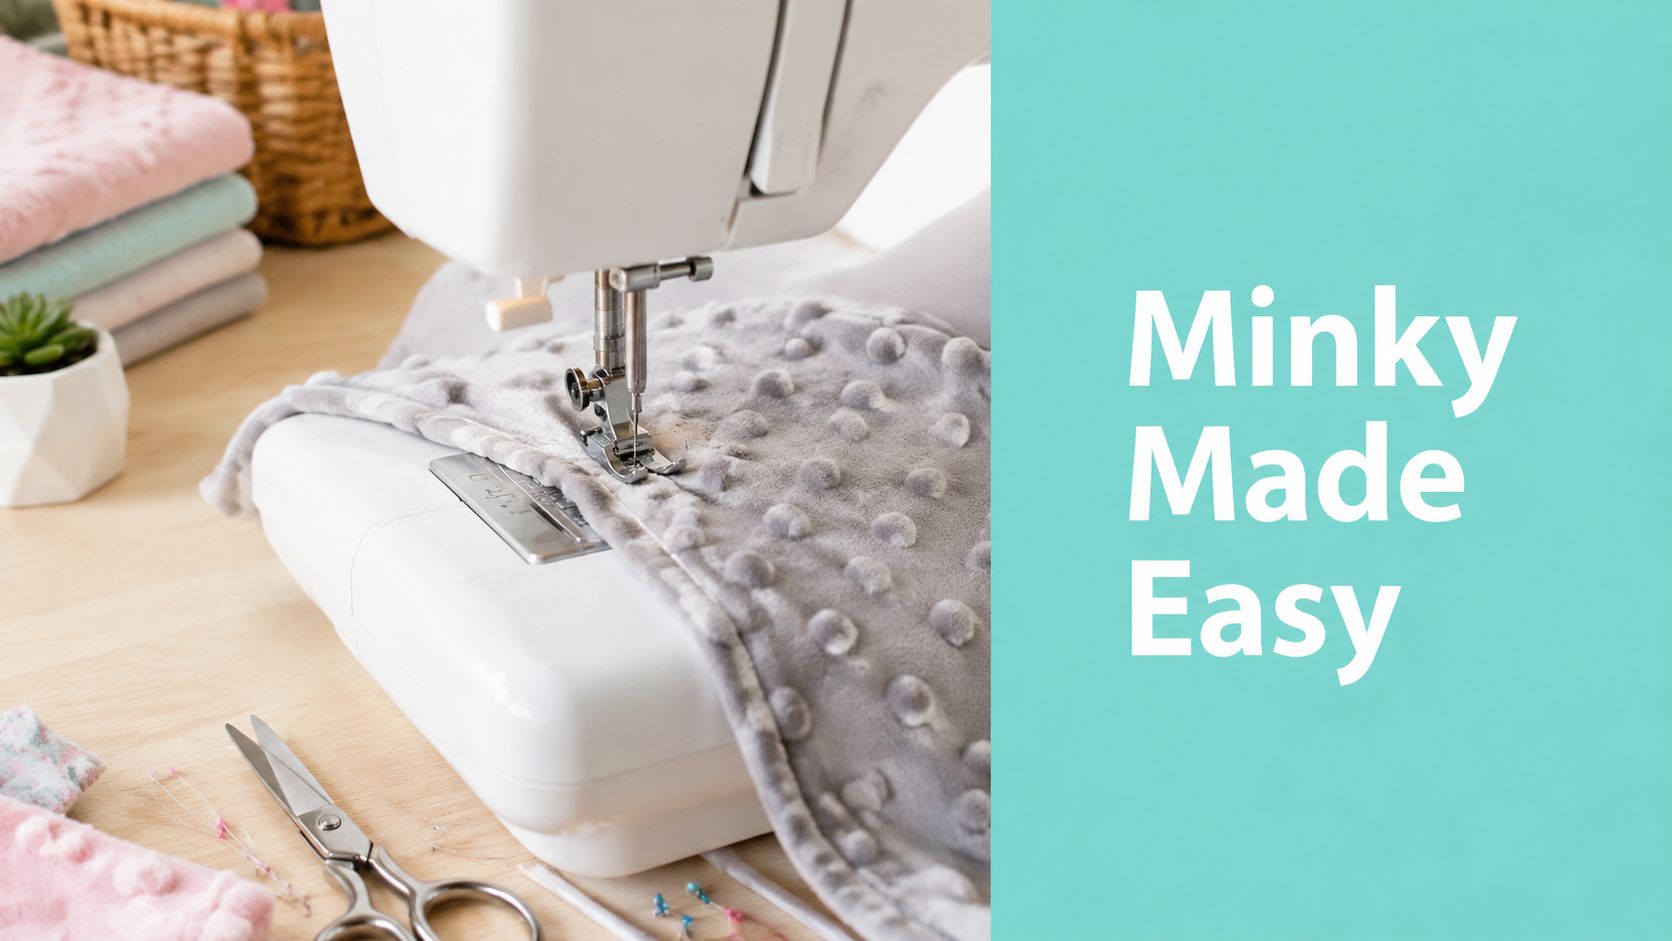
Minky can be sewn successfully on a home machine when you control the pile, stretch, and feed direction instead of treating it like cotton. Square the fabric, keep the nap consistent, sew with minky against the feed dogs, pin densely, and choose a width that reduces unnecessary seams.
You'll also need to decide whether sewing is the right solution for the whole project. Small blankets and pillow projects respond well to careful preparation, while a large quilt back may be better served by extra-wide fabric or a mail-in longarm finish.
The Moment a Minky Project Starts Going Wrong
The trouble often begins before the needle enters the fabric. You've spread a fresh cut of Shannon Cuddle beside a pieced quilt top, matched the edges, and placed what feels like plenty of pins along the side. Then the feed dogs start moving. The layers creep apart, the edge bows, and the plush pile seems to pull the fabric in a different direction with every stitch.
That reaction doesn't mean you've chosen a bad fabric or that your machine can't handle it. Minky has a plush pile and a flexible surface that can shift under pressure, especially when it's paired with a more stable cotton or flannel layer. The pile can grip the presser foot, compress under pressure, and move as the feed dogs advance the fabric.
What the pile is doing
Minky has a direction. Run your hand across the surface and you'll feel the nap lie smoothly one way and resist in the other. That direction matters during cutting, pairing, quilting, and finishing. If one piece is cut with the nap running opposite the others, the project can look like it contains different shades even when every piece came from the same fabric.
Wide pieces create another problem. A large backing can stretch or drag gradually, so the first part of a seam looks straight while the far end has drifted. Generic advice such as “go slowly” may help, but it can't correct a nap that was cut inconsistently or a backing that's too narrow for the quilt.
I've seen many minky projects improve after the maker stopped adding gadgets and changed the material plan instead. A continuous backing can remove a long joining seam, while a walking foot can control the layers that remain. The practical guidance in this minky sliding guide follows the same principle, control the fabric's movement before trying to correct it at the needle.
The useful mental model: minky isn't misbehaving randomly. The pile, nap direction, stretch, and seam length are interacting with your machine.
Tools and Machine Settings That Matter

A minky project usually needs a few well-chosen tools, not a specialized machine. The goal is to keep the layers feeding together, protect the pile, and avoid creating extra seam stress.
Which needle and thread should you use
Begin with a fresh ballpoint or stretch needle, commonly 90/14 for minky projects. Its rounded point moves between knit fibers instead of cutting through them aggressively. Replace a needle that has already sewn through several dense layers. A dull point can cause skipped stitches, uneven penetration, and thread problems.
Use all-purpose polyester thread. It has the flexibility and strength to handle soft, slightly stretchy fabric and the repeated movement of a blanket. Match the thread color closely when the seam may show, particularly around pillow openings or turned edges.
Keep this Shannon Cuddle needle-size reference beside the machine while testing needle options.
Which presser foot works best
A walking foot is the most useful upgrade for layered minky because it moves the upper fabric in step with the feed dogs. Integrated dual feed can provide a similar result. These options reduce creeping, but they do not correct poor alignment or remove the need for careful pinning.
Test a scrap using the project's actual layers, thread, needle, and foot. If your machine allows presser-foot adjustment, lower the pressure when the pile is being crushed or the fabric drags. Too much pressure can flatten the surface and make feeding less consistent.
Use a slightly longer stitch length than you would choose for lightweight cotton, then sew at a controlled pace. The right setting depends on the machine and the combined layers, so the scrap test is more reliable than a universal dial position.
Clean the table, machine bed, bobbin area, and feed dogs as you work. Cut and handled minky sheds lint, and buildup can interfere with feeding. A lint roller and small brush often do more for consistent stitching than a crowded set of specialty accessories. For a wide backing or a long seam, the walking foot addresses movement, while a better material plan may remove the stress altogether.
Cutting and Prep for a Minky That Behaves
Cutting errors often become sewing errors. A crooked edge or inconsistent nap can create drift that no presser foot will fully correct.
How should you prepare the fabric
Square the fabric before cutting. Establish one dependable straight edge, then cut every pattern piece with the pile facing the same direction. Mark the wrong side with a removable note or a small mark inside the seam allowance. Plush surfaces can make direction difficult to identify once pieces are separated.
Pile direction is a control variable, not a decorative detail. Keep the nap consistent across pillows, scarves, stuffed items, and pieced constructions, especially when neighboring surfaces will be viewed together. A change in direction can make matching pieces look different even when the color is identical.
Pairing minky with cotton or flannel requires attention to layer placement. Put the minky on the bottom, against the feed dogs, so the machine can move the stretchier layer while the more stable fabric on top is less likely to creep beneath the foot.

How closely should you pin minky
Pin densely. Without basting adhesive, place pins about every 1 inch to limit shifting as the layers move through the machine. Insert long straight pins perpendicular to the seam, or use clips if pin points are awkward to manage.
Clips work well along thick edges, but they may not secure the center of a wide seam as firmly as close pinning. For a quilt backing, smooth the layers from the center outward, pin the perimeter, and check repeatedly for folds before stitching.
Use a minimum 1/2-inch seam allowance for heavy minky-backed constructions. The extra fabric gives the seam more support against pullout. Keep the allowance even, and delay trimming until the stitching has been checked.
Minky sheds loose lint during cutting. Clear the work surface before layering, then run a lint roller along the cut edges so fibers do not collect in the seam or transfer heavily to the machine. If you also handle printed knit garments alongside plush yardage, t-shirt fabric material for prints can help distinguish the handling needs of knit-based fabrics from those of plush yardage.
For a backing cut, the minky cutting guide from OPN offers a practical way to keep loose fibers contained and the fabric aligned before sewing.
Choosing the Right Width for Your Project
The smartest minky technique is sometimes a different width of fabric. A narrow backing forces you to add seams, and every additional seam creates another place for stretch, drag, and alignment drift to accumulate.
Standard 44/45-inch Quilting Cuddle suits smaller pieces and projects where a center seam is acceptable. 58/60-inch minky gives you more room for baby blankets, throws, and modest quilt backs, but it may still require piecing for larger quilts.
The wider options change the calculation. 80-inch Luxe Mirage can work for broader projects, while 90-inch and 110-inch Cuddle options are designed for situations where a continuous backing can save both sewing time and frustration.
| Width | Best For | Backing Strategy |
|---|---|---|
| 44/45 inches | Small pillows, scarves, baby projects, narrow throws | Use for compact pieces or plan a joined backing |
| 58/60 inches | Baby blankets and smaller throws | Measure carefully before deciding whether a seam is needed |
| 80 inches | Broad throws and selected quilt sizes | Use when the finished dimensions fit without excessive trimming |
| 90 inches | Larger throws and some bed quilts | Prefer a no-seam backing when the quilt fits within the usable width |
| 110 inches | Large quilt backs, including king-size planning | Choose it to avoid joining panels across a wide finished quilt |
When does extra-wide minky win
Extra-wide fabric is most valuable when it eliminates a seam that would otherwise run across the back of a large quilt. That isn't merely a convenience. A long seam can stretch during handling, shift while quilting, and place additional stress on the finished construction during use and laundering.
The 110-inch extra-wide minky explanation goes into the material strategy behind that choice. Measure your quilt top, account for the required overhang, and confirm the usable width before ordering.
OPN Quilting carries 44-45-inch Quilting Cuddle, 80-inch Mirage, and 90-inch and 110-inch extra-wide options, along with textures such as Hide, Snowy Owl, and Fawn. If you're choosing among quilt textures, order a swatch first when color, pile direction, or surface feel will determine the finished look.
Seams and Finishes That Hold Up to Washing
A minky seam needs enough fabric inside it to withstand handling. Use a minimum 1/2-inch seam allowance for minky-backed constructions, particularly when the backing is heavy or the seam will receive repeated stress.

How do you sew a stable minky seam
Align the layers, pin close to the seam, and let the walking foot or dual feed advance the fabric without pulling from behind. Keep your hands on either side of the needle only to guide the layers. If you tug the minky to correct a developing wave, you can stretch the edge further.
For corners, shorten your movement rather than forcing the fabric around the turn. Stop with the needle down, lift the presser foot, pivot, and continue. Trim bulky corner allowances after sewing, but leave enough seam structure to prevent the corner from weakening.
On curved or bias seams, a narrow strip of washaway stabilizer can help keep the edge from spreading while you stitch. Remove it according to the product directions and test first, since the pile and stabilizer may respond differently across textures.
Seam rule: Keep at least a 1/2-inch seam allowance on minky-backed constructions. A narrow seam leaves less material to resist pullout.
For a pillow, a turned-through opening keeps the edge soft and avoids adding a separate binding layer. Sew around the perimeter, leave an opening, turn the piece, roll the edge into place, and topstitch the opening closed.
An infinity scarf works well as a tube construction because the long seam can be controlled before the ends are joined. Minky binding on a quilt requires more attention because the plush edge can hide the seam line. If minky is the backing, many quilters prefer a conventional binding on the quilt top while keeping the backing securely caught in the stitching.
This thread guide for sewing minky covers the thread decision in more detail.
A washing-friendly finish starts with a seam that isn't stretched during construction. Care also matters after sewing. Avoid crushing the nap with direct heat, handle lint gently, and inspect seams after laundering for stress, loose pile, or distortion rather than assuming softness alone means the construction is sound.
The practical test: If the edge looks wavy before washing, laundering won't make the construction more stable. Correct the feed, pressure, pinning, or material choice first.
Troubleshooting the Problems Everyone Hits
Minky problems usually have visible symptoms. Diagnose the symptom before buying another accessory.

Why are the layers shifting
If the cotton or flannel moves away from the minky, check the feeding order first. Minky should sit against the feed dogs when paired with a more stable fabric. Then increase pin density and use a walking foot or dual feed.
If a broad backing keeps drifting despite careful preparation, the problem may be cumulative stretch across the panel. A wider, smooth backing can solve more than another round of pinning.
Why are the seams wavy
Waves usually indicate that the edge has been stretched while sewing, pressed too heavily by the foot, or fed at an inconsistent rate. Reduce presser foot pressure if your machine permits it, slow down, and let the feed system move the layers.
Don't pull the fabric flat as you stitch. That creates a temporary appearance of control while storing stretch in the seam.
What causes crushed pile and skipped stitches
Crushed pile points to pressure, heat, or repeated handling in one area. Lift the foot when repositioning, avoid direct pressing on the plush surface, and test the pressure on a scrap.
Skipped stitches call for a fresh ballpoint or stretch needle and a thread test. Re-thread the machine, check the bobbin, and sew slowly enough to observe whether the needle is entering cleanly.
Why does the project drift after laundering
A finished piece that shifts after washing may have been stretched during construction or may contain seams that were too narrow for the load placed on them. The issue isn't necessarily polyester shrinkage. It's often the way the pile, seams, lint, pilling, and handling respond over time.
When the same issue appears across a large quilt, stop treating it as a small machine-setting problem. Technique is only one lever. Extra-wide backing reduces joined seams, and a professional quilting setup can manage broad layers more consistently than a crowded home machine.
Project Ideas and When to Outsource the Finish
Small projects let you learn minky behavior without wrestling with a full quilt. An infinity scarf, a pillow kit, or a simple turned-through blanket gives you a manageable perimeter and a clear opportunity to practice nap direction, dense pinning, and controlled feeding.
Curated 2-yard, 2.5-yard, and 3-yard cuts are practical for gift projects, while pillow kits with forms and infinity scarf kits reduce the measuring and materials decisions. For a texture-led project, compare Shannon Fabrics options such as Hide, Snowy Owl, and Fawn before cutting so the pile direction and surface character suit the design.
Choose the project around the fabric width. A large quilt backing should be planned from the finished dimensions backward, not from whatever yardage happens to be on the shelf.
For baby blankets and throws, home sewing remains a sensible option when you have room to spread the layers and can keep the edges supported. Queen and king quilt backs are different. The combination of weight, drag, wide spans, and quilting movement can make 90-inch or 110-inch extra-wide minky a better starting point than piecing narrower fabric.
When the quilt top is finished but the quilting stage feels beyond your equipment, OPN Quilting's Mail-in Longarm service offers edge-to-edge quilting with batting, thread, and free return shipping. On Pins & Needles Quilting Co. also has hundreds of verified reviews, which gives you a useful trust signal when you're sending a finished top away for professional handling.
Shop note: The first-order offer is 15% off, and orders over $70 qualify for free U.S. shipping. Confirm the current offer at checkout before ordering.
For your next project, choose the width first, mark the nap, test your machine settings, and reserve extra-wide fabric or professional finishing for the jobs where they remove real sources of stress.
On Pins & Needles Quilting Co. offers premium Shannon Cuddle and Luxe Cuddle fabrics, extra-wide quilt backing, kits, and Mail-in Longarm finishing for minky projects that need a controlled, durable result. Visit On Pins & Needles Quilting Co. to shop the Luxe Cuddle Collection or book your longarm service today.