
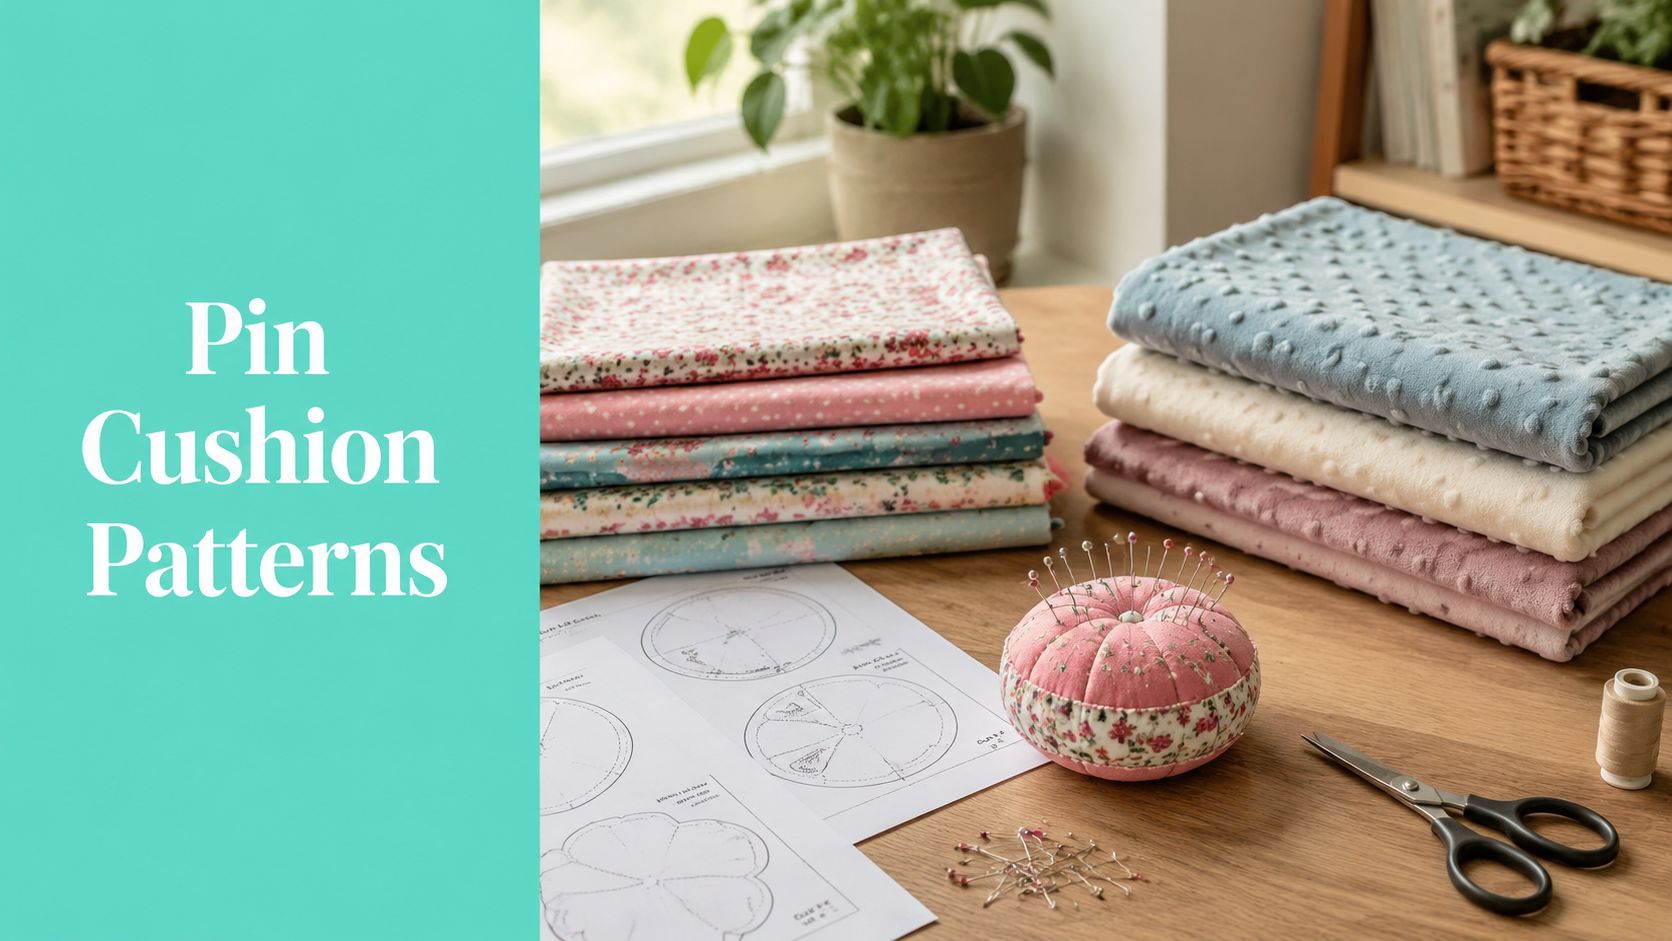
A good pattern for pin cushions starts simple, stays firm, and matches the fabric you're using. If your pins keep sliding out, your seams split, or your minky version feels floppy, the fix usually isn't a cuter shape. It's better pattern choices, stronger construction, and smarter stuffing.
You're probably here because you want a pin cushion that works every day, not one that only looks nice on the sewing table. Maybe your current one drops pins when you reach for it. Maybe you've sewn a few from free templates and still haven't found one that feels solid in the hand.
That frustration is common. A lot of sewists start with decorative patterns, then realize function matters more than novelty when you're handling sharp pins, heavier quilting needles, or plush fabrics.
URL Slug: opnquilting.com/blog/pattern-for-pin-cushions
Meta Description: Pattern for pin cushions made practical. Learn durable seams, proper stuffing, and minky-friendly adjustments, plus 15% off first order and free shipping over $70.
Introduction and Historical Context
The most useful pin cushion patterns aren't new. They solve the same problem sewists have had for centuries: keeping pins close, secure, and easy to grab.
Historically, pin cushions worn on the body during the 16th to 19th centuries averaged approximately 2 inches in width, and they were filled with cotton wool, horse hair, or sawdust to give enough resistance to hold pins without damaging their tips, as noted in this historical pin cushion overview. That small wearable scale tells you something important. Early makers cared about access, firmness, and control more than size.
That old logic still works. If a cushion is too soft, pins wobble. If it's oversized without enough density, the center goes mushy and the edges collapse.
Many modern table pin cushions drift toward style first. Tomato shapes became popular later, and with them came more decorative variations. Some are charming. Some are useful. The best ones manage both.
If you sew with cotton, flannel, or plush fabric, your pattern choice should reflect the material's behavior. A tightly woven print can hold shape differently than soft fabric with pile. If you use minky for gifts or studio accessories, it helps to understand how that surface behaves before you cut, and this guide to what Cuddle minky fabric is gives helpful background.
A pin cushion pattern succeeds when the finished shape supports the pin, not just the fabric.
Cutting and Assembling Beginner-Friendly Patterns
Start with shapes that teach control. A round cushion, a tomato, and a square pouch all help you learn different skills without making the project fussy.

Which beginner pattern for pin cushions is easiest to sew
A round cushion is the easiest place to begin. It teaches even seam allowance and balanced stuffing.
A classic tomato adds shaping and teaches how curves affect stuffing pressure. A mini square pouch is great for scrap sewing and clean corner turning.
If you're printing templates at home, accuracy matters more than people think. Slight scaling issues can throw off matching pieces, especially on small projects. Before you print, it's worth reviewing File Studio's print preparation tips so your templates come out at the intended size.
How should you prep fabric before cutting
Use stable fabric first. Quilting cotton and flannel are forgiving, and they let you focus on sewing accuracy instead of fighting slippage.
For clean prep, follow this order:
- Press first: Wrinkles distort shape, especially on circles and wedges.
- Trace clearly: Mark notches, turning gaps, and button placement before cutting.
- Cut on the line: Small pieces magnify cutting mistakes.
- Watch nap direction: If you switch to plush fabric later, all pieces need a consistent pile direction.
- Add seam allowance carefully: Tiny projects don't hide uneven margins well.
If you're preparing soft fabric with pile, cutting gets messier fast. This practical guide on how to cut minky fabric without the mess is useful if you plan to make a cotton test version now and a minky version later.
A simple assembly routine keeps beginners out of trouble:
- Cut both outer pieces before touching the filler.
- Mark the opening for turning.
- Pin or clip opposite sides first so the shape stays balanced.
- Sew slowly around curves.
- Trim bulk before turning, especially on rounded edges.
This quick visual can help if you like to see the process before stitching.
Practical rule: Your first pattern should be so simple that you can pay attention to shape, seam consistency, and fill placement all at once.
For readers who also like project kits and soft fabric accessories, a useful browse is the minky pillow kit collection.
Exploring Advanced Pin Cushion Shapes
Once the basic shapes feel easy, pattern design gets more interesting. At that stage, form starts affecting function in a noticeable way.

How do advanced shapes change the way a pin cushion works
A wedge-pieced design creates natural segments. That makes it easier to separate pin types by section, and the seams can help define insertion zones.
Pleated hexagons offer multiple angled surfaces. If you like grabbing pins from different positions around the machine, that texture can be useful.
Modern geometric facet styles look crisp on a worktable, but they also create firmer corners and planes. Some sewists like them for specialty pins because each face feels distinct in the hand.
Many free designs focus on novelty while overlooking the core issue of density for heavier quilting pins. One reviewed source notes that existing patterns often miss this functional need, contributing to a 68% higher rate of pins falling out or bending under heavy use in the patterns discussed in this pin cushion analysis video. That's why shape alone doesn't solve performance.
Which advanced style should you choose
Here's a quick comparison that helps:
| Shape | Best Use | What to Watch |
|---|---|---|
| Wedge-pieced | Organizing pin types | Match seams precisely |
| Pleated hexagon | More insertion angles | Pleats add bulk fast |
| Geometric facets | Structured modern look | Uneven stuffing shows easily |
A wrist version works well when you move between cutting table and machine. A larger table cushion suits chain piecing and long sessions where you want a stable landing spot for pins.
If you like browsing printable inspiration before drafting your own, the pattern gallery is a helpful reference point for shape ideas and design direction.
For readers shopping soft textures for coordinated sewing room accessories, it's also worth exploring Luxe Cuddle fabric options.
Sewing Techniques for Durability
A pretty pin cushion that splits at the seam is a failed tool. Durability starts with accepting that this project takes more stress than it looks like it should.

Why does a single seam often fail
Pins don't just sit in a cushion. They push, pry, and spread pressure every time you insert them near a seam line.
Expert methodology recommends a two-pass seam: first a 1/2-inch straight seam, then a zig-zag stitch over that same line to reduce seam-line rupture under repeated pin insertion, as described in this pin cushion construction PDF. That second pass matters because it gives the seam more flexibility.
If you've only used one straight stitch before, you may have seen the classic failure. The shape looks fine after turning and stuffing, then opens after a few sewing sessions.
How do you sew a pin cushion that lasts
Use these habits at the machine:
- Backstitch at the opening edges: Turning gaps take extra strain during stuffing and hand finishing.
- Trim bulk, not strength: Clip curves and corners carefully, but don't shave the seam allowance too close.
- Stitch evenly: Jerky sewing creates weak spots on tight curves.
- Reinforce stress areas: If you add a closure, loop, or button-through center, those points need secure anchoring.
Thread choice matters too, especially if you're working with plush fabric or blended layers. For minky-based projects, this article on the best thread for sewing minky fabric can help you avoid skipped stitches and shredding.
Sew the cushion as if someone will use the same spot every day, because they probably will.
If you'd rather hand off quilting instead of finishing every studio project yourself, the Mail-in Longarm service is worth a look.
Achieving Perfect Stuffing and Dimple Finish
Stuffing is where a workable pattern for pin cushions becomes a reliable one. Even a well-sewn shell will disappoint if the fill is lumpy, hollow at the edges, or too loose in the center.

How firm should a pin cushion be
Aim for a shape that feels firm but smooth. If the edge ripples, it needs more fill.
One tutorial notes that a stuffing density that creates a smooth edge without ripples can reduce pin slipping by 40%, and that stitching a button through the center to form a dimple helps anchor pins more securely in the cushion's core in this stuffing and dimple tutorial. That's a useful quality check because it gives you something visible to judge.
What is the best way to stuff and dimple it
Follow this sequence:
- Add small amounts first. Large chunks trap air pockets.
- Push fill into the edges. A chopstick or blunt tool helps pack curves and corners.
- Test with your fingers. Squeeze around the perimeter and look for hollows or ripples.
- Close the opening neatly. A distorted closing edge throws off the whole silhouette.
- Create the dimple last. Pass strong thread through the center and a decorative button several times, then pull until the center compresses cleanly.
Comparison of Stuffing Materials
| Material | Pros | Cons |
|---|---|---|
| Fiber fill | Easy to find, soft hand, simple for beginners | Can feel too airy if packed loosely |
| Cotton wool | Traditional feel, supportive | Can clump if inserted carelessly |
| Horse hair | Firm traditional resistance | Harder to source for many home sewists |
| Sawdust | Dense traditional option | Not ideal for every modern fabric shell |
If you want a simple project reference before trying your own variation, this DIY pin cushion tutorial is a practical companion.
The edge tells the truth. If it's wavy, the inside still needs work.
For coordinating accessories and gifts, you might also like the Shannon Cuddle fabric collection.
Special offer: If you're stocking up on soft fabric or project supplies, many shoppers use the 15% first-order coupon, and free shipping on orders over $70 makes it easier to bundle a few textures together.
Adapting Patterns for Minky Fabrics
A lot of sewists assume they can take any cotton pin cushion pattern and swap in minky without changes. That's where trouble starts.
Minky behaves differently on the surface and in the seam. One reviewed source notes that minky fabrics such as Shannon Luxe Cuddle can have silicone-based surfaces that repel standard stitching and reduce pin retention, and that this issue is absent from 95% of free designs, making textured backing or internal grip anchors especially helpful in this free pin cushion pattern roundup.
What changes when you make a pin cushion from minky
The pile can shift while sewing. The plush surface can make pins feel less settled. A soft outer shell can also disguise under-stuffing until you start using it.
That doesn't mean minky is a bad choice. It means your pattern needs a few practical adjustments.
How should you modify the pattern for minky
Use a structure-first approach:
- Add a textured backing layer: Pair the plush outer fabric with a more stable woven interior layer.
- Use an internal grip anchor: A non-slip mesh insert can help the finished cushion feel less slick.
- Widen the seam allowance slightly: Plush fabric benefits from a little extra control at the edge.
- Baste before sewing: Fabric glue basting or spray starch can calm slippery edges.
- Keep the shape simple at first: Round and square forms are easier to balance than heavily pleated designs.
Specific textures matter too. Hide, Snowy Owl, and Fawn each have their own feel in the hand. If you're selecting fabric for a gift-ready version, compare surface feel and pile direction before committing.
A minky pin cushion can be excellent for a sewing room set. It just needs more intention than the average free template assumes.
For soft-fabric shoppers wanting a coordinated look, browse Hide texture options or Snowy Owl Luxe Cuddle styles.
Gift Ideas and Small-Shop Productization
Pin cushions make strong gift items because they're practical, fast to personalize, and easy to pair with other sewing-themed pieces. They also fit well into small-shop inventory because customers understand what they are at a glance.
What makes a handmade pin cushion gift-worthy
Packaging does a lot of the work. A simple tag, clean photo, and matching fabric story can turn a small item into a finished gift.
Good bundles often include:
- A matching wristlet or mini pouch: This adds usefulness without making the set feel complicated.
- Name personalization: Embroidery or a stitched initial gives the item a custom feel.
- Texture pairing: A quilting cotton front with a soft minky backing can stand out visually.
- Gift-ready wrapping: Tissue, a belly band, or a branded card helps the buyer picture giving it away.
Can you turn pin cushions into a small product line
Yes, especially if you think in collections instead of one-off makes. Seasonal fabrics, teacher gifts, sewing club swaps, and studio accessories all fit naturally.
Photography matters more than many makers expect. Show the cushion in a hand, near a machine, and with pins inserted so buyers understand scale and use. If you sell online, this guide on how to maximize Etsy income offers practical ideas for improving listings and presentation.
Trust also matters. Shops with hundreds of verified reviews tend to reduce hesitation because buyers can see consistent fulfillment and product quality. A first-order discount can also help move a shopper from browsing to buying, especially when they're building a small bundle.
Small sewing accessories sell better when the customer can immediately see the use case, the scale, and the gift potential.
If your product line includes plush accessories, the Fawn Luxe Cuddle collection and extra-wide 110-inch minky options are useful places to start for coordinated projects and larger backings.
If you're ready to turn a better pattern for pin cushions into a finished project, browse the soft textures, kits, and quilting services at On Pins & Needles Quilting Co.. Shop plush favorites like Hide, Snowy Owl, and Fawn, use the 15% first-order discount, and take advantage of free U.S. shipping over $70. Get 15% Off Your First Order