
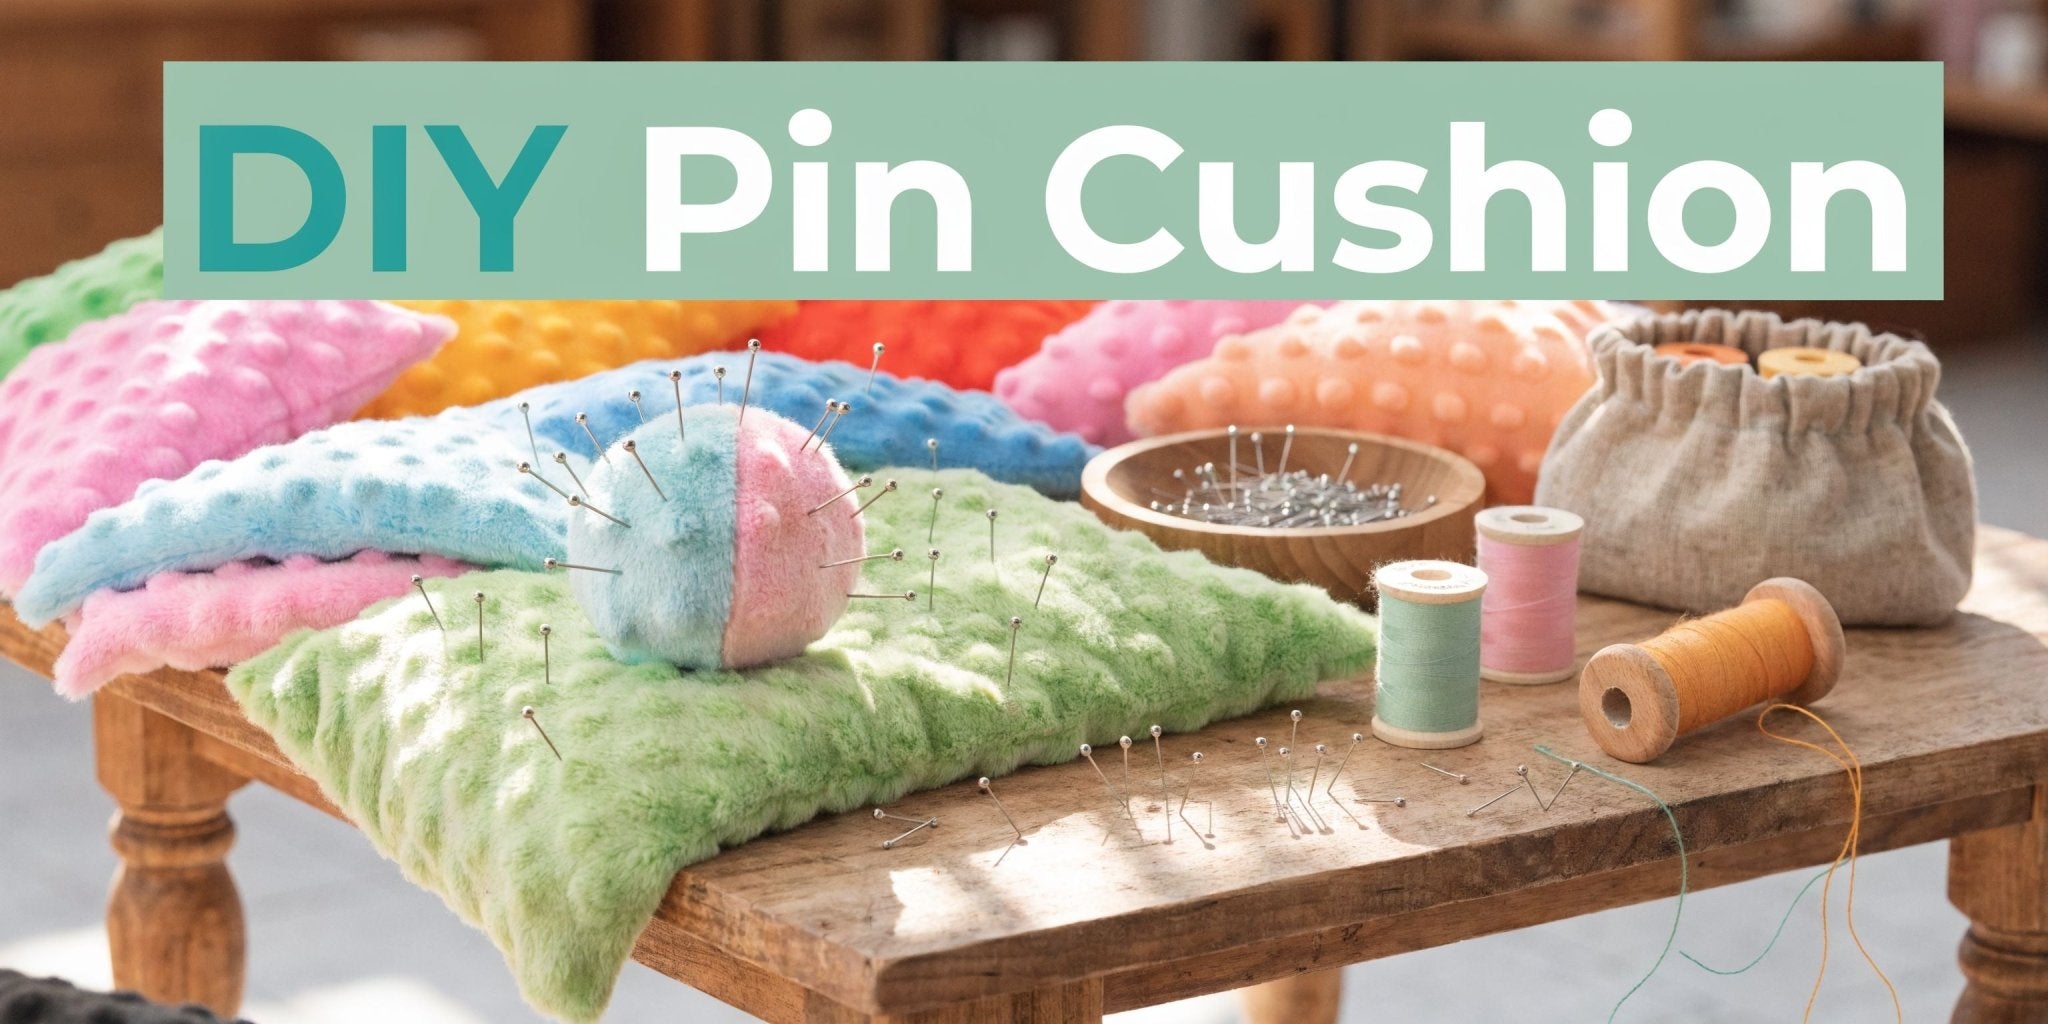
Yes. A diy pin cushion made with minky is a smart use of small plush scraps, and it solves two common problems at once: you get a soft, polished tool for daily sewing, and you don’t have to relegate your best leftovers to the scrap bin. For sewists who already love Cuddle and Luxe Cuddle, this is one of the easiest ways to turn fabric into something useful.
A lot of pin cushion tutorials stick to quilting cotton. That leaves a real gap for minky users, especially when the question is practical, not decorative: will plush fabric hold pins well, and will it still look good after repeated use? In practice, minky works beautifully for this project.
Why Should You Make a DIY Pin Cushion with Minky?
The best reason is simple. Minky turns a basic sewing tool into something you’ll enjoy reaching for every day.
It also puts awkward scraps to work. Small cuts that are too nice to toss, but too small for a blanket or pillow front, are often perfect for a diy pin cushion.
Most tutorials focus on quilting cotton and barely address plush fabrics, which is why many sewists still hesitate to try minky. That gap is real, and it’s one reason the fabric still feels underused for this project, even though it performs well in practice, as noted in this discussion of what Cuddle minky fabric is and why sewists use it.
What makes minky different from cotton?
Cotton gives you structure right away. Minky gives you a softer hand, a more forgiving exterior, and a more refined finish.
For a pin cushion, that matters in a few ways:
- It feels better in use because the surface is soft instead of crisp.
- It upgrades scrap sewing so the finished piece looks intentional, not like an afterthought.
- It suits gift making because even a very simple shape can look polished in plush texture.
What works well, and what doesn’t?
Smooth or lightly textured minky is easier to shape than very lofty or heavily directional pile. If you’re new to sewing plush fabrics, start with a basic round or softly squared form rather than anything with tight corners.
Minky isn’t harder for a pin cushion. It just asks for a slower hand when you cut, baste, and stuff.
That trade-off is worth it. You get a tool that feels less utilitarian and more personal, especially if your sewing room already includes plush blankets, baby gifts, or Cuddle-backed quilts.
What Supplies Do You Need for a Minky Pin Cushion?
A good diy pin cushion doesn’t require much, but every supply affects how the final piece feels in your hand. With minky, the difference between “cute but floppy” and “sturdy enough to use every day” usually comes down to the fill, the base, and how cleanly the fabric is controlled while sewing.

Core supplies to gather
- Minky fabric scraps. Small pieces of Shannon-style plush fabric are enough for a round, square, or tomato-style cushion. Hide, Fawn, and Snowy Owl all create a distinct look.
- Polyester fiberfill. This gives the cushion body and softness.
- Strong hand-sewing thread. You want something reliable for closing the opening and any tufting.
- Pins or clips. Clips can be easier on plush edges before sewing.
- Cardboard disc. For soft fabrics, a 3-inch cardboard disc placed in the base creates a 25% firmer base than fiberfill alone, which helps prevent wobble according to this cardboard-base pincushion method.
- Scissors or rotary cutter. Use what gives you the cleanest control.
- Needle for hand finishing. A sharp hand needle matters when you’re closing through plush layers.
If you’re unsure what thread pairs best with soft fabric projects, this guide to best quilting thread choices is useful before you start.
Choosing Your Pin Cushion Filling
| Filling Type | Key Benefit | Best For |
|---|---|---|
| Polyester fiberfill | Soft, easy to shape, widely used for simple pincushions | Beginners and lightweight everyday use |
| Emery filling | Helps sharpen pins with use | Sewists who want a functional tool effect |
| Sand or sawdust | Traditional feel and weight | Vintage-style projects |
| Blend of fiberfill and a denser fill | Balances softness and stability | Makers who want a cushion that feels plush but grounded |
Small extras that improve the result
Some of the most helpful additions aren’t glamorous:
- A fabric marker for tracing circles or petals
- Perle cotton and buttons if you want tufted sections
- A scrap of coordinating fabric for the underside if you want less pile on the base
Practical rule: If the fabric is very plush, stabilize the shape before you worry about decorating it.
That one choice keeps the project useful, not just pretty.
How Do You Cut and Sew Your Minky Fabric?
A small pin cushion is one of the best places to learn how minky behaves. You get the same plush hand and forgiving surface you want, but on a project small enough to control. Done well, minky makes a pin cushion that feels soft in the hand and does not show pin holes the way many woven cottons can after repeated use.

How should you cut minky for a pin cushion?
Cut with the backing side facing up if you are using a rotary cutter. That gives you a cleaner line and keeps the pile from shifting as much. For scissors, make long cuts instead of short snips. Short snips tend to rough up the edge, and minky sheds enough on its own.
Simple shapes give the best result here. A circle is the easiest to turn and stuff evenly. A soft square works too, especially if you want a more modern look, but keep the corners rounded slightly so they fill out instead of collapsing.
For size, cut larger than your intended finished cushion. Minky has loft, and that loft takes up space inside the seam. If I want a small palm-sized cushion, I usually start with a circle around 4 1/2 to 5 inches. OPN quilting fabric cuts are especially handy for this because the fabric is already coordinated, manageable in scale, and large enough for several pin cushions from one cut without wrestling a full yard on the table.
What helps minky sew neatly?
Pins alone are rarely enough with plush fabric. Use clips where you can, then add a few pins inside the seam allowance if the layers still creep. Minky likes to shift against itself, so control matters more than speed.
A walking foot helps. A slightly longer stitch length often helps too, since very tiny stitches can sink into the pile and make the seam harder to read. Sew slowly around curves and stop once or twice with the needle down to smooth the top layer before continuing.
Stay-stitching can be useful on a curved shape, especially if your minky is very stretchy or thick. It is not required for every pin cushion, but it does make circles easier to keep round. The classic pincushion tutorial also recommends a simple, controlled construction approach that suits small sewn forms well.
A sewing order that works
Use a sequence that keeps the fabric from getting ahead of you:
- Trace and cut two matching shapes with the nap running the same direction.
- Clip the layers together before sewing so the pile does not slide.
- Sew with a 1/4-inch seam allowance and leave an opening for turning.
- Trim any bulky spots lightly if needed, especially on tighter curves.
- Turn the piece right side out and push out the edges gently with your fingers.
One detail matters with minky. Match the nap direction on both pieces before you sew. If one piece runs up and the other runs down, the finished cushion can look slightly off even when the seam is accurate.
How do you keep the shape smooth?
Check the sewn shell before you add filling. If one side looks flatter or a curve dips inward, resew that area now. Minky hides small seam wobbles until the piece is stuffed, then those uneven spots show up fast.
Do not over-handle the turned piece. Finger-press the seam into shape instead of ironing directly on the plush surface. If you need more confidence before starting, the handling tips in this guide on how to sew a minky baby blanket translate well to small projects like pin cushions.
Here’s a quick visual reference before you stitch your final seam:
What Are the Best Filling and Finishing Techniques?
A pin cushion can be sewn neatly and still disappoint at the table. If the filling shifts, the top gets hollow, the sides slump, and pins stop going in cleanly. Minky raises the stakes a little because the outside feels so good that the inside has to match it.

Which filling gives the best daily use?
For a soft, giftable cushion, polyester fiberfill is the easiest option. It is light, easy to shape, and simple to adjust if one side needs more support. I use it when I want a plush finish and a project that newer sewists can complete without fuss.
For a workhorse cushion, add weight. Crushed walnut shells and emery both create a firmer pinning surface than fiberfill alone. Emery also helps clean oxidation from pins and needles through repeated use, which is why many traditional pin cushions include it, as explained by Clover in its guide to pin cushion filling materials and emery powder.
The trade-off is texture and cost. A full minky cushion stuffed only with emery can feel dense and harder than some sewists expect. My favorite balance is a small core of emery or walnut shells wrapped in fiberfill. You get weight and function without losing the soft hand that makes minky worth using in the first place.
How do you avoid a lumpy or deflated cushion?
Pack the outer edges first. Then fill the center.
That order matters with minky because the plush surface can hide low spots until the cushion is in use. Small pinches of filling give better control than big handfuls. Rotate the cushion as you stuff so both sides stay even, and test it with a few pins before closing the opening. Pins should slide in with gentle resistance, not sink through a hollow center.
If you are working from printed plush cuts or want a more precise shape for a themed cushion, the layout tips in this guide on cutting and sewing fabric panels help you keep the filling balanced with the design centered.
Finishing details that make it look polished
A clean finish makes minky look intentional instead of puffy. The fabric already has loft and shine, so the best finishing choices are the quiet ones.
- Ladder stitch the opening closed. Catch only the folded seam edges so the stitches disappear into the pile.
- Add a firm base if needed. A circle of felt or a small insert of template plastic helps very soft minky sit flat on the table.
- Use tufting only when the shape supports it. A round or pumpkin-style cushion handles center tufting well. A small square often looks better left smooth.
- Brush the seam lightly with your fingers. Pull the fibers away from the stitching line before the final close so the shape reads full and neat.
On Pins & Needles Quilting Co. minky cuts are especially good for this project because the scale is manageable and the quality stays consistent from piece to piece. That makes it much easier to get a pin cushion that feels plush in the hand but still works like a tool.
How Can You Customize Your DIY Pin Cushion?
Once the basic diy pin cushion is finished, it’s easy to start seeing variations everywhere. One fabric choice gives it a nursery feel. Another turns it into a sewing-table accent. A small shape tweak can make the same project better for machine piecing, hand sewing, or gifting.

Tomato, but make it plush
The classic tomato pin cushion still has charm. It also carries a bit of history. The tomato form has roots in medieval folklore, when placing a tomato on the mantel was believed to bring prosperity and ward off evil spirits, and fabric versions stuffed with sand or sawdust took over when real tomatoes weren’t available, according to this historical pin cushion overview.
In minky, that shape becomes softer and more playful. A rich red plush paired with a green felt-style top keeps the reference clear without feeling old-fashioned.
Wrist style for active sewing days
If you pin at the machine or move between cutting table and ironing board, a wrist version is practical. Use a flatter shape and secure it to a band that feels comfortable, not bulky.
This is one of those versions where smooth plush works better than very deep pile. You want comfort, but you also want control.
Sachet version for gift sewing
A giftable variation pairs standard stuffing with a light fragrance addition. Keep it subtle so the cushion still functions first.
This type is especially good for small holiday gifts, retreat swaps, or sewing-basket fillers. If you like novelty shapes, panel sewing ideas can be surprisingly useful inspiration, and cut and sew fabric panels often spark good themed shapes and layout ideas.
Decorative cushion in luxe texture
Premium minky excels for decorative cushions with a luxe texture. A simple round cushion in Snowy Owl, Fawn, or Hide looks finished even before you add tufting or trim.
Plush texture changes the mood of the project more than the shape does.
That’s why a plain circle in luxe fabric can outshine a complicated novelty form in a flatter textile.
What Is the Easiest Way to Start Your Minky Project?
Start small. Pick one scrap, one simple shape, and one filling you already know how to handle.
A round diy pin cushion is ideal because it lets the fabric do the work. You don’t need intricate piecing or advanced shaping to end up with something attractive and useful.
If you’re unsure which plush texture you want on your sewing table, order a few swatches first. This minky fabric swatch sample option makes it easier to compare pile, feel, and color before committing to larger cuts.
Good materials matter, but confidence matters too. Once you make one, you’ll start looking at every leftover piece of minky as potential sewing-room equipment instead of scrap.
Ready to make your own diy pin cushion with premium plush fabric? Browse On Pins & Needles Quilting Co. for luxe minky textures, sample swatches, and project-ready cuts. Shoppers can also take advantage of a 15% first-order discount and free U.S. shipping on orders over $70. Backed by hundreds of verified reviews, it’s a trusted place to start. Get 15% Off Your First Order