
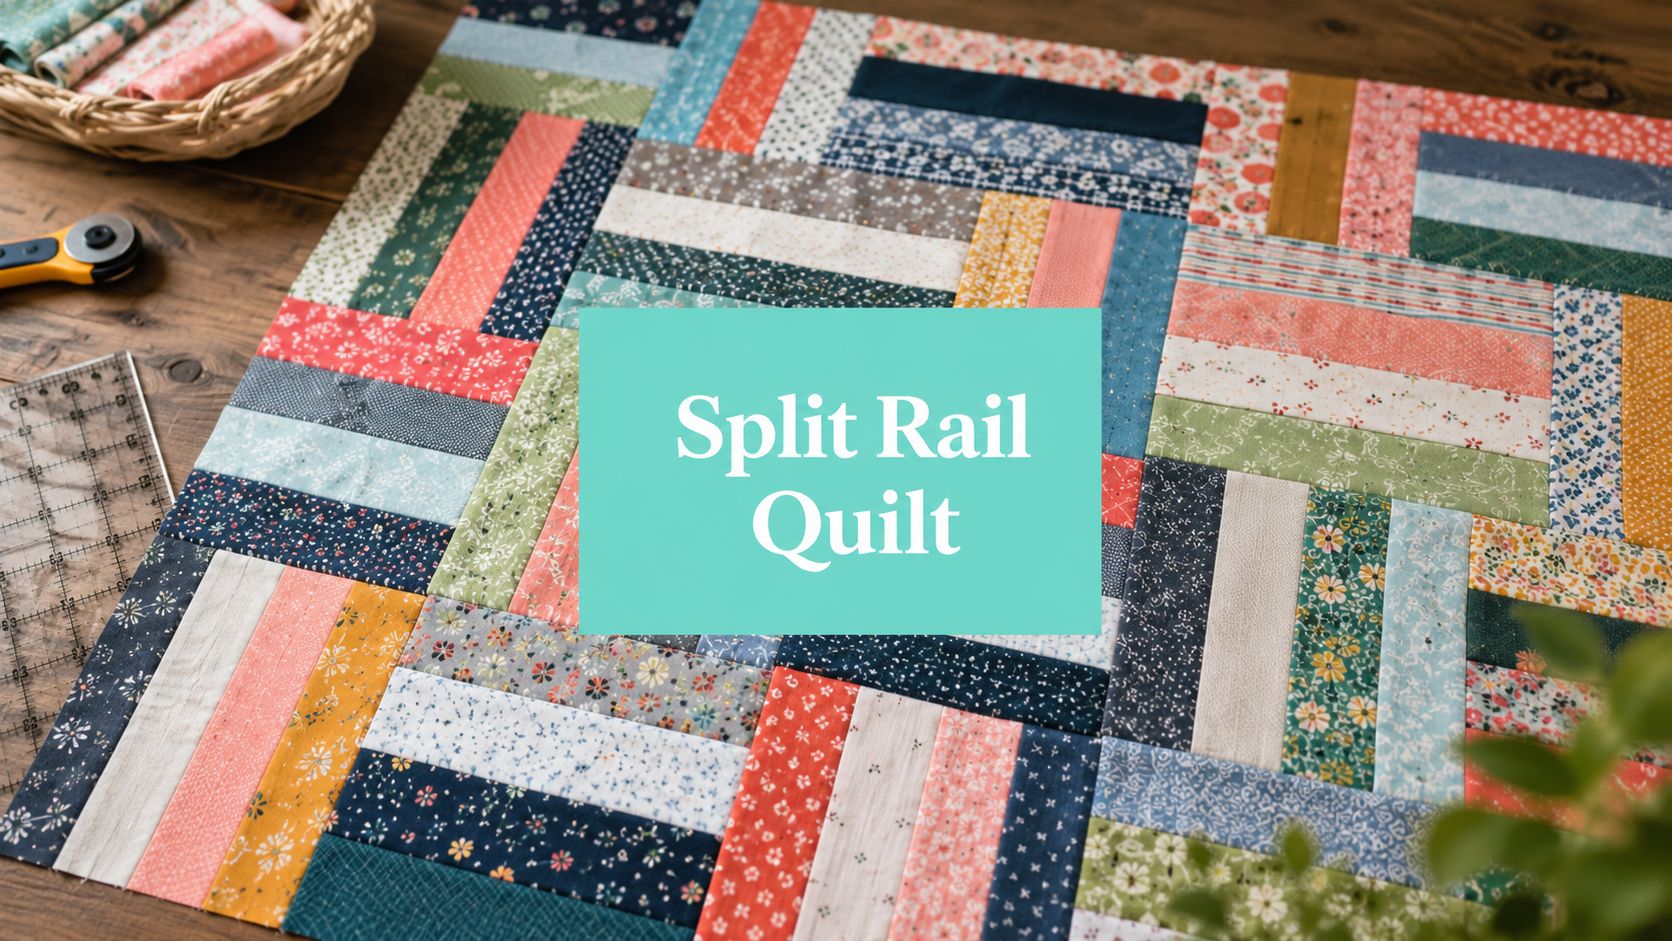
This free split rail quilt pattern is a fast, beginner-friendly project perfect for using fabric strips. You create a striking quilt by sewing three fabric strips together, cutting the strip set into 6.5-inch segments, and rotating the blocks to form the classic zigzag design.
You might be staring at a stack of strips right now, wanting a quilt that looks polished without turning into a week-long math problem. That's exactly where split rail shines. It's simple, forgiving, and visually strong, especially when you want a full project plan instead of a vague free pattern with missing yardage.
Your Guide to a Fast and Free Split Rail Quilt
Yes, a split rail quilt pattern free option can absolutely be worth making. The method is efficient, beginner-friendly, and built from one of quilting's most practical strip-pieced layouts.
The split rail look comes from the older Rail Fence block, a design with roots in the mid-19th century American Midwest. The first documented patterns appeared in the 1870s, and historical records summarized in this Rail Fence block history note that Rail Fence was one of the most common U.S. quilt-top designs between 1850 and 1900, appearing in approximately 12% of recorded quilt tops from that era.

That long history explains why the pattern still works so well now. It was built for narrow strips, efficient cutting, and strong contrast. Those same qualities make it a favorite when you want a weekend top, a donation quilt, a baby quilt, or a stash project that doesn't look like a compromise.
Why does split rail work so well for beginners
A lot of free patterns look easy until the cutting starts. Split rail is different because the design does most of the visual work for you.
- Three-strip construction keeps piecing straightforward.
- Repeated units help you settle into a rhythm quickly.
- Block rotation creates movement without needing tricky angles.
- Flexible fabric choices let solids, blenders, florals, and juvenile prints all behave nicely.
Practical rule: Choose a dark, a medium, and a light value. Strong value contrast matters more here than fancy prints.
The version here is meant to be complete. You're not just getting the idea of a free split rail quilt. You're getting cutting guidance, yardage planning, assembly help, and finishing options that make sense if you want a cotton front and a softer backing.
For inspiration on texture and backing choices, browsing premium minky and quilt backing options before you cut can help you decide whether you're making a crisp traditional quilt or a softer, cuddle-style finish.
What makes this guide more useful than most free patterns
Many free tutorials stop right after “sew three strips together.” That's where avoidable mistakes start.
This guide focuses on what trips quilters up:
- Not enough fabric because rotated layouts can create more waste
- Blocks cut from bowed strip sets
- Seam bulk where rows join
- Backing decisions made too late
- Finishing confusion when you want to skip traditional binding
Those are the spots that determine whether the quilt feels easy or irritating.
How Do I Calculate Fabric and Yardage
Fabric planning decides whether this project feels calm or frustrating. Split rail quilts are fast to sew, but they can waste more fabric than beginners expect because strip sets need to be squared up and rotated blocks can leave you short if you shop too tightly.
I plan yardage from the block backward. For the version in this guide, each block finishes at 6 inches, so the math stays clean once you know your quilt size. If you want help checking the numbers before you buy, this quilt fabric yardage guide walks through the same process in more detail.
Split Rail Quilt Fabric Requirements
Use this chart as a shopping plan, then add a little extra if your fabric has a large print, a directional design, or noticeable shrinkage after prewashing.
| Quilt Size (Approx.) | Fabric A/B/C (Each) | Standard Backing (42") | Minky Backing (60") | Extra-Wide Backing (90"+) |
|---|---|---|---|---|
| Baby | Light yardage | Piece backing likely needed | Usually simpler than 42" cotton | Often more than enough |
| Throw | Moderate yardage | Usually pieced backing | Often a practical one-piece choice | Generous coverage |
| Queen | Higher yardage with extra cutting allowance | Piecing almost always required | Width may still require planning | Best choice for fewer seams |
Most free split rail patterns stop before this part gets specific enough to shop with confidence. A complete project plan needs top yardage, backing width, and enough margin for trimming and quilting.
How should you read the chart
Start with the quilt top.
Count how many finished 6-inch blocks you need across and down, then multiply for the total block count. From there, estimate how many 6.5-inch cut segments you need from your strip sets and how many full-width strips each fabric must provide. This approach is more reliable than buying a flat amount of “light, medium, and dark” and hoping it works out.
Then calculate backing separately. Backing fabric is chosen by width first and yardage second, especially if you want a plush back. A throw quilt that is easy to back in wide minky may still require piecing in standard quilting cotton.
Buy for the whole project, not just the quilt top.
That one habit prevents a lot of mid-project disappointment.
Which backing option solves the most problems
Your backing choice affects cost, prep time, and finishing method, so decide early.
| Backing Type | What works | What doesn't |
|---|---|---|
| 42" cotton | Easy to find, traditional look | More seams, more layout planning |
| 60" minky | Soft finish, good for smaller quilts | May still need piecing on larger tops |
| 90"+ extra-wide backing | Fewer seams, cleaner finish, easier prep | Requires planning around nap and direction |
For baby and throw quilts, 60-inch minky is often the easiest way to get a soft back without adding a center seam. For larger quilts, extra width saves prep time and gives you more room for longarm loading and trimming. Quilters who want that plush finish often compare color and texture options in Luxe Cuddle fabrics before they cut the top, so the whole project feels coordinated instead of pieced together at the last minute.
What Is the Best Way to Cut My Fabric Strips
A split rail quilt gets its clean, stair-step look from accurate cutting. If the strip sets are off by even a little, the blocks fight you all the way through assembly.

What size should the strip set be
For this version of the pattern, cut 2.5-inch strips and sew three strips together into one strip set. That strip set should measure 6.5 inches unfinished before you subcut it into 6.5-inch segments. Each unit becomes a 6-inch finished block once it is sewn into the quilt top, which matches the construction used in this free rail fence pattern reference.
That measurement matters more than speed. A strip set that comes out too narrow usually means a scant quarter-inch seam turned into a generous one. A strip set that waves or bows usually points to pressing trouble.
A cutting method that stays accurate
I get the best results by treating cutting as two separate jobs. First, make clean strip sets. Then subcut only after the pieced units are flat, measured, and squared on one end.
Use this order:
- Cut 2.5-inch strips from each fabric.
- Sew three strips together in your planned light, medium, dark order.
- Press the seams carefully, usually toward the darker fabric if one print is likely to shadow through.
- Measure the full strip-set width before cutting segments.
- Square one edge so every subcut starts from a true line.
- Subcut into 6.5-inch units with a fresh blade and steady ruler pressure.
- Stack units in the same direction so you do not accidentally rotate one during layout.
A dull blade can drag the fabric just enough to throw off repeated cuts. If yours is skipping threads or nudging the ruler, this guide to choosing the best rotary cutter for quilt strip cutting will help.
What usually causes trouble
The biggest mistake is subcutting before checking the strip set. Quilters do this when they are batch sewing and want momentum, but this pattern rewards accuracy first. If the unit is not flat and true, every segment carries that error forward.
The other common problem is stretch. Long strips can shift while sewing, especially with softer modern quilting cottons or looser weaves. Pin the strip ends if needed, and let the feed dogs do the work instead of pulling from the back.
If the strip set has a slight curve, press it again and trim a clean starting edge before you cut a single segment.
Color order deserves attention too. Split rail is simple to sew, but the layout only looks sharp when the value placement stays consistent. I keep every cut unit with the darkest strip on the same side of the stack. That one habit saves a surprising amount of seam ripping.
What works better than speed cutting
The safest way to batch cut is to line up your ruler with the seam lines inside the strip set, not only with the raw edge. Raw edges can wobble a bit. Seams tell you whether the pieced unit is straight.
That is one reason many free patterns feel incomplete. They tell you the strip width, but not how to keep twenty or forty units looking the same by the time you reach the last stack. This guide is meant to be the full project plan, so take the extra minute to measure, square, and cut in one consistent direction. Your blocks will fit together with far less trimming later.
How Do I Assemble My Split Rail Quilt Top
The split rail effect comes from block rotation. The pattern is mechanically defined by arranging strip-pieced blocks in alternating orientations to create a zigzag visual, and this split rail demonstration explains that you need to rotate blocks 90 degrees consistently to keep that look intact.

How should the blocks be arranged
Start with one block placed horizontally. Rotate the next one 90 degrees. Keep alternating across the row.
On the next row, begin with the opposite orientation. That simple switch creates the staggered rail effect that gives the quilt movement.
A reliable assembly rhythm looks like this:
- Row A starts with one orientation and alternates across.
- Row B starts with the rotated orientation and alternates across.
- Repeat those two row types until the quilt reaches your planned size.
How do you keep the zigzag crisp
Here at OPN, we know the thrill of seeing a pattern come to life once the rows begin to lock together. The cleanest result comes from pressing adjacent rows in opposite directions so the seams nest rather than stack.
If your rows won't line up, square the top before adding anything else. A practical guide like how to square a quilt top can help fix small drift before quilting makes it permanent.
Pin at every seam intersection in the first block of each row. That tiny bit of discipline keeps the whole row from walking off line.
What if the layout looks busy
Step back before sewing the rows together.
If your fabrics are all medium value, the pattern can flatten out. Split rail depends on directional contrast, so if the zigzag is hard to see, swap in a stronger light or dark before you stitch the rows permanently.
Good news: If the blocks are cut accurately, layout is the easy part.
Save on your project materials: first-time shoppers can use a 15% first-order coupon, and orders over $70 qualify for free shipping. That's especially useful if you're adding backing and binding in one cart.
For quilters who like a ready-to-browse backing option while planning row layouts, 90-inch wide cuddle fabrics and 110-inch extra-wide backing choices are practical categories to compare.
Should I Use Minky for My Quilt Back
Yes, if you want the quilt to feel softer, fuller, and more gift-worthy. The Rail Fence family is highly versatile, and this Rail Fence pattern overview notes that designers can adapt the basic folk pattern into modern, juvenile, or nature-themed quilts, all of which pair beautifully with soft, luxurious minky fabrics.

When is minky the better choice
Cotton backing gives you a classic quilt feel. Minky changes the project into something warmer and more tactile.
That's especially appealing for:
- Baby quilts where softness matters immediately
- Couch throws meant for actual use, not just display
- Nature or juvenile prints that benefit from a plush finish
- Gift quilts where the backing becomes part of the wow factor
If you're weighing options, this quilt backing guide helps sort through width, drape, and seam decisions.
What works best in minky textures
Texture changes the personality of the finished quilt. That's why specific Shannon Fabrics textures are worth considering instead of just picking “gray minky.”
| Texture | Best for | Look and feel |
|---|---|---|
| Hide | Rustic, outdoorsy, masculine quilts | Dimensional and rich |
| Snowy Owl | Winter, nursery, soft neutral palettes | Plush and lofty |
| Fawn | Baby and gentle nature themes | Smooth, cozy, understated |
If you already know you want softness, Shannon Luxe Cuddle Hide, Snowy Owl Luxe Cuddle, and Fawn Luxe Cuddle are useful places to compare textures rather than guessing from generic fabric names.
What doesn't work so well
The usual complaint about minky isn't the feel. It's the prep.
A narrow backing can force seams where you don't want them, and pieced plush backs can feel bulky if the quilt is large. That's why extra-wide backing is often the smarter path. It solves a practical problem first, then adds softness.
Stop struggling with bulky seams in your quilt backs. A wider minky backing gives you a cleaner, more smooth finish and keeps the attention on the split rail top.
How Do I Finish and Quilt My Masterpiece
Finishing comes down to one decision. Do you want a fully DIY finish, or do you want the quilt professionally quilted after you've done the piecing?
Which finishing path fits your quilt
Here's the simple comparison:
| Finish Option | Best for | Trade-off |
|---|---|---|
| Traditional binding | Classic cotton quilts | More steps at the end |
| Turn-and-topstitch edge | Minky-backed quilts and modern styles | Less traditional look |
| Mail-in longarm quilting | Piecers who want a polished finish | You hand off the quilting stage |
If your seams have been nested well, the quilting stage goes more smoothly. As noted earlier from the Treasurie reference, nesting seams reduces bulk and improves alignment accuracy by 25%, which is exactly the kind of flatness professional longarm quilting benefits from.
How do you finish it yourself
For a traditional finish, quilt the sandwich, trim carefully, then add binding the way you usually would.
For a minky-backed quilt, many quilters prefer a cleaner edge treatment:
- Layer the quilt top and backing with batting if desired.
- Stitch around the perimeter and leave the turning gap.
- Turn right side out and smooth the corners.
- Topstitch near the edge for a neat, modern finish.
If you want a refresher on edge choices, this quilt edge finishing guide lays out the pros and cons clearly.
When should you hand it off
Some quilters love piecing and dislike quilting the final sandwich. That's common, especially with larger tops or plush backings.
A mail-in longarm service is the cleanest answer when you want even stitching, a flatter result, and less wrestling under a domestic machine. It's also a smart choice if your split rail top came together beautifully and you don't want uneven home quilting to distract from it.
Hundreds of verified reviews matter here because finishing is the stage where trust counts. You're sending off a top you've already invested time in, so consistency matters as much as softness.
If your split rail quilt pattern free project is pieced and ready for the final step, On Pins & Needles Quilting Co. is a practical next stop. Browse premium backing fabrics, compare extra-wide minky options, or skip the hassle and book your Mail-in Longarm Service today. You'll also find a 15% first-order discount and free U.S. shipping on orders over $70. Book Your Longarm Service Today