
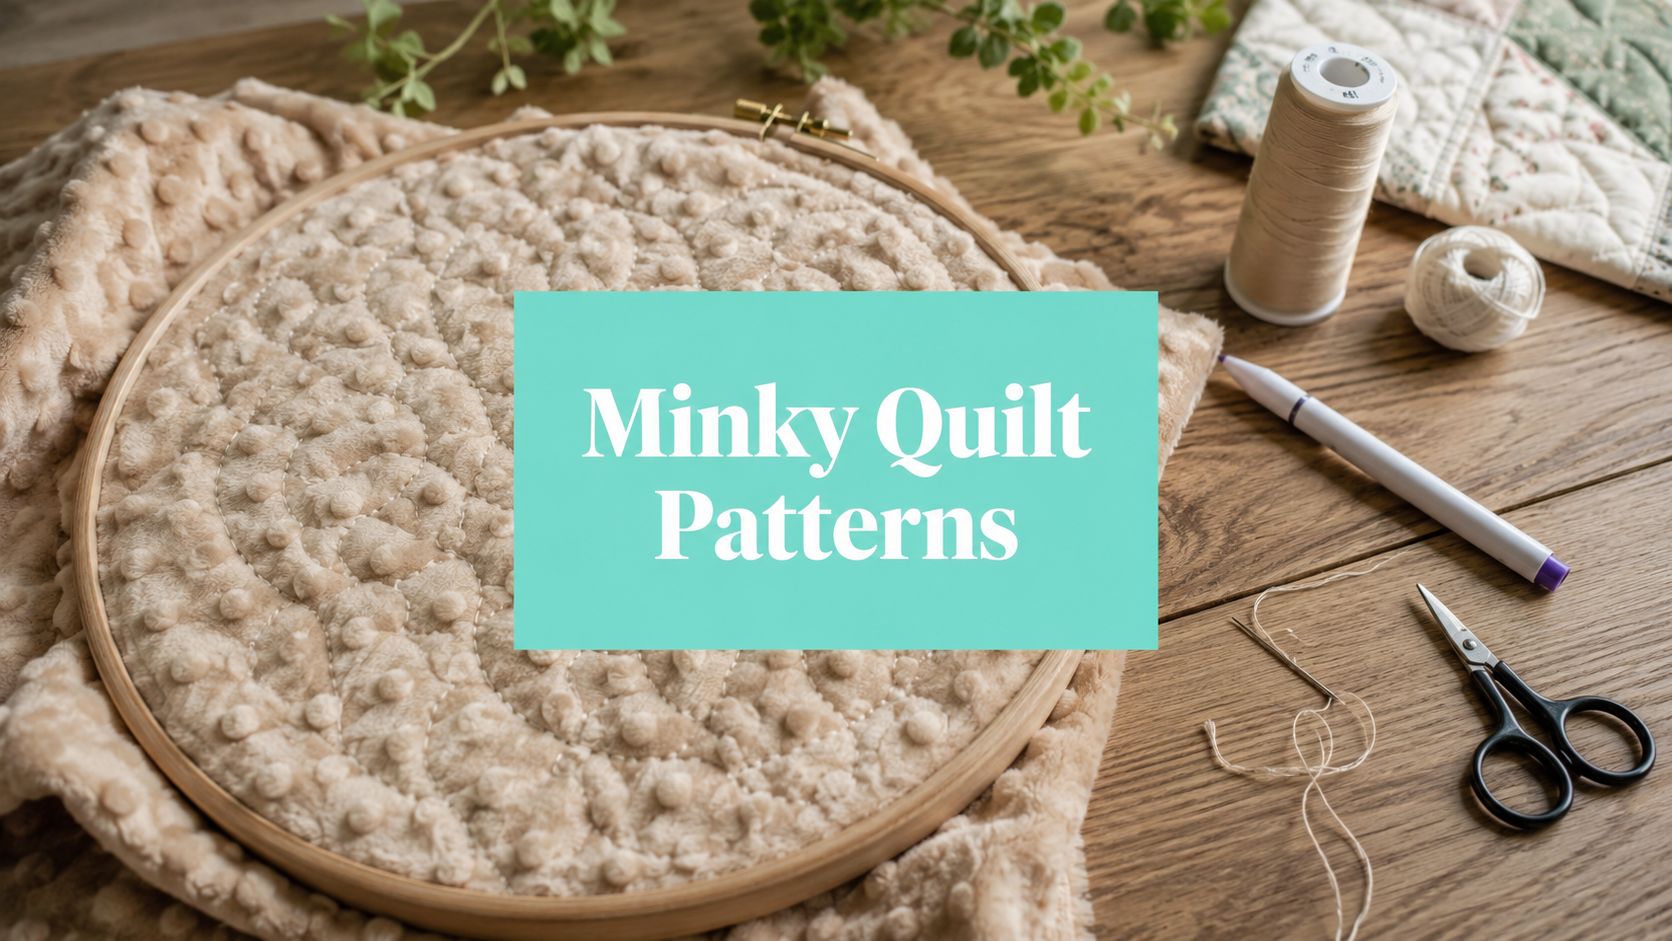
Hand quilting patterns can absolutely work on minky projects when you simplify the motif, stabilize the layers well, and adjust your marking and stitch approach for stretch and pile. If you're staring at a soft quilt top right now and wondering whether hand quilting will ruin that plush surface, the answer is no. You just need a different game plan than you'd use on cotton.
If you're choosing a header image for this post, use an OPN product image such as Shannon Luxe Cuddle Hide with alt text like Close-up of Shannon Luxe Cuddle Hide texture used in a minky quilt project.
URL Slug: hand-quilting-patterns-minky
Meta Description: Hand quilting patterns made simple for minky projects. Learn motif choices, transfer tips, and when to use longarm help. Get 15% off first order.
Understanding the Key Concepts of Hand Quilting Patterns
Hand quilting patterns make more sense when you stop thinking of them as decoration first and structure second. A quilt holds together because stitches pass through the top, batting, and backing in a deliberate path. That path becomes both the design you see and the support system you feel.
The practice itself has deep roots. The foundational practice of hand quilting, which creates the patterns visible in finished textiles, dates back to approximately 3400 BCE, making it one of the oldest known textile techniques in human history, as noted in this history of quilting overview.

What makes a pattern work
A good hand quilting pattern does three jobs at once.
- It guides the eye: Repeated lines create rhythm, whether you use straight channels, curves, or a floral motif.
- It controls the layers: Stitch paths keep the batting from shifting and help the backing stay smooth.
- It shapes texture: Dense areas feel flatter and more structured, while open areas stay loftier and softer.
That last point matters a lot on plush fabrics. On cotton, a dense motif often reads as crisp detail. On minky, the same motif can sink into the pile and disappear unless you scale it up.
Why placement matters so much
Beginners often focus on the motif itself and ignore where it starts, stops, and repeats. That's where quilts start to feel awkward. A beautiful curve can still look off if it crowds one block and leaves another empty.
Use these placement checks before you stitch:
- Check the focal area first: Decide what should stand out most. A center panel, star block, or border each asks for a different quilting rhythm.
- Watch spacing across seams: If the motif crosses pieced sections, make sure it won't bunch at bulky joins.
- Repeat with intention: Consistent spacing gives even busy patterns a calm look.
Practical rule: The pattern should support the patchwork, not fight it.
If you're still building your basics, this beginner guide to quilting by hand is a useful companion for understanding how stitches travel through the quilt sandwich.
How layers affect the final look
Every hand quilting pattern behaves differently depending on the materials under it. A low-loft batting shows linework clearly. A plush backing softens it. A slippery backing asks for more control from your hands.
That's why experienced quilters don't choose a motif in isolation. They match the pattern to the quilt's purpose, the loft they want, and the fabric behavior. Hand quilting patterns have lasted for centuries because they solve practical problems while creating beauty at the same time.
The best pattern is the one that still looks balanced after the quilt is washed, used, folded, and loved.
Exploring Popular Hand Quilting Motifs
If pattern names have ever felt confusing, you're not alone. Many quilters can recognize a style before they can name it. Learning the common motif families makes it much easier to choose a design that fits your quilt.
A broad record of those motif traditions exists in the Quilt Index archive, which contains over 55,000 verified entries of hand-quilted patterns and their contexts from the 17th century to today. That gives us a useful reminder. Motifs aren't random trends. They're part of a long visual language.
Which motifs do quilters use most often
Some motifs read clearly even from across the room. Others reward close viewing.
| Motif | How it looks | Best fit |
|---|---|---|
| Feathers | Curved plumes branching from a spine | Traditional quilts, floral settings, elegant borders |
| Meander | Wandering continuous line | Casual quilts, utility quilts, relaxed modern looks |
| Stipple | Dense small curves and fillers | Background texture, filler spaces, high-contrast tops |
| Crosshatch | Intersecting straight lines | Classic piecing, tailored quilts, geometric layouts |
| Clamshells | Repeated overlapping arcs | Vintage-inspired quilts, baby quilts, soft curved designs |
| Straight-line grids | Parallel or boxed lines | Modern quilts, graphic piecing, easy marking |
How to match motif to quilt style
A floral quilt usually welcomes curves. Feathers, vines, and soft loops echo petals and leaves nicely. A bold geometric top often looks stronger with straight channels, crosshatch, or evenly spaced echo lines.
Juvenile quilts benefit from patterns that feel open and playful. Meander, loose loops, and larger rounded shapes tend to suit plush textures well because they don't rely on tiny detail.
Nature-inspired quilts sit in the middle. You can use leaf-like curves, pebble-style fillers, or broad sweeping lines that mimic movement without becoming fussy.
A motif doesn't need to be complicated to look skilled. Clear spacing and steady repetition usually matter more than ornate shapes.
How to recognize a motif before you commit
Pattern galleries help because they train your eye. When you browse a collection like this feathers, swirls, and loops pattern gallery, notice three things:
- Line scale: Fine detail looks different on paper than it does on fabric.
- Travel path: Continuous motifs are easier to hand quilt than stop-and-start shapes.
- Background effect: Some patterns become texture more than line.
That last point trips people up. A stipple may look dramatic in a close-up, but on a finished quilt it often reads as overall texture instead of a named motif. That's not a flaw. It just means you should choose based on the visual effect you want, not only the pattern label.
How to Choose and Adapt Patterns for Minky Fabrics
Minky changes the rules. It stretches more than woven cotton, it slips while you handle it, and the pile can hide fine stitching. That's why there's a real gap in pattern advice for these fabrics. As this minky quilting discussion notes, hand-quilting pattern guidance specifically for minky and other ultra-soft fabrics is limited, even though they behave differently because of stretch, slip, and thickness.
The fix isn't to avoid hand quilting. It's to edit your pattern choices so the fabric can support them.

What kinds of motifs work best on minky
Start with motifs that have room to breathe. Broad curves, spaced channels, open crosshatch, and simple clamshells usually read better than tiny feathers or dense fillers.
Textures matter too. Shannon Fabrics textures like Hide, Snowy Owl, and Fawn each reflect light differently. A pattern with subtle curves may show beautifully on one texture and nearly disappear on another.
Choose with visibility in mind:
- Open motifs suit plush surfaces because the pile won't swallow the linework.
- Gentle curves move with the fabric and are less likely to distort.
- Simple geometry helps you keep spacing even on slippery layers.
How to adapt a cotton pattern for soft fabric
A cotton-friendly stencil often needs editing before it lands on minky. Shrink the complexity, not the style. If you love a feather, use fewer plumes. If you want crosshatch, widen the spacing.
Try this decision checklist:
- Reduce detail first: Remove tiny hooks, points, or filler shapes.
- Increase spacing: Give each stitched line enough room to show.
- Test on scraps: The same pattern can look very different once stitched into pile.
- Watch drag: If the needle resists the fabric, the motif may be too dense for comfortable hand work.
Later, if you want to photograph those texture changes clearly, a visual guide like PhotoMaxi's close-up tutorial can help you capture stitch definition and pile direction without flattening the fabric in the image.
Here's a practical visual reference before you mark your quilt:
When adaptation isn't enough
Some projects want a hand-quilted look but don't cooperate with hand-quilted complexity. Very plush backings, extra-wide backs, and large bed quilts can all make tiny motifs frustrating.
In those cases, think in terms of effect rather than purity. If an open meander gives you softness, movement, and clean quilting without fighting the fabric, that's the right choice. Minky rewards restraint. Hand quilting patterns look better on soft fabric when you simplify earlier than you think you need to.
If you have to squint to see the marked line on minky, the finished quilting line probably won't read clearly either.
Transferring Patterns to Fabric
Pattern transfer is where many minky quilts go sideways. The marking method may work fine on cotton and still fail on plush fabric because the pile blurs the line or the backing shifts while you trace. Clean transfer matters because hand stitching tends to follow whatever guide you give it, even if that guide is crooked.
One of the most useful adjustments is tighter stabilization. When transferring hand quilting patterns to fabric, diagonal and cross-hatch basting lines should be spaced 1 to 2 inches apart rather than 3 to 4 inches to create tension that prevents pleats or distortion during quilting, as shown in this pattern transfer demonstration.
Which transfer method fits minky best
Each tool leaves a different kind of line and puts different stress on the pile.
- Water-soluble marker: Good when the pile is low enough for the line to stay visible. Test first so the mark doesn't spread.
- Tailor's chalk: Helpful on some darker plush surfaces, but the line can brush away fast.
- Heat-transfer pen: Better for planned, stable surfaces than slippery plush. Use caution because you don't want a permanent line where the pile shifts.
- Tape templates: Often the safest choice for curves on minky because they avoid ink soaking into the pile.
A lot of quilters also use templates cut from sturdy material so curves stay true while they mark. That control matters more on slippery fabrics than on woven cotton.
How to keep lines crisp instead of fuzzy
Blurry transfer lines usually come from heavy pressure or a soft tool dragging across the nap. Use a single, deliberate trace instead of sketching over the same line repeatedly.
This sequence helps:
- Smooth the surface gently: Don't mash the pile flat.
- Anchor the template well: Pins around the outside or low-tack tape can help.
- Trace once with a sharp point: Repeated strokes create feathered edges.
- Baste before final marking if needed: Stabilization often improves visibility.
If you're deciding how to hold layers in place before transferring, this guide to 505 basting spray is useful for thinking through where spray basting helps and where extra physical support is still necessary.
Soft fabric doesn't forgive rushed marking. Slow transfer saves far more time than ripping out crooked quilting later.
Stitch Techniques and Essential Tools
Good hand quilting patterns rely on rhythm as much as design. If the stitch path is sound but your tools fight you, the quilting won't feel enjoyable for long. On minky especially, the right needle, thread, and hand position reduce strain and help the stitches settle into the fabric instead of tugging at it.
For stitch density, expert quilters aim for 8 to 12 stitches per inch, while 6 stitches per inch is a functional durability baseline, according to this hand quilting basics guide. That benchmark helps you judge consistency, but it shouldn't make you tense. On plush fabrics, even stitches matter more than chasing tiny ones.
Which stitch approach works best
The classic hand quilting motion is the rocking technique. You load several stitches onto the needle, then pull the thread through in one smooth movement. It keeps stitch length more uniform and reduces stop-start friction.
Three approaches matter most:
- Running stitch: The standard choice for most hand quilting patterns. Clean, efficient, and easy to read.
- Backstitch: Useful for short sections that need extra control, though it can create a heavier line.
- Rocking motion: Best when you want a steady rhythm and smoother results over larger areas.
What tools actually help
You don't need a huge kit, but a few choices make a real difference.
| Tool | Why it helps | What to watch |
|---|---|---|
| Quilting needle or between | Slides through layered fabric with control | Too short can feel awkward on thicker projects |
| Milliners needle | Some quilters like the length for rocking | Not everyone likes the flex |
| Thimble | Protects the pushing finger | Fit matters more than brand |
| Thread conditioner | Can reduce drag on plush fabrics | Use lightly |
| Hoop or frame | Adds tension and visibility | Can flatten pile if over-tightened |
| Sharp snips | Clean thread tails | Keep them dedicated to thread |
Thread choice also changes the look. A slightly more visible thread can help hand quilting patterns show up on luxe textures where subtle stitching disappears into the nap. If you're weighing options, this guide to the best quilting thread is a helpful place to compare practical thread considerations.
For quilters who sell finished pieces or teach online, presentation matters too. If you ever want to turn your process into short demo content, tools that produce AI-powered marketing videos can help organize clips and captions around close-up stitching footage.
Steady hands matter less than steady setup. When the needle, thread, and support tools suit the fabric, your stitches usually improve on their own.
Common Problems and How to Fix Them in Minky Quilting
Many quilters assume puckering means they stitched badly. On minky, that's often not true. The fabric itself creates extra resistance, and some problems start long before the first stitch. Troubleshooting works best when you treat the issue as a setup problem first and a hand-skill problem second.

Why the needle drags so much
Needle drag usually means one of three things. The needle point isn't ideal, the thread is creating friction, or the quilt sandwich is too dense in that area.
Try these fixes:
- Change the needle: A sharp quilting needle or fine-point option often passes more cleanly.
- Condition the thread lightly: Less friction means less tugging.
- Rethink dense sections: If a motif stacks too many lines together, open it up before continuing.
What causes puckers and shifting layers
Puckers often come from uneven tension across the sandwich, not from imperfect stitches. If one layer moves more than the others, your quilting line starts drawing fabric inward.
Use this quick correction list:
- Re-baste the problem area: Add more support before stitching farther.
- Check hand pressure: Pull thread snug, not hard.
- Distribute fullness: Smooth from the center outward as you work.
- Pause at seam-heavy areas: Bulk changes how the stitch forms.
How to avoid crushing the pile
Pile crushing happens when the fabric gets pressed, stretched, or held too tightly for too long. Hoops, palms, and repeated rubbing can all flatten the surface.
A lighter touch helps more than a stronger grip. If you need extra control, use support from underneath rather than pressing down hard from above.
Minky likes guidance, not force.
A fast troubleshooting table
| Problem | Likely cause | Best first fix |
|---|---|---|
| Needle drag | Friction or wrong needle | Switch needle, ease thread friction |
| Puckering | Uneven tension | Re-baste and reduce pull |
| Flattened pile | Too much pressure | Loosen handling and rest the fabric |
| Shifting layers | Not enough stabilization | Add pins, spray, or both |
The goal isn't perfect flatness while quilting. The goal is controlled stitching that respects the fabric's loft. When a problem appears, stop and adjust early. Minky usually gets worse when you try to power through.
When to Use Mail-in Longarm Services
Some quilts are perfect for slow hand work. Others ask too much of your hands, your time, or your patience. Large quilts with plush backings, repeated edge-to-edge designs, and projects that need very even coverage often make more sense with professional machine quilting.
For quilters comparing options, this mail-in longarm quilting guide with free shipping details gives a practical overview of what to expect from a send-out service.
How does DIY compare with a mail-in service
The decision usually comes down to control, texture, and labor.
| Factor | DIY Hand Quilting | Mail-in Longarm |
|---|---|---|
| Feel | Personal, tactile, softly irregular | Even, consistent, polished |
| Time | Slow and hands-on | Faster for large or urgent projects |
| Pattern style | Best for open, manageable motifs | Strong for repeated edge-to-edge designs |
| Minky handling | Can be tiring on thick plush backs | Easier when professional equipment handles the bulk |
| Learning value | High | Lower hands-on practice, higher convenience |
| Precision | Depends on stamina and marking accuracy | Better for uniform coverage across large surfaces |
Which projects usually benefit most
Mail-in longarm help makes sense when the scale or fabric pushes beyond what feels pleasant by hand.
- King or queen quilts with plush backs: Bulk changes the whole experience.
- Extra-wide backing projects: Managing soft yardage can be awkward on a home setup.
- Batch quilting: Repeated finishes can drain time you'd rather spend piecing.
- Intricate allover coverage: Even spacing is easier with longarm precision.
If the quilt is making you delay finishing it, that's a sign to consider a different quilting method.
Hand quilting patterns still matter here because they guide your design choice. Even if you don't stitch the lines yourself, knowing whether your quilt wants feathers, swirls, loops, or a geometric allover helps you choose the right finish with confidence.
Conclusion and Next Steps
Hand quilting patterns don't have to become mysterious the moment minky enters the project. If you choose open motifs, transfer with care, and stitch with the fabric's stretch and pile in mind, you can get a finish that feels soft, stable, and intentional.
You also don't need to force every quilt through the same process. Some projects invite hand stitching. Others are better served by a professional finish. The key skill is knowing which path gives your quilt the best result.
If you're shopping materials for your next plush-backed project, browse Luxe Cuddle fabrics, Shannon Cuddle options, or look for textures like Hide, Snowy Owl, and Fawn that suit the look you want. If you're planning a larger finish, keep Mail-in Longarm in mind as a practical alternative.
Special offer: New customers can get 15% off a first order, and U.S. orders over $70 qualify for free shipping.
Hundreds of verified reviews tell us quilters value reliable softness, accurate cuts, and finishing options that save time without sacrificing quality. Whether you're testing your first hand quilting patterns on soft fabric or preparing a larger quilt for a professional finish, the next step is simple. Choose a motif, test it on a scrap, and move forward with confidence.
Ready to start your next soft-fabric quilt? Visit On Pins & Needles Quilting Co. to browse premium Shannon Cuddle and Luxe Cuddle textures, explore minky-friendly supplies, or finish a larger project with mail-in quilting support. Shop the Luxe Cuddle Collection, Get 15% Off Your First Order, or Book Your Longarm Service Today.