
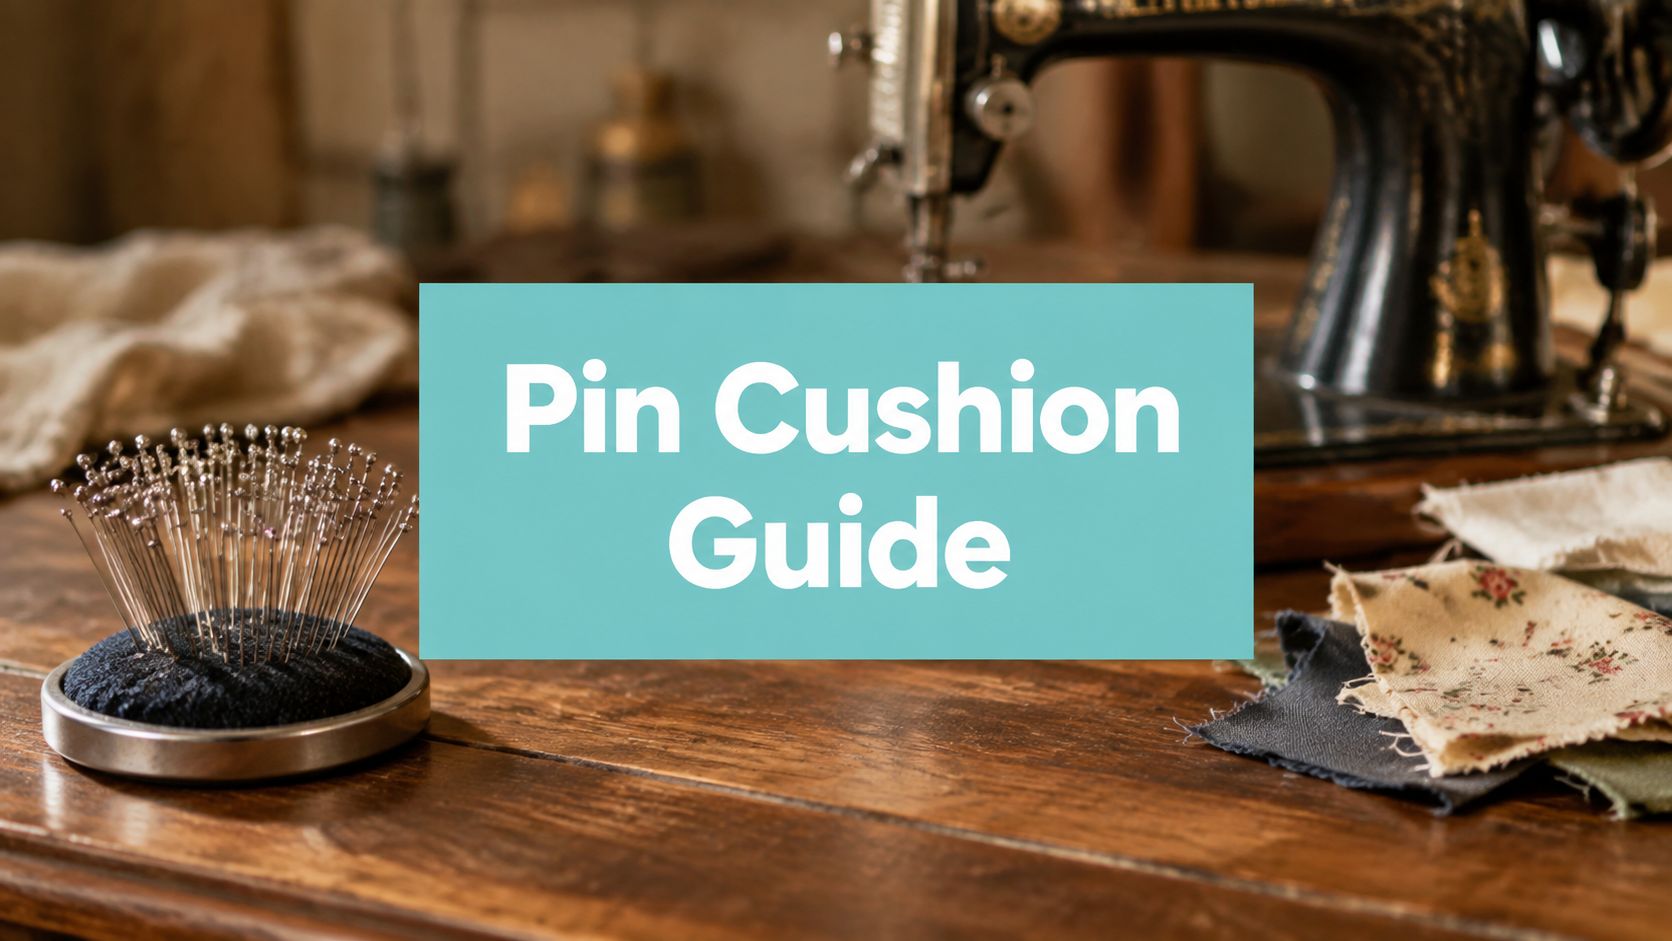
A pin slips off the table while you're sewing a minky backing, vanishes into the carpet, and suddenly a simple seam becomes a safety search. A magnetic pin cushion catches ferrous pins on its surface, keeps them visible, and makes one-handed cleanup much easier, especially when Cuddle fabric, clips, and a busy quilting table compete for your attention.
Why Every Sewing Room Needs a Magnetic Pin Cushion
A magnetic pin cushion earns its place during the moments that interrupt your rhythm. You're guiding a quarter-inch seam, reach for the next pin, and notice the previous one has disappeared beneath a fabric edge. With a traditional stuffed cushion, putting a pin away means pushing it into the filling. With a magnetic holder, you can drop or sweep the pin toward the surface and let attraction do the work.
That difference matters most when your hands are already occupied. A magnetic holder keeps pins visible at the machine, gathers loose pins from a tabletop, and reduces the need to search through stuffing with your fingers. Prym describes this surface-holding design as keeping needles ready for marking out and allowing pins to be swept up in one motion. (Prym magnetic pin cushion)
What changes at the worktable
The tool doesn't make sewing effortless, but it removes a small source of friction from repeated tasks:
- Pin staging: Keep the pins you're about to use in one visible place.
- Dropped-pin recovery: Move the cushion over a table or nearby floor area to collect compatible pins.
- Less poking: Remove a pin by lifting it from the surface instead of pulling it through dense filling.
- Better visibility: See bent, rusty, or oddly oriented pins before they return to your project.
A tidy sewing station also improves the way you move fabric, rulers, and cutting tools. For more practical ideas, see these sewing room organization ideas, then keep the magnetic cushion within arm's reach rather than at the far side of the table.
The rest of the decision comes down to fit. You'll want to understand how the magnet works, where it helps in quilting, why it isn't ideal for every needle, how to use it safely, and whether buying or making one suits your workspace better.
What a Magnetic Pin Cushion Actually Is and How It Works
Pincushions have a long history. The broader pincushion tradition reaches back at least to the Middle Ages in Europe, became especially common in homes during the 16th and 17th centuries, and grew into a practical household necessity by the mid-1800s as mass-produced pins became less expensive and pin storage became more widespread. The familiar tomato shape became popular in the 19th century, showing how a useful sewing object could also become decorative. (History of the pincushion)
A traditional cushion holds a pin because the point penetrates fabric, wool, sawdust, or another filling. A magnetic pin cushion uses surface attraction instead. Think of a refrigerator magnet that grabs a steel note or clip, except the base is shaped for sewing and the magnet is strong enough to hold a group of pins.
Modern industrial descriptions commonly refer to a molded polymer base with embedded neodymium magnets. Other designs use ceramic magnets, while the outside may be a metal-topped dome, a plastic dish, or a flat disc enclosed in a fabric pouch.

The two formats you'll see most often
A domed metal-topped cushion is usually ready to use and shaped to help pins settle toward the middle. It works well beside a sewing machine because you can reach over, drop a pin, and keep moving.
A flat magnetic disc sits inside a fabric pouch or under a cover-button housing. This format is attractive for a DIY project and can be built into a small dish, wrist accessory, or compact organizer.
The magnet only grips pins containing ferrous metal. Most steel and nickel pins will stick, while brass pins are the common exception because brass isn't attracted to the magnet. (Pin cushion selection guide)
Real Benefits for Sewing and Quilting Workflows
The strongest argument for a magnetic pin cushion is workflow, not appearance. In a sewing room, small interruptions add up as you handle pins, reposition layers, check seams, and clear the table. Surface capture gives you a faster, more visible place to stage pins than a stuffed cushion.
The wider market also shows that this tool serves more than casual home sewing. One current report estimates the global magnetic pin cushion market at $312 million in 2024, with a projected rise to $487 million by 2033, representing a 5.1% compound annual growth rate over the 2025 to 2033 forecast period. The report identifies home sewing as the largest application segment and also names tailoring shops, quilting, industrial garment manufacturing, and educational or vocational training centers. (Magnetic pin cushion market report)
That range of use makes sense at a quilting table. A magnetic surface can support one-handed retrieval, especially for sewists who find repeated pushing and pulling uncomfortable. It can also help during Cuddle or minky work, where layers shift, clips can be awkward around bulky edges, and dropped pins are difficult to spot against plush fibers.
| Factor | Magnetic Pin Cushion | Traditional Pin Cushion |
|---|---|---|
| Pin placement | Drop or sweep pins onto the surface | Push each pin into the filling |
| Visibility | Pins remain visible on top | Pins can disappear into the stuffing |
| Cleanup | Sweep compatible pins together | Remove pins one at a time |
| Hand effort | Little insertion force | Repeated pushing and pulling |
| Best use | Temporary staging and quick access | Longer holding and mixed pin types |
| Main limitation | Won't hold non-ferrous pins | Doesn't attract dropped pins |
A better table setup
Put the cushion beside your dominant hand, not behind the machine. During piecing, remove pins from the fabric and place them directly on the holder instead of setting them beside the needle plate. During cleanup, sweep slowly so you don't send a pin farther under the fabric.
A well-planned workstation helps too. These cutting and quilting table ideas can help you position the cushion where it supports your movement rather than adding another object to reach around. The same principle applies to organizing other small supplies, and makers who enjoy compact systems may also appreciate these best spice storage ideas for their approach to visibility and access.
Trade-offs Most Guides Don't Mention
A magnetic pin cushion is usually best understood as a staging tool, not a permanent storage container. It keeps active pins available while you sew, but a closed tin, labeled case, or traditional cushion may be better for pins you won't touch for a long time.
Repeatedly snapping fine needles against a hard magnetic surface can contribute to wear, particularly when you handle delicate or coated needles. An independent buying guide also notes that magnetic holders suit quick access but aren't ideal for long-term needle storage because fine or coated needles may weaken over time. (Magnetic pincushion buying guide)

Where the convenience stops
Material compatibility creates another blind spot. Steel and nickel pins generally hold, but brass pins slide off. Some specialty head pins may also behave differently, so test your actual pin collection before relying on the cushion during a project.
A strong magnet can pull loose pins across a cutting mat. If a pin travels toward the edge and drops to the floor, you still have a sharp-object hazard, even if the cushion helped you find it. Keep the holder away from rotary-cutting paths, and don't use it as an excuse to leave loose pins scattered around the table.
For temporary basting and active piecing, the surface is convenient. For weeks-long storage, move pins to a dry, enclosed container and keep them clean, because residual magnetism and surface residue can contribute to poor needle care. If you're working with plush fabrics, review how to use basting spray as another way to manage layers without asking the magnetic holder to solve every handling problem.
Safety Rules Around Magnets, Pins, and Machines
Safety around a magnetic pin cushion is simple when you treat it as a tool, not a toy. The holder contains sharp objects, and the magnet itself must remain immobilized inside its base, pouch, or housing.
Small magnetic holders are generally described as safe near computerized sewing machines because their field is localized and normally isn't strong enough to damage electronics at ordinary working distances. Still, don't place a magnetic pad directly on the throat plate while the machine is powered, and keep it away from controls and sensitive moving parts. A few inches of separation is a sensible workshop habit, especially with a strong neodymium design. (Sewing machine and magnet safety discussion)
Keep people and pets in mind
People with pacemakers or other implanted medical devices should keep strong magnets away from the device and follow their physician's guidance. The same source specifically warns that magnetic pin holders should be kept away from pacemakers.
Children and pets need a separate rule. Store the cushion on a high shelf or in a secured cabinet when you aren't using it, rather than leaving it near the edge of a table. A loose magnet can be swallowed, and swallowed magnets require immediate medical attention, particularly when more than one is involved.
Use this quick check before you start:
- Secure the magnet: Make sure it can't shift, rattle, or come loose from the housing.
- Check your machine: Keep the cushion off the throat plate and away from powered controls.
- Check your household: Store it away from children, pets, and anyone with an implanted medical device.
- Check your pins: Confirm that the pins you use are magnetic steel before depending on surface capture.
Routine machine care supports the same safe habits. Keep the cushion in a predictable location, and use this guide to maintain your sewing machine rather than placing tools wherever space happens to be available.
Buying vs DIY a Magnetic Pin Cushion
Buying is the straightforward choice when you want a stable base, a finished surface, and predictable handling immediately. Look for a magnet strong enough for your pins, a weighted base that won't slide, a non-slip foot, and a shallow dish or center that keeps pins from drifting toward the edge.
DIY makes sense when you want a specific fabric, a compact size, or a small evening project. It also lets you immobilize the magnet inside a wooden, ceramic, or plastic base, which is safer than leaving a loose disc on the table.
| Factor | Store-Bought | DIY Fabric-Covered Disc |
|---|---|---|
| Setup | Ready to use | Requires assembly |
| Surface | Finished and shaped | Custom fabric and shape |
| Stability | Often designed with a weighted or grippy base | Depends on your base and bottom |
| Skill | Minimal | Basic cutting, gluing, and covering |
| Best reason to choose it | Convenience and consistency | Personalization and repairability |
| Main check | Magnet and base quality | Secure magnet placement |
A simple fabric-covered disc
For a beginner-friendly version, gather:
- Magnet: One neodymium disc rated at least N35.
- Base: A small wooden or ceramic base.
- Bottom cover: A plastic lid sized to cover the underside.
- Adhesive: Double-sided tape.
- Fabric: A sturdy scrap that won't shed heavily.
Draft a basic pattern with a 4-inch top circle, a 1.5-inch side strip, and a matching base circle. Wrap the fabric around the top and side, secure it beneath the disc, and cover the underside with the plastic lid so the magnet stays contained. Test the holder with your actual pins before filling it.
A bought cushion costs less in effort, while a DIY disc costs more in attention and gives you control over color, texture, and proportions. If you use plush fabric, keep the cover smooth enough that pins remain visible and don't bury themselves in the pile.
Maker's rule: A handmade cushion is successful only when the magnet stays fixed, the base stays put, and every pin remains easy to see.
Care and Maintenance That Actually Extends Its Life
A magnetic pin cushion doesn't need complicated care, but it does need a predictable routine. Lint, thread, oil, and fabric fibers collect around the magnet edges, especially when you sew plush materials such as Cuddle or minky.
Use this four-part schedule:
- Wipe weekly: Start with a dry microfiber cloth. If the surface feels sticky, use a lightly dampened cloth with a drop of mild soap, then dry it completely.
- Brush monthly: Lift the pins away and use a soft toothbrush to loosen lint around the magnet edges and underside of the surface.
- Test the hold: Tip the cushion carefully and watch whether pins slide away. A noticeable change in holding strength is a reason to replace the unit or inspect its magnet housing.
- Store thoughtfully: Keep the cushion away from heat sources and other magnets when it isn't in use.

Care for the pins, too
Rotate heavily used pins toward the back of your active group so the same points aren't constantly handled. Retire bent or rusty pins instead of returning them to a project, and keep brass or plastic-head pins in a separate fabric cushion because they may not stay on the magnetic surface.
Before a large quilt, take a few minutes to clear lint, inspect the base, and sort the pins you'll use. An end-of-year check is useful as well, particularly if the cushion has traveled between rooms or collected residue from plush fabrics. You can also review how to prevent fabric pilling when caring for the Cuddle projects that share your sewing table.
Putting It to Use on Your Next Quilt Project
For a Cuddle or minky baby quilt, place the magnetic pin cushion on the right side of the sewing machine if you're right-handed, close enough to reach without lifting your elbow. Load it with size 28 fine pins for your basting workflow, but first confirm that your specific pins are magnetic steel.
As you prepare the quilt sandwich, use the cushion as a staging area rather than a storage bin. Remove a pin, sew past it, and place it on the surface immediately. If one falls, sweep the holder over the clear table area before moving your feet or continuing to cut.
At the machine, the sequence is simple:
- During piecing: Keep active pins on the cushion and return each one as soon as it leaves the fabric.
- During sandwich checks: Use the visible surface to separate pins that are bent or unsuitable for reuse.
- During longarm preparation: Clear the table before checking seams, then keep the holder away from machine controls.
- At the end of a row: Break the thread, collect pins in one motion, and inspect the floor before walking away.
The right choice depends on magnet strength, surface area, base grip, pin material, and household safety. A shallow, stable commercial cushion may suit a busy minky workspace, while a fabric-covered disc can work well if you enjoy making small tools and can secure the magnet thoroughly.
If your project needs professional finishing rather than another tool on the table, mail-in longarm quilting can be a practical next step. Choose the cushion that matches your habits, then either order one or cut the fabric for tonight's DIY disc. Save the care routine before your first quilt sandwich goes together.
On Pins & Needles Quilting Co. offers premium Shannon Fabrics Cuddle and Luxe Cuddle, including textures such as Hide, Snowy Owl, and Fawn, along with mail-in longarm quilting supported by hundreds of verified reviews. Visit On Pins & Needles Quilting Co. to shop minky fabrics and quilting services, then use the 15% first-order coupon or free U.S. shipping on orders over $70.