
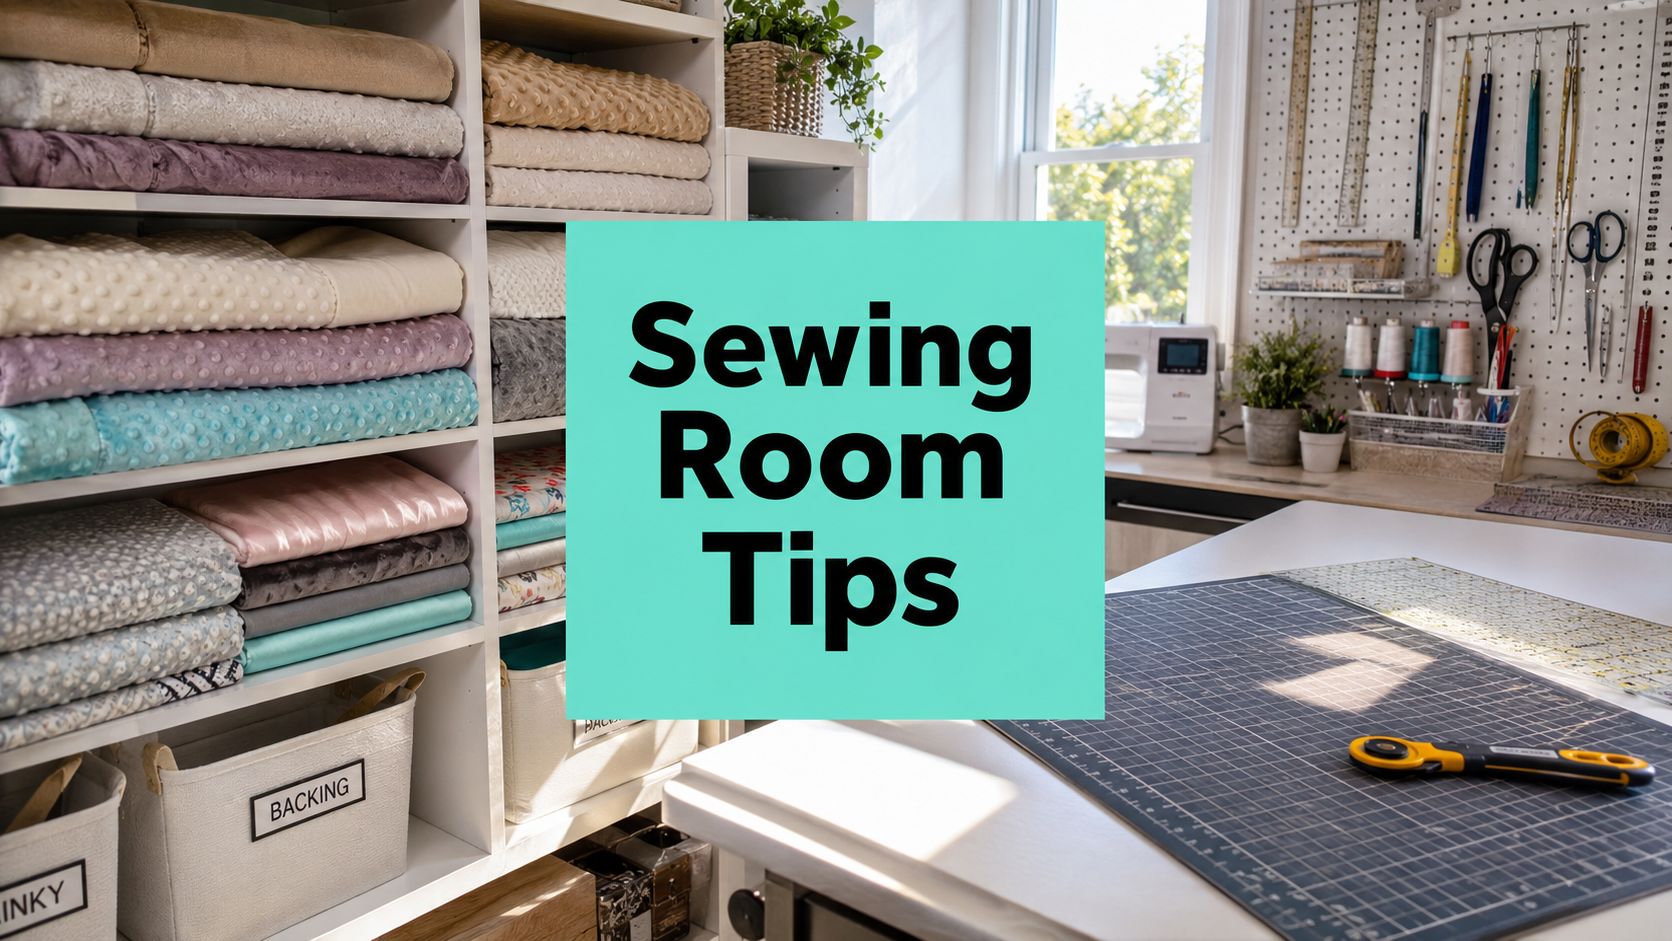
Sewing room organization ideas work best when they address the core problem in front of you, not when they just add more bins. The fastest path to a calmer quilting space is a zone-based layout, clear labeling, and storage that keeps bulky minky, tools, and active projects exactly where you use them.
If your cutting mat keeps sliding, your thread disappears into drawers, and your 110-inch backing wants to take over the closet, you're in the right place. We organize quilts and minky the same way we sew them at OPN Quilting, with workflow first, storage second, and a layout that makes mail-in longarm prep easier too. That matters because efficient room design isn't about owning more containers, it's about reducing unnecessary movement and keeping the room's tasks separated so you can work in it workflow-based sewing room guidance.
1. How to Prepare Your Sewing Room Layout for Maximum Efficiency
A sewing room works best when the layout supports the job you do every day. Separate cutting, sewing, and pressing into clear zones so each step has a home, and the room does not turn into one crowded surface full of half-finished work workspace zoning overview.
That setup matters even more for quilters who work with minky. Bulky backing, slippery fabric, and heat-sensitive finishing steps all need room to move, so a general craft-room arrangement usually creates extra handling and more mistakes.

Put the right task in the right place
Place the cutting surface where you get good natural light, set the machine where your elbows can rest comfortably, and keep pressing tools in a separate heat-safe zone. That simple separation pays off in a small room, especially with minky, because the fabric needs a flat path and does not handle being dragged across a cramped work area.
- Sketch first: Draw the room on graph paper before you move furniture.
- Tape the floor: Mark cutting, sewing, and pressing zones with masking tape.
- Test for a week: Use the layout before you commit to permanent storage.
- Protect traffic flow: Keep walkways open so family members or clients can pass without bumping active projects.
A good rule is to keep thread, scissors, rulers, and marking tools within arm's reach of the machine, then send the rest of the storage farther out. That keeps the bench clear and matches the kind of proximity-first setup that makes daily resets realistic basic zoning and reset guidance. Vertical storage helps too, because open surfaces are easier to use than crowded ones.
For modular furniture options in small spaces, see Enky expert insights for small spaces. If you are planning a new cutting surface, our own cutting and quilting table guide is a useful starting point for height, placement, and how the table works with your machine.
2. Premium Fabric Storage Systems for Minky and Cuddle Collections
Vertical storage is the friend of every quilter who owns more soft fabric than shelf space. Clear shelving, rolling carts, and wall-mounted systems keep textures visible, prevent crushing, and let you see what you already own before you buy more.
That visibility matters in a minky stash because the fabrics aren't interchangeable. Hide, Snowy Owl, Fawn, and other Shannon Fabrics textures each behave a little differently, so storing them where you can compare them side by side speeds up project planning and helps avoid the wrong backing choice.
Make the stash readable at a glance
Use clear plastic sleeves for precuts, shelf dividers for texture groups, and a rolling cart for the fabrics you touch most often. If you store 110-inch backings, vertical access keeps the stack from becoming a permanent wrestling match.
Practical rule: if you have to unstack six things to reach one fabric, the storage system is slowing you down.
A better setup is shelf-by-shelf organization by color family or texture family. That approach lines up with modern organizing advice that treats fabric more like inventory than clutter, especially when the room also holds projects, patterns, notions, and a few “I'll use this later” cuts inventory-style fabric sorting.
For an OPN-specific option, our how much is a bolt of cloth post pairs well with shelf planning because it helps you think in terms of true storage depth instead of guesswork.
3. How to Sort and Label Fabrics by Color, Texture, and Project Type
A serious sewing room keeps fabric indexed, not just stacked. Once you begin sorting by color, texture, and project type, even a large minky collection starts to behave like a working library instead of a pile of “I'll use this later” cuts, which matters when you are matching quilt tops to the right backing or getting a top ready for mail-in longarm service.
Our best system uses three label layers. Start with the color family, then add the texture name, such as Luxe Cuddle, Shannon Cuddle, Hide, Snowy Owl, or Fawn, then mark the planned use, like backing, binding, piecing, or a gift project. That extra detail saves time later, especially with bulky or slippery fabric that can look similar in a drawer but behave very differently once it is cut and sewn.
Label for retrieval, not decoration
- Use exact texture names: Keep the same naming convention every time so one fabric family does not end up with several labels.
- Separate project status: Keep active cuts away from long-term stash so you can see what is ready for sewing and what is waiting.
- Photograph each piece: A quick phone photo helps you compare color in natural light later, especially when shades are close.
- Update inventory immediately: Change your list when a project starts, not when it ends.
- Group by job type: Keep quilt backing, binding, and small piecing cuts in different zones so you can grab what you need without sorting first.
That system also makes it easier to answer a practical question before you buy more fabric, do I already own the right backing for this top? If your fabric room also handles household textiles, the same organizing habits used for decluttering your home linen space can help keep categories clear, labeled, and easy to maintain. It is a simple guard against duplicate purchases, and it works well when scraps, yardage, precuts, and longarm-ready backings all share the same room.
For color planning, our modern quilt color schemes post is a useful companion because color choice and fabric sorting usually happen together.
4. Best Minky Fabric Storage Containers for Daily Use
Containers are only useful if they match how often you reach for the contents. Clear bins, rolling baskets, and drawers all work, but they solve different problems, and that's where many sewing rooms go sideways. A pretty bin that's hard to open isn't helping your sewing flow.
For active minky collections, clear plastic bins usually win because they balance visibility and protection. Rolling baskets make sense for in-progress work or shop use. Drawers work well when you want dust protection and a more permanent home for a larger stash.
Match the container to the job
If a container lives near the sewing machine, choose something that opens fast and lets you see what's inside. If it stores backup fabric, choose something tighter sealed and less exposed to dust or pet hair.
A simple mental model helps. Put daily-use fabrics in clear bins or open shelves, seasonal stock in lidded bins, and archive fabrics in drawers or under-bed storage. That's a lot closer to how real quilters work than the usual “buy more containers” advice.
Our fat quarter bundles post is worth a look if you're trying to keep smaller cuts organized alongside yardage, since mixed-size storage often creates the biggest clutter problem.
5. How to Organize Notions, Threads, and Accessories for Efficient Sewing Sessions
Notions work best when they are sorted by function, not by whichever drawer happens to have room. Cutting tools, piecing tools, and finishing supplies each need their own place, and the items you reach for daily should stay beside the machine. That setup keeps a sewing session moving instead of turning into a search for missing clips, scissors, or labels.
Thread needs its own system in a minky room. Soft fabrics show skipped stitches and uneven finishes more easily, so keep your regular thread colors together and give ballpoint needles, woolly nylon, and specialty threads a separate home for Cuddle projects.
Keep the machine-side essentials close
- Daily-use container: Keep your most-used thread colors and needle sizes beside the machine.
- Project packets: Store needles, clips, labels, and bobbins with the project fabric.
- Function-based drawers: Use one drawer for prep, one for piecing, and one for finishing.
- Replenishment list: When a supply runs low, add it to your next order right away.
Keep the things you use every day within arm's reach, and place the rest farther out.
That rule matches broader sewing-room advice that says frequently used items belong closest to the work zone, with clear containers making it easy to spot what is missing clear storage and frequency-based organization.
For finding the right storage solution for notions, finding the right storage solution can help you compare practical options before you buy. If you are refreshing your thread setup, our best quilting thread post fits naturally here because thread choice and storage habits usually change together.
6. Ultimate Minky Quilt Backing Storage for 90 and 110-Inch Fabric
Extra-wide backing needs its own plan. A 110-inch piece isn't just larger fabric, it's a storage challenge with weight, crease risk, and visibility issues that standard bins can't always handle well.
Horizontal shelving, rolling tube storage, and large flat-fold bins all work, but each one has trade-offs. Horizontal shelving keeps the fabric visible and easy to grab. Tube storage protects large pieces from hard folds. Flat bins make sense when the sewing room is still under construction or the backing needs to live temporarily in another part of the house.
Protect the backing before you protect the shelf
Loose folds are safer than sharp creases for wide minky. Acid-free tissue or kraft paper between layers helps reduce transfer and rubbing, and labeling each storage spot makes it easier to pull the right backing when a quilt top is ready for mail-in longarm service.
For quilters who send work out for finishing, organization pays off fast. A labeled backing shelf means less time searching when it's time to package a quilt for OPN's Mail-in Longarm service. It also keeps the whole room from stalling at the “where did I put that backing?” stage.
7. How to Create a Color-Coded Quilt Project Station to Streamline Your Workflow
Active projects need a home of their own. One bin, basket, or drawer per project keeps fabric, thread, pattern, backing choice, and notions together, which cuts down on lost pieces and half-finished starts.
Color-coded stickers make this easier to manage. Use one color for cutting, another for piecing, another for finishing, and a final one for ready-to-ship tops. That gives you a quick visual read without digging through every container in the room.
Build a bin that tells the truth
Put a swatch of the backing fabric inside each project bin so you never confuse one minky choice for another. Add a printed checklist for the pattern, fabrics, thread, notions, backing, and notes, then keep the whole project in one place until it's finished.
This kind of station is especially useful when a quilt top is finished but not yet ready to go out for longarm quilting. It keeps return shipping details, pattern choice, and the backing together so hand-off day doesn't turn into a last-minute scramble.
8. Quick Start Checklist for Minky Organization
A lot of people never start because they think they need to reorganize the whole room in one go. They don't. A weekend reset works better, especially in a multi-use space where sewing has to share with life.
The fastest win is usually the top 10 most-used fabrics. Photograph them, label them, and put them where you can see them. Then create one vertical storage unit and one project cart, and you've already built a working system instead of a pile of intentions.
Mid-post deal to keep in mind: OPN offers a 15% first-order coupon plus free U.S. shipping on orders over $70, which makes it easier to stock up on the textures and backings you'll actually organize and use.
Start small and finish something
- Map the room: Decide where fabric, notions, and active projects belong.
- Build one spreadsheet: Name, texture, yards, location.
- Create one machine-side container: Keep your daily-use tools there.
- Stop after the first win: A finished zone beats a half-done room every time.
That approach reflects what works in real sewing spaces, especially when you're balancing storage with making quilts. The goal isn't a perfect room on day one. It's a room that lets you sit down and sew without clearing a path first.
9. OPN Services and Integration Guide
A well-run sewing room should make the next hand-off simple, not stressful. For quilters who send finished tops to a longarm service, the primary advantage is having backing, top, and notes already grouped before the box is sealed. That matters even more with minky, where bulky layers, slippery surfaces, and large backing cuts can slow everything down if they are scattered across the room.
Set aside one bin or shelf labeled Ready to Ship for finished tops, matching backings, batting preference notes, and pattern choices. If you mail quilts out regularly, give that bin a fixed home so the last-mile details do not disappear into your active projects. A clear label also helps when you are handling a 110-inch backing, because oversized fabric needs its own place instead of a temporary stack on the floor.
Make the hand-off part of the system
Pack the quilt top, backing, batting preference, contact info, and a short note about the pattern choice together before you send anything out. Label the project bin before the top is finished, so the move from sewing table to shipping box feels ordinary instead of rushed. That small habit prevents mix-ups when you are working with several quilts at once, especially if some are destined for special gifts or show pieces.
OPN's workflow fits naturally into that kind of studio setup. Our Mail-in Longarm Quilting Service works best when your top, backing, and project notes are already sorted together, and our product categories, like minky fabric by the yard and extra-wide backing options, give you practical materials to organize around from the start. If you are planning a finish for a gift quilt or a project that needs a polished result, that kind of preparation saves time on both sides.
9-Point Sewing Room Organization Comparison
| Item | 🔄 Implementation complexity | 💡 Resource requirements | ⚡📊 Expected outcomes | 🎯 Ideal use cases | ⭐ Key advantages |
|---|---|---|---|---|---|
| How to Prepare Your Sewing Room Layout for Maximum Efficiency | Moderate, planning, measuring, and furniture rearrangement | Measuring tools, furniture/rolling tables, shelving, time for trial | Reduced fabric travel and strain; smoother workflow (example: up to 30 min saved/session) | Home sewists, quilters, small studios optimizing workflow | Ergonomic flow, scalable zones, fewer interruptions |
| Premium Fabric Storage Systems: Vertical Solutions for Minky and Cuddle Collections | Moderate, install shelving/mounting and configure organizers | Clear acrylic shelving, rolling carts, wall anchors, labels | Improved visibility/access; protects textures; faster project planning | Minky collectors, small sellers, studios with wall space | Showcases fabrics, saves floor space, mobile options |
| How to Sort and Label Fabrics by Color, Texture, and Project Type | Moderate–High, 4–8 hours initial plus ongoing updates | Labels, camera, spreadsheet or inventory app, color-coded stickers | Searchable library; fewer duplicate purchases; 50–75% faster planning | Small business owners, heavy collectors, organized hobbyists | Accurate texture tracking, FIFO rotation, quick filtering |
| Best Minky Fabric Storage Containers: Comparing Bins, Baskets, and Drawers | Low–High, simple bins to custom drawers (choice-dependent) | Clear bins, rolling baskets, custom drawer units, under-bed boxes | Balance of protection vs visibility; scalable by budget and space | Beginners (bins), active crafters (baskets), pros (drawers) | Flexible options for protection, mobility, and aesthetics |
| How to Organize Notions, Threads, and Accessories for Seamless Sewing Sessions | Low–Moderate, 2–3 hours sorting and container setup | Compartment boxes, labeled drawers/cart, needle organizers | Saves 10–20 minutes/project; prevents missing/incorrect notions | Daily sewists, minky projects requiring specialty notions | Function-based access, preserves specialty notions, faster setup |
| Ultimate Minky Quilt Backing Storage: 90 and 110-Inch Wide Fabric Solutions | High, requires large shelving, rolling racks or careful folding systems | Industrial shelving or rolling tube racks, large bins, acid-free tissue | Protects wide bolts from crushing/creasing; ready-to-ship inventory | Small businesses, serious quilters, users of 110" backings | Maximum protection for wide goods; professional storage |
| How to Create a Color-Coded Quilt Project Station to Streamline Your Workflow | Moderate, container setup, color-coding, and digital tracking (3–4 hrs) | 27–64 qt bins, stickers, digital tracker, swatches/checklists | Faster project starts (30–45 min saved); clearer phase management | Multi-project makers, gift deadlines, production workflows | Encapsulates projects, phase visibility, easier hand-offs |
| Quick Start Checklist for Minky Organization | Low, weekend-friendly (2–4 hours) | One vertical unit, project cart, a few bins, camera, basic spreadsheet | Immediate organization and time savings; working system in one weekend | Beginners, time-limited organizers, starter business kits | Fast implementation, focused immediate gains |
| OPN Services & Integration Guide | Low–Moderate, align workflows and labeling to service requirements | OPN pre-cut bundles, shipping checklist, 'Ready to Ship' shelf, labels | Streamlined mail-in process; fewer pressing/size issues; smoother returns | Users of OPN mail-in longarm, frequent shippers | Seamless integration with OPN services; reduced rework and delays |
Start Your Studio Transformation Today
Organizing your sewing room isn't a one-time project, it's a habit that keeps your quilting life moving. The best sewing room organization ideas give every tool, texture, and work-in-progress a clear home, and that matters even more when you're managing bulky minky, wide backings, and quilts headed for professional longarm finishing.
Start with one zone, not the whole room. Cut the clutter around your machine first, then build outward into fabric storage, notion bins, and a ready-to-ship project station. Once the room begins to match your workflow, you'll notice the difference right away. You'll spend less time searching for Fawn or Snowy Owl, less time wrestling wide backing, and more time quilting.
We see this all the time with quilters who move from general storage to a real system. The room feels lighter, projects move faster, and the finishing process gets simpler because the layout finally supports the way they sew. That's the true win, not prettier bins, but a studio that helps you finish more quilts with less friction.
If you're ready to keep building a smarter sewing space, shop the textures, backings, and finishing options that fit your workflow. Start with the fabrics you love, organize them with purpose, and give every quilt top a clear path to the finish line.
On Pins & Needles Quilting Co. helps quilters turn good organization into finished quilts, with premium minky fabrics, extra-wide backings, and mail-in longarm quilting that fits the way real sewing rooms work. Visit On Pins & Needles Quilting Co. to shop Shannon Cuddle textures, stock up for your project bins, and get the support that makes your next quilt easier to store, sew, and finish.