
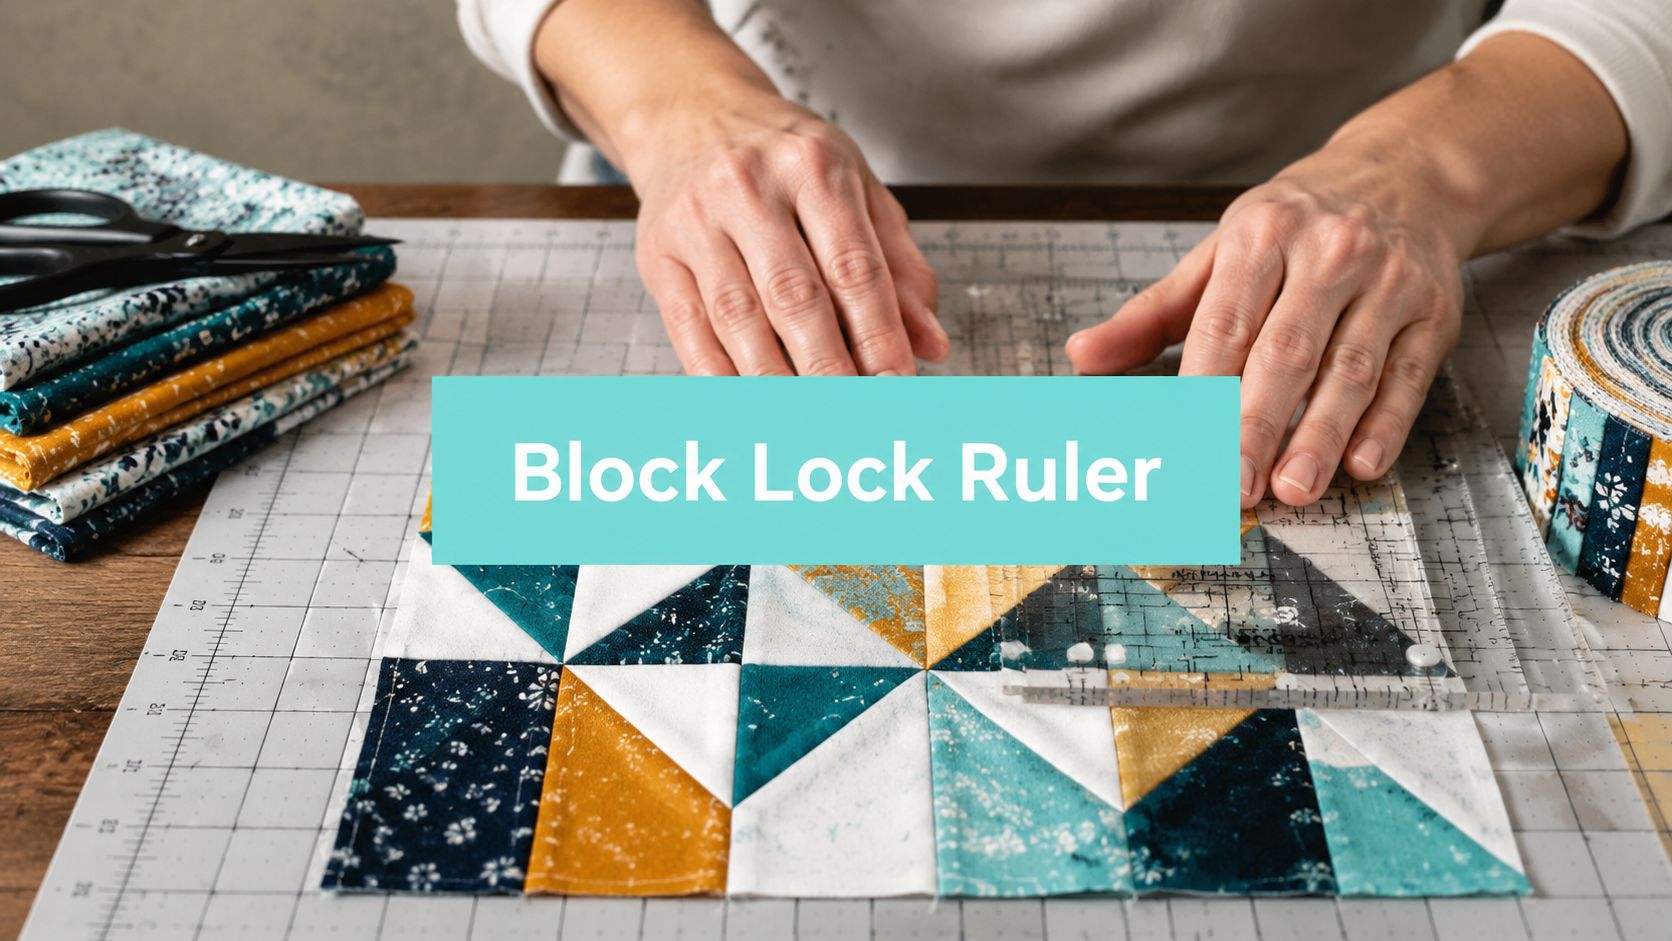
You've trimmed a batch of half-square triangles, but the rulers keep rocking, the seams drift, and every block comes out slightly different. A Block Lock ruler solves that mechanical problem by seating a molded groove over the sewn seam allowance, keeping the ruler aligned while you trim. The result is a calmer, more repeatable squaring process, especially when accurate points matter.
What a Block Lock Ruler Is and Why Quilters Swear by It
A Block Lock ruler is a specialty quilting ruler with a molded groove on its underside. That groove fits over a sewn seam allowance, allowing the ruler to grip the unit instead of sliding across the fabric surface. The system is especially useful for half-square triangles, flying geese, and related pieced units that need precise trimming.
The idea came from a practical annoyance. During a 2006 Thanksgiving visit, the founders of Bloc Loc Rulers improvised a groove into a flat half-square triangle ruler to solve a visibility and rocking problem. The company was started in 2010, and the concept developed into a commercial line of specialty quilting tools. The origin and patent history are documented in the Bloc Loc patent record.

Why does the groove matter?
With a conventional acrylic ruler, you usually compensate for movement by pressing hard and checking alignment repeatedly. That can work, but heavy pressure may distort a soft unit, especially along a bias edge. A groove-lock ruler uses the seam itself as a positioning feature, so the ruler needs very low downward pressure once it's properly engaged.
The company says the groove can speed trimming by 90%, and the rulers are sold around the world, making the design a notable modern development in specialty quilting tools. That innovation still belongs to a much older measuring tradition. One history of rulers places the first known ruler at about 2650 BC, followed by Anton Ullrich's folding ruler in 1851 and Frank Hunt's flexible ruler in 1902. Those milestones appear in the history of the ruler.
A Block Lock ruler won't correct a poorly sewn unit or restore a point that's already been cut away. What it does is remove one common source of error, the ruler shifting between cuts. For quilters who trim many similar units, that consistency is the main attraction. A conventional ruler remains useful for general cutting, angles, and oversized pieces, while a groove-lock ruler earns its place when a particular seam must stay centered.
For a related look at angle alignment, see this practical guide to a 45-degree quilting ruler.
How to Trim Blocks Using the Groove Lock Technique
The groove-lock method is simple, but the order matters. Before cutting, press the seam allowance consistently to one side. A seam that lies unevenly can prevent the groove from sitting fully over the seam, and a partially engaged groove won't give you dependable positioning.
Start with the unit placed on a cutting mat and the correct ruler oriented for the block. Don't begin by chasing the raw edges. Begin by finding the seam that the ruler is designed to capture.
What is the correct trimming sequence?
- Seat the seam. Place the sewn seam allowance into the molded groove on the underside of the ruler. Center the ruler over the seam before making any cut.
- Check the allowance. Look around the ruler edges and confirm that the fabric extends beyond the target cut lines on the sides you're about to trim. If the fabric doesn't reach the intended edge, stop and reposition the ruler before cutting.
- Trim two sides. Keep the ruler engaged and use the rotary cutter along the exposed ruler edges. Make controlled cuts rather than forcing the blade through with excessive pressure.
- Rotate without disengaging. Rotate the ruler and fabric arrangement 180 degrees, keeping the seam seated in the groove. This is the point where many otherwise careful quilters lose accuracy by lifting the ruler.
- Finish the remaining sides. With the seam still engaged, align the freshly trimmed edges with the ruler markings and cut the final two sides.
Practical rule: The locked seam is doing the alignment work. If you lift the ruler between the first and second trims, you give up the mechanical reference that keeps the unit square.
The Bloc Loc ruler instructions describe this same seam-in-groove workflow for trimming half-square triangles, flying geese, and similar units. Keep your free hand spread across the ruler, away from the cutting edge, and let your fingertips stabilize rather than crush the fabric.
A rotating cutting mat is useful here because it lets you turn the work without reaching across the blade path. If you don't have one, rotate the ruler and unit carefully on the mat while checking that the seam hasn't slipped out of the channel. For cutter selection and handling, this guide to the best rotary cutter options is a useful companion.
Choosing the Right Block Lock Ruler for Your Block Type
A Block Lock ruler isn't one universal shape. The groove is only half of the system. The ruler's markings, angles, and outline must also match the unit you're trimming.
A half-square triangle ruler is designed around the diagonal seam and the finished dimensions of that triangular unit. A flying geese ruler uses a different geometry because the unit has a distinct point, side seams, and proportions. A square-up ruler is better suited to units that need four straight sides and a centered layout rather than a single diagonal seam.
| Ruler Type | Best For | Key Advantage |
|---|---|---|
| Half-square triangle ruler | Half-square triangle units | Aligns the diagonal seam while trimming to the intended size |
| Square-up ruler | Square pieced blocks and similar units | Supports four-sided squaring with clear measurement references |
| Flying geese ruler | Flying geese units | Matches the unit's point and angled side construction |
Which ruler should you buy first?
Choose according to the units you sew most often. If your patterns regularly produce half-square triangles, start with the corresponding ruler rather than buying a general square-up tool and trying to adapt it. If flying geese appear throughout your quilts, a dedicated flying geese ruler will be less frustrating than forcing a square ruler to follow the wrong geometry.
Bloc Loc rulers are made in multiple specialized sizes and shapes, including half-square triangle rulers, square-up rulers, and flying geese rulers. The range is described in this specialty ruler demonstration.
A good decision test is whether the ruler gives you a clear seam reference and enough fabric beyond the trimming lines. If you're constantly shifting the tool to make the markings fit, the problem may not be your technique. You may be using the wrong shape.
For additional accuracy habits, review this guide on how to improve quilting accuracy. The most expensive ruler is still the wrong purchase if it doesn't match the block units in your current patterns.
Safety Tips and Ruler Foot Placement for Clean Cuts
A groove can keep the ruler from shifting, but it doesn't make rotary cutting automatic. Your cutting hand should guide the blade along the ruler edge, while your other hand holds the ruler with fingers fully behind the cutting path.
Place the non-cutting hand over the ruler with your fingertips spread for stability. Keep every fingertip inside the ruler perimeter. Don't let a finger curl over the edge where the rotary cutter travels, even if the fabric seems too small to move.
How should your hands and ruler sit?
- Keep the ruler flat. The foot or underside should sit evenly on the fabric, with the groove fully engaged over the seam.
- Use controlled pressure. Press firmly enough to stabilize the ruler, but don't mash a plush or bias-cut unit flat.
- Cut away from your body. Keep the blade path predictable and avoid reaching across the ruler.
- Protect the seam. During the 180-degree rotation, keep the cutter clear of the seam and rotate slowly.
- Check before cutting. Confirm the ruler orientation and finished-size allowance before the blade touches fabric.
Never lift the ruler between the first and second cuts. If you need to correct its position, close or secure the cutter, disengage deliberately, and reset the seam in the groove.
A rotating cutting mat can make the second trimming position easier to reach and reduces the temptation to twist your wrist around the work. Use a self-healing mat, keep the blade closed when it isn't in use, and follow the safety practices shown in this Olfa 60 mm rotary cutter guide.

Adjusting Your Technique for Minky Fabrics and Extra Wide Backings
The same groove-lock technique doesn't behave identically on every fabric. Quilting cotton presents a relatively stable surface, while minky fabrics such as Shannon Cuddle and Luxe Cuddle bring plush pile, stretch, and a less visibly defined seam line.

Before placing the ruler, brush the pile consistently and press the seam allowance carefully. Deeper Luxe Cuddle textures such as Hide, Snowy Owl, and Fawn can keep the ruler from sitting as flush as it would on a flat woven fabric. The groove still needs a clean, stable seam ridge to engage.
What changes with plush fabric?
Use less force than your instinct suggests. Heavy pressure can compress the pile unevenly, and releasing that pressure may allow the fabric to relax in a different position. Instead, smooth the fabric, seat the groove, and make sure the seam extends clearly through the channel.
For extra-wide backing panels, the challenge is less about the small ruler and more about managing the fabric around it. Support the unused fabric on the cutting surface so it doesn't drag against the ruler or pull the area being trimmed. If you're preparing a large backing, work in sections while keeping the panel flat and square.
This extra-wide quilt backing guide is useful when planning a backing. Extra-wide minky options can change the workflow because fewer joins may be needed, but the fabric still requires careful smoothing, stable support, and controlled cutting.
With minky, visibility matters as much as grip. Check the seam from several angles, especially when the pile hides the edge, and don't assume that a ruler sitting flat has engaged correctly. The groove must capture the seam, not merely rest beside it.
Common Block Lock Ruler Mistakes and How to Fix Them
Most failed trims come from a small group of repeatable mistakes. The finished block may look skewed, the point may seem off-center, or one side may be narrower than the other. Each symptom usually points to a specific breakdown in alignment discipline.
What went wrong?
- The groove missed the seam. If the ruler shifts immediately or the cut lines don't center the unit, check the ruler orientation. Turn the ruler to the correct side and reseat the seam before cutting.
- The allowance wasn't checked. A quilter may align the ruler markings correctly but discover that the fabric doesn't extend far enough to preserve the intended edge. Verify the excess fabric around the target lines first. Once fabric is cut away, it can't be put back.
- The ruler was lifted too soon. Moving the ruler after the first cut often produces a second set of edges that no longer relates to the original seam. Keep the seam engaged during the 180-degree rotation.
- The seam was nicked. This usually happens when the cutter travels too close to the seam or the unit is handled abruptly during rotation. Slow down, keep the cutter away from the locked channel, and inspect the seam before continuing.
- The tool didn't match the unit. A square-up ruler can't provide the same geometric guidance as a dedicated flying geese or half-square triangle ruler. Match the ruler shape to the block type instead of treating the system as a single generic tool.
Product demonstrations describe the groove as helping quilters square blocks quickly and accurately, with one demonstration stating that blocks can be squared up in seconds and another presenting the groove as a way to produce consistent half-square triangles. Those claims appear in this block squaring demonstration.
If your blocks still vary, inspect the sewing and pressing before blaming the ruler. A groove-lock tool can hold a seam in position, but it can't correct a seam pressed inconsistently, a unit assembled off-center, or a cut made before checking the intended finished dimensions.
On Pins & Needles Quilting Co. offers premium Shannon Cuddle and Luxe Cuddle fabrics, extra-wide backing options, curated cuts, and mail-in edge-to-edge longarm quilting for tops that are ready for professional finishing. Visit On Pins & Needles Quilting Co. to choose your backing or book your longarm service, and use the available 15% first-order coupon or free U.S. shipping on orders over $70 when eligible.