
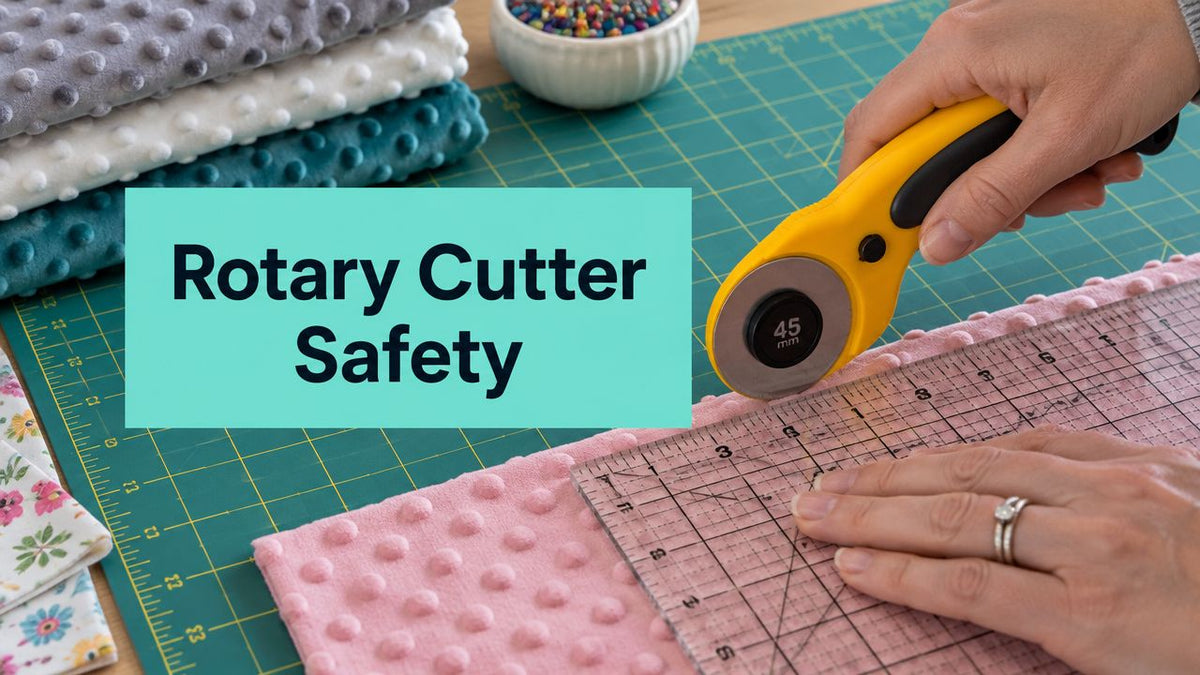
You're halfway through cutting a minky quilt back when the rotary cutter starts skipping, the pile shifts, and the edge comes out wavy. To use a rotary cutter safely and accurately, choose the right blade, secure the fabric and ruler, cut with controlled pressure, and replace the blade when resistance or skipped fibers appear. Those habits matter even more with plush fabrics, where the nap can hide an uneven cut until assembly or longarm quilting begins.
Why the Rotary Cutter Matters for Every Quilter
A rotary cutter often decides whether a quilt is square before a single stitch is sewn. Scissors can work for small pieces, but a rolling blade guided by a ruler gives you a steadier method for long straight cuts, repeated strips, and multiple fabric layers.
OLFA introduced the modern rotary cutter in 1979, originally for garment making. Quilters adopted it quickly, and the company says the tool could reduce cutting time by half or more by replacing scissors with a rolling circular blade, as described in OLFA's history of the rotary cutter.
The advantage isn't only speed. A rotary cutter rolls across fabric instead of dragging through it, which helps limit distortion during long cuts. That difference becomes obvious with minky and Shannon Cuddle, where the pile can shift, compress, or catch under a blade that's being pushed rather than rolled.
What should you learn first?
Four jobs determine whether rotary cutting feels controlled or frustrating:
- Choose the blade size: Match the diameter to curves, everyday strips, thick materials, or long cuts.
- Build a stable station: Use a sound mat, a ruler that won't flex, good lighting, and a surface that lets you work without hunching.
- Control plush fabric: Respect the nap, limit shifting, and keep the cutter moving in one smooth pass.
- Recognize dulling: A blade that skips or needs extra force isn't merely inconvenient. It can make the tool less safe.
A guarded cutter is still a sharp tool. Keep the blade retracted or locked whenever you aren't actively cutting, cut away from your body, and keep your fingers behind the ruler edge. The rotary cutter safety guidance from Sewing.org also emphasizes using a rotary mat and keeping fingers away from the ruler.
Practical rule: Slow setup creates faster, cleaner cutting. Most avoidable problems begin before the blade touches the fabric.
Choosing the Right Rotary Cutter Blade Size
Blade diameter changes how the cutter behaves. Small blades turn easily around curves, while larger blades hold their path better through long cuts and thicker material.
| Blade Size | Best For | Fabric Match | Skill Level |
|---|---|---|---|
| 28 mm | Tight curves, small templates, intricate shapes | Light fabrics and detailed pattern work | Beginner-friendly for detail work |
| 45 mm | Strips, squares, general quilting, everyday cutting | Multiple layers and ordinary minky yardage | Best starting size for most quilters |
| 60 mm | Long straight cuts and thicker materials | Bulky layers, folded yardage, and heavier fabrics | Useful once you're comfortable managing pressure |
A 28 mm blade is easier to steer around a tight curve. It's also less suited to a long cut through plush yardage because you'll make more passes, and every additional pass gives the pile another chance to move.
The 45 mm blade is the practical workhorse. Fiskars describes this size as suitable for cutting multiple layers of fabric and other materials. For most minky backings, strips, and quilt pieces, it offers a useful balance between control and cutting depth.
A 60 mm blade reaches farther into thick or bulky stacks. It's a sensible choice for long straight cuts and heavier materials, but its larger diameter can feel less nimble around small templates. More blade isn't automatically more accurate. If you're forcing a large cutter through a narrow curve, the tool is mismatched to the job.
With plush fabric, the 45 mm blade is usually the easiest place to start. A 60 mm blade can handle greater bulk, while a 28 mm blade may grab the nap or skip when asked to cover too much material in one pass.
Before building a collection, buy one sound 45 mm rotary cutter and learn how it feels with your mat, ruler, and preferred fabrics. When you're ready to compare larger cutters, this guide to the OLFA 60 mm rotary cutter gives you a more focused option for long, straight work.
Setting Up Your Mat, Ruler, and Cutting Station
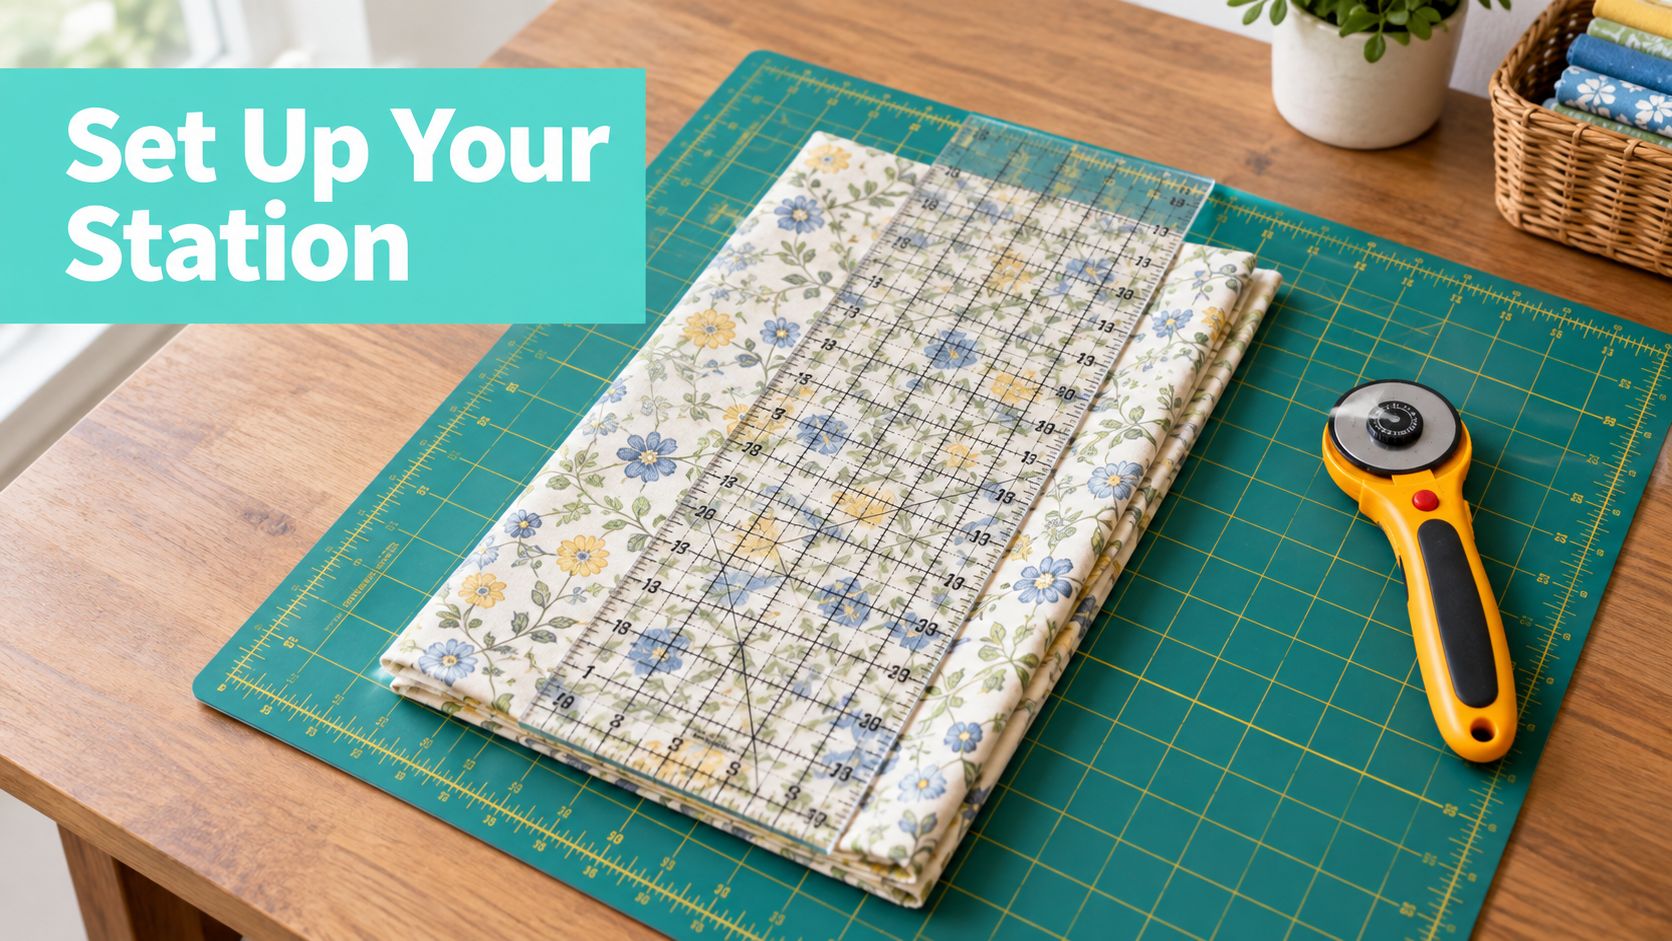
A rotary cutter can't correct a poor cutting station. Start with a firm, flat surface and a mat that supports the entire area you're cutting. If fabric hangs off the edge, its weight can pull the pile out of alignment and change the shape of the cut.
How should you arrange the station?
Set the cutting surface high enough that you can look down at the ruler lines without folding your back. The useful test is simple. Your wrist should stay reasonably straight, and your shoulders shouldn't creep toward your ears during a long cut.
Bend from the hips rather than rounding your back over the table. If you're preparing a large minky backing, change position between cuts instead of twisting from one side of the table. A guide to cutting-table setup can help you evaluate the height and working area before a large project reaches the cutting stage.
Place a lamp where it illuminates the ruler without casting a shadow over the measurement lines. Plush fabric already obscures small visual details, so poor lighting makes it harder to see whether the ruler is aligned or whether the pile has folded under the edge.
What hand position keeps the ruler stable?
Lay the ruler flat and spread your hand over it. Keep the pinky and ring finger pressing near, but not over, the blade path. Your index finger must remain well behind the ruler edge, and your palm should apply pressure away from the cutting line.
Don't lean only on the end of a long ruler. That can lift the middle slightly and allow the fabric to creep underneath. Move your supporting hand as needed while keeping all fingers on the ruler surface.
The mat deserves the same attention. A worn or damaged cutting surface can make the cutter grip unevenly, interrupting the rolling motion and producing skipped areas. Keep the cutter close to the ruler, use a mat designed for rotary cutting, and retract the blade immediately after the stroke.
Professional equipment guidance also emphasizes that blades should remain sharp, free of nicks and cracks, and securely fastened. For machines and tools that require servicing, the Deere safety manual reinforces the broader principle of stopping work before maintenance and handling blade hardware carefully.
Cutting Minky, Cuddle, and Other Plush Fabrics
Minky doesn't behave like quilting cotton. Its pile can shift independently of the backing, and the nap can make an edge look smooth from one direction while concealing a rough or distorted cut from another.
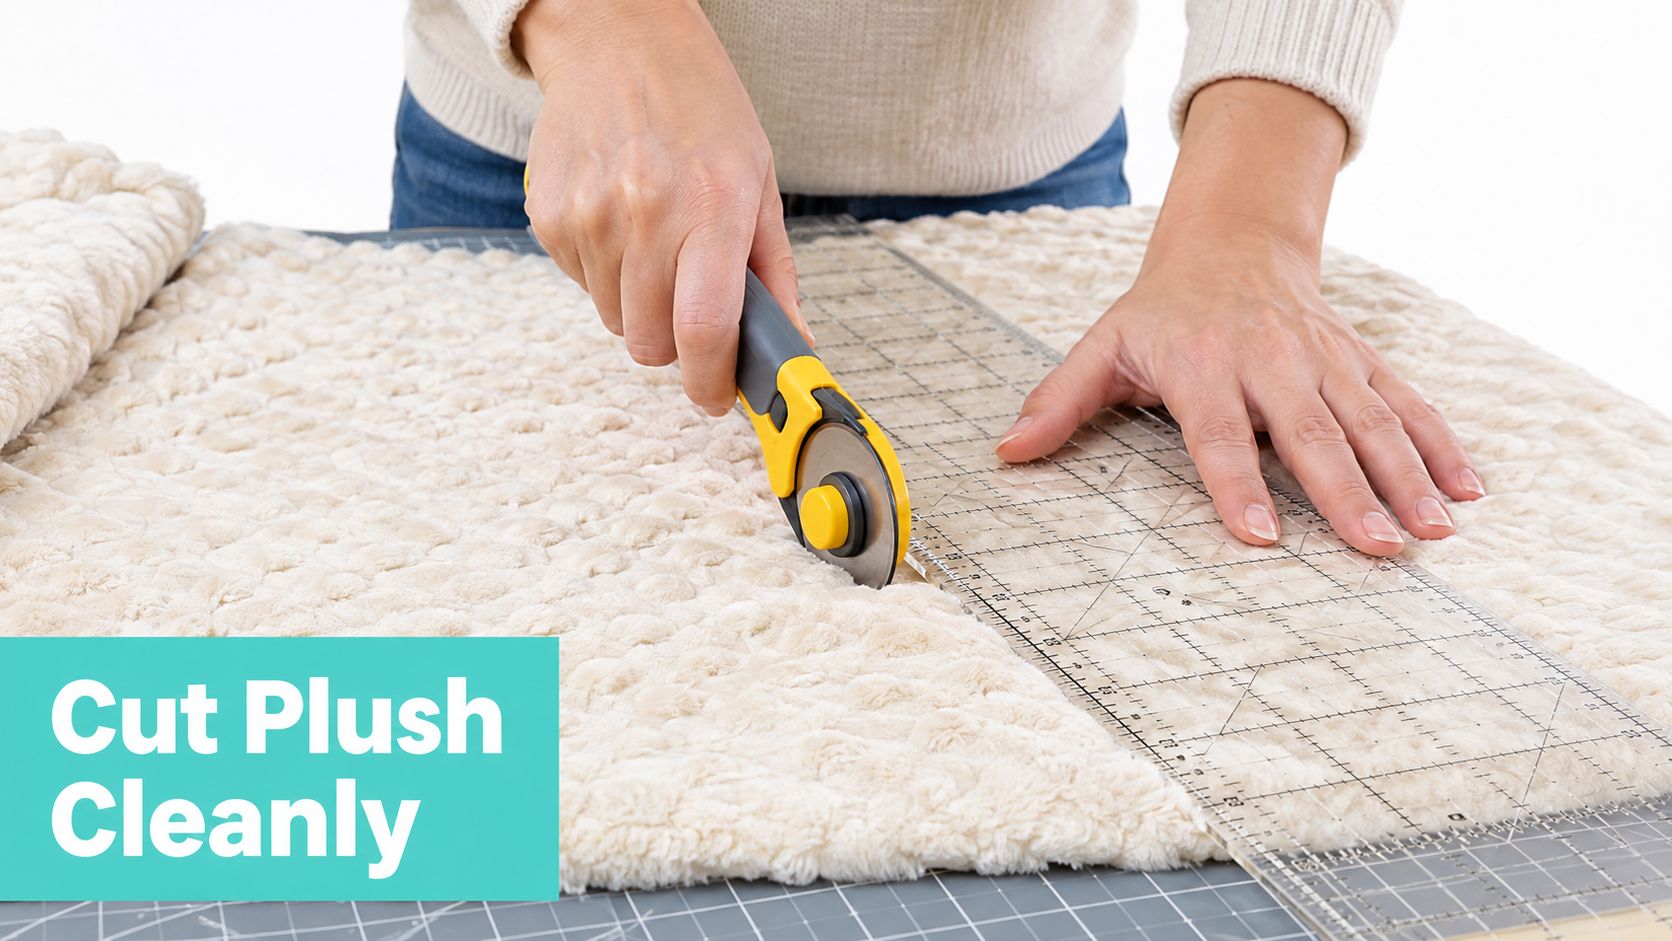
Before cutting, align the fabric carefully and smooth it without stretching. If layers want to slide, use a light mist of temporary adhesive or a small amount of painter's tape at the selvage, keeping adhesive away from the cutting path and the finished fabric area.
Which direction should you cut?
Find the nap by brushing the pile with your hand. If the nap runs downward, guide the blade from top to bottom in a long, even stroke. Cutting with the nap helps the pile lie in a consistent direction instead of lifting into the blade or pushing against it.
Keep the blade against the ruler and roll continuously from one end to the other. Lifting the cutter halfway through encourages a visible notch, especially when the fabric compresses beneath the ruler. If the cut is longer than your comfortable reach, stop safely, retract the blade, reposition your body and ruler, then resume from a clearly aligned point.
Use the 45 mm blade for ordinary minky yardage and the 60 mm blade when the material is more bulky or you're working through a thicker stack. Apply pressure straight down through the cutter. Don't drive the handle forward with your wrist, and don't muscle through a snag.
A snag is information, not an invitation to push harder. Reset the fabric, inspect the blade, and make the next pass cleanly.
Your non-dominant hand should hold the ruler firmly, with the index finger safely away from its edge. Keep your wrist steady and let the blade roll. Pushing harder can compress or crease the pile, dull the blade, and make the next cut less predictable.
For a mess-free approach to plush yardage, use OPN's guide to cutting minky fabric. Clean edges also make later quilting easier because the fabric feeds into assembly with less shifting and fewer opportunities for a seam or longarm pass to expose a distorted edge.
This short demonstration can help you observe the relationship between ruler pressure, blade angle, and a continuous stroke.
When a Rotary Blade Is Too Dull to Use Safely
A dull blade is a safety problem, not just a quality problem. When the edge stops slicing cleanly, many quilters respond by pressing harder or repeating the same stroke, which increases the chance of a slip and can distort the fabric.
Look for observable signs instead of waiting for a calendar reminder:
- Skipped fibers: Small sections remain attached after a full stroke.
- Chattering: The cutter jumps, vibrates, or feels rough across the mat.
- Frayed edges: Threads pull or the pile looks disturbed instead of cleanly separated.
- Extra force: You're pressing noticeably harder than you did at the start of the project.
The Wawak rotary cutter guide identifies dull blades as a safety concern because extra pressure raises the chance of a slip. A fresh blade also protects your cut geometry. Repeated passes can widen an edge, shift the pile, or create a strip that looks straight only until it's sewn.
How often should you replace the blade?
Replacement should follow use and fabric condition, not a rigid date on the calendar. Minky, Cuddle, and other plush fabrics can challenge a blade because the pile creates resistance and may leave fibers around the blade assembly.
| Fabric Type | Approx. Hours Before Replacement | Warning Signs |
|---|---|---|
| Quilting cotton | Use-based replacement, with no universal hour rule | Skipped fibers, chatter, or extra pressure |
| Minky and Shannon Cuddle | Replace sooner when resistance appears | Pulled pile, snags, frayed edges, or repeated passes |
| Thick or layered materials | Inspect frequently during the project | Reduced cutting depth, jumping, or uneven separation |
A quick paper test can help. Roll the cutter through a scrap of printer paper on a suitable mat, without putting your fingers near the blade. If it tears, catches, or leaves uncut sections, stop and inspect the blade rather than compensating with force.
The rotary cutter guide from OPN is a useful place to compare cutter features before replacing a blade. A replacement blade costs less in time and frustration than recutting warped strips or treating a finger cut.
Troubleshooting Skipped Cuts and Uneven Lines
When a plush cut goes wrong, start with the symptom and work backward. Recutting without identifying the cause usually repeats the same problem.
Why did the cutter skip?
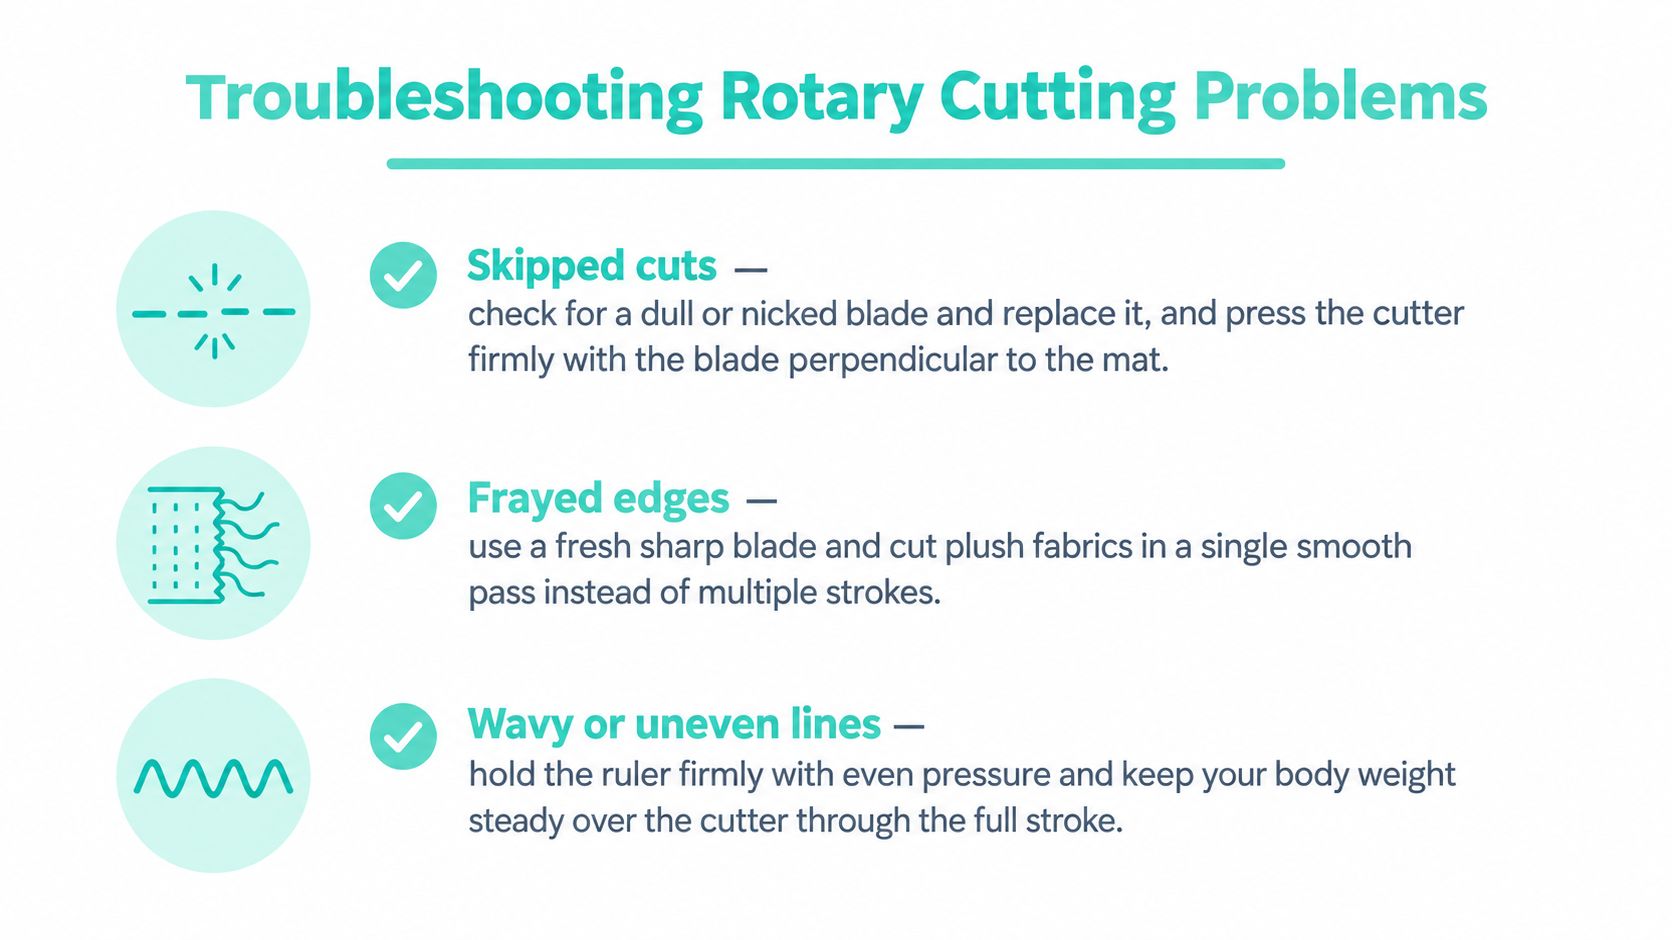
Skipped cuts usually point to a blade that's dull, nicked, or meeting too much resistance. They can also appear when the ruler shifts or when the mat's surface grips unevenly.
Immediate fix: Replace or inspect the blade, make sure it's secured correctly, press the ruler evenly, and repeat the stroke with the blade perpendicular to the mat.
Why are the edges frayed?
Fraying often means the blade is cutting against the nap, the stroke was interrupted, or the stack is too thick for the blade size. A dull edge can pull fibers instead of separating them.
Immediate fix: Turn the fabric so the nap runs in the cutting direction, use a fresh sharp blade, and make one smooth pass through an appropriate number of layers.
Why is the line wavy?
A wavy line usually comes from ruler drift, uneven hand pressure, or the temptation to angle the cutter around a stubborn section. A stretched or damaged mat can also make the grid less reliable as a reference.
Immediate fix: Stop, realign the ruler at both ends, spread your hand over its surface, and keep your body weight steady as the cutter travels.
Don't chase a bad cut by bending the blade toward the line. Reset the fabric and ruler instead. OPN's accuracy guide offers another practical reference for reducing drift and improving repeatability.
Putting It All Together and Finishing Your Quilt
A rotary cutter is the gateway between a flat pile of Shannon Cuddle yardage and a quilt top ready for the longarm. The quality of that finished quilt depends on several small decisions made at the cutting table.
First, match the blade to the job. Use a smaller blade for curves, a 45 mm blade for everyday minky work, and a larger blade when the material is bulky or the cut is long and straight. Then prepare the station so the mat supports the fabric, the ruler stays flat, and your body can work without strain.
The cutting motion matters just as much. With plush fabric, identify the nap, keep the layers from shifting, roll in one uninterrupted stroke, and use downward pressure instead of forcing the cutter forward. When the blade skips, chatters, frays the pile, or needs more force, stop and inspect it.
What should happen after cutting?
Square the selvedge before measuring the main pieces. Check the fabric grain and confirm that repeated strips match the ruler and mat references rather than relying on a single visual line.
When the quilt top and backing are ready, square the quilt sandwich carefully. Minky adds weight and bulk, so baste in a way that keeps the layers aligned before loading them onto a longarm frame. A cleanly cut backing reduces the amount of correction needed at the loading stage.
Minky also reveals inaccuracies that quilting cotton may disguise. A strip that's slightly uneven can telegraph through a border, and a backing that shifts during assembly can create tension problems later. Accurate rotary cutting won't solve every quilting issue, but it removes one of the most avoidable sources of trouble.
For a plush project that's ready to finish, browse OPN Quilting's Shannon Cuddle and Luxe Cuddle fabrics. Textures such as Hide, Snowy Owl, and Fawn create different pile effects, so cut and mark them with the nap in mind. OPN also offers Mail-in Longarm quilting services, with batting and thread included and free return shipping, according to the publisher information provided for the shop.
Finishing check: Before you package a quilt for service, verify the backing edges, square the sandwich, and remove loose fibers from the cutting process.
On Pins & Needles Quilting Co. offers premium minky fabrics, rotary-cutting notions, and Mail-in Longarm finishing for quilters who want help carrying a plush project from yardage to completed quilt. Visit On Pins & Needles Quilting Co. to choose your fabric or book the finishing service, and use the 15% first-order coupon or free U.S. shipping on orders over $70, as applicable to your order.