
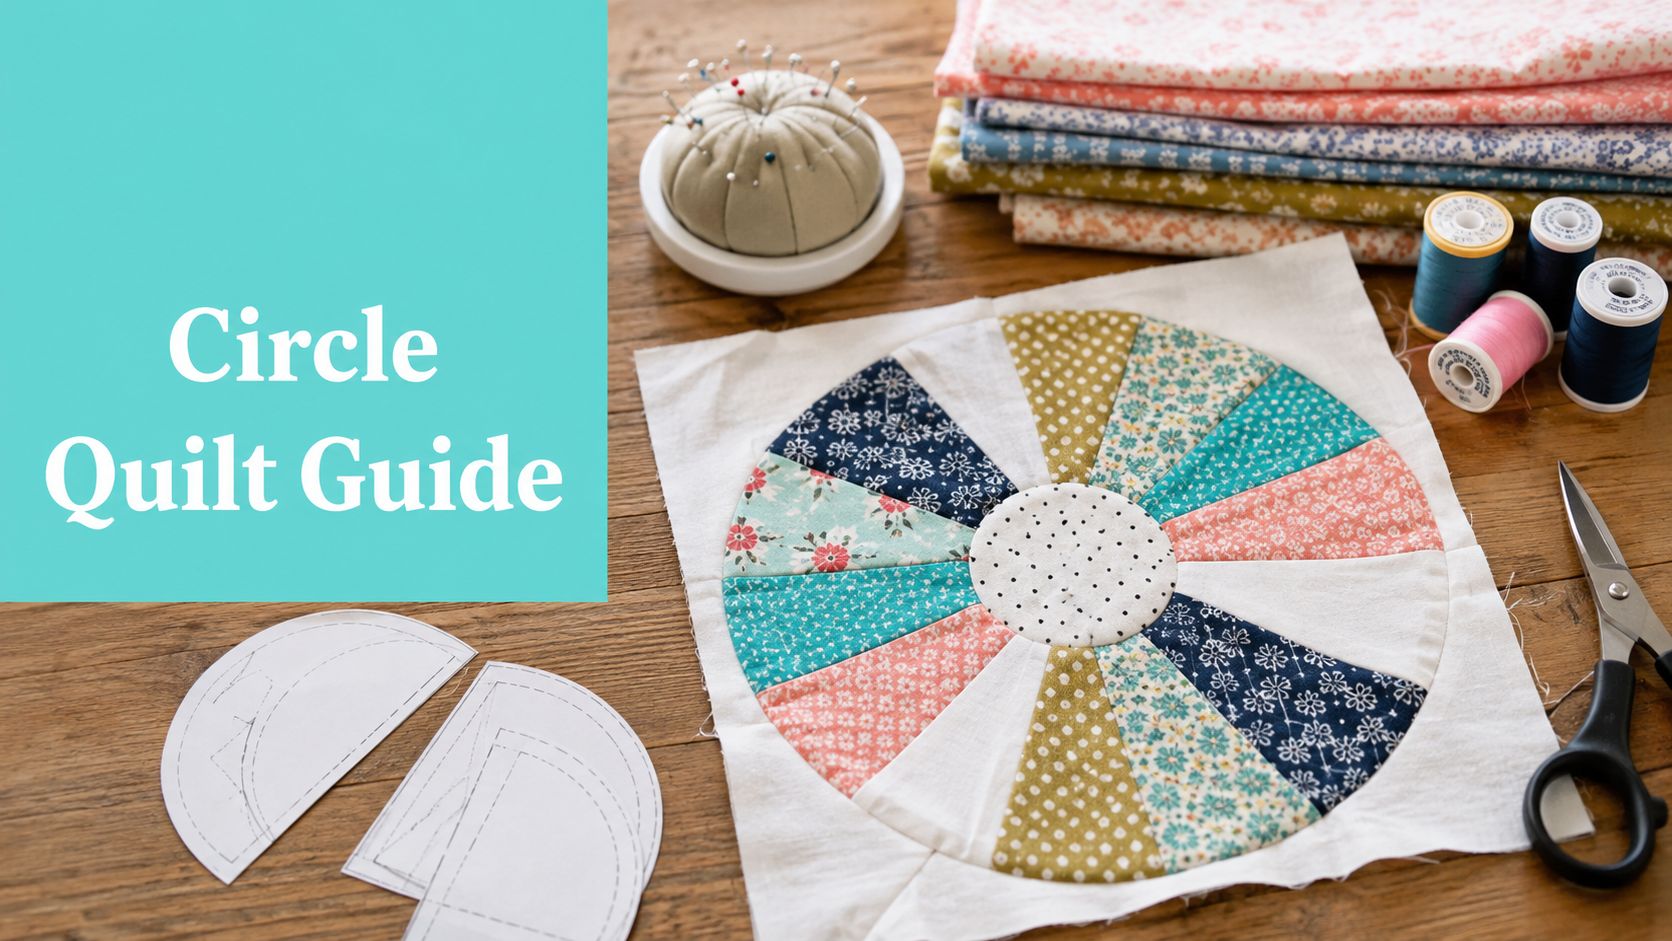
You're halfway through a bold circle quilt when the curves start waving, the seams build ridges, and the plush backing seems to move in every direction. A successful quilt pattern circle depends on matching the construction method, circle density, and backing fabric to the project's scale and drape. That decision matters even more with Shannon Cuddle or Luxe Cuddle, where bulk and pile can hide problems until quilting begins.
Choosing the Right Circle Construction Method
A circle can look simple on paper and still demand very different handling at the sewing machine. Template appliqué gives the most control over placement, curved piecing creates an integrated graphic, English Paper Piecing suits handwork and soft geometry, and foundation paper piecing helps organize structured designs.
The right method depends less on ambition than on the finished quilt you want. A crisp modern wall quilt benefits from controlled templates or carefully pieced inset circles. A relaxed throw can tolerate the softer irregularity of appliqué or hand-sewn circles.

How do circle methods compare?
| Method | Accuracy | Speed | Best For |
|---|---|---|---|
| Template appliqué | High placement control | Fast once templates are prepared | Existing quilt tops, borders, and graphic designs |
| Curved piecing | High when accurately cut and sewn | Moderate | Crisp inset circles and modern blocks |
| English Paper Piecing | Consistent by hand | Slow | Portable work and softer traditional effects |
| Foundation Paper Piecing | Strong shape organization | Moderate | Geometric layouts with multiple seams |
Template appliqué is the forgiving choice when you're adding circles to a finished top. Folding, marking, and securing the edge lets you focus on roundness without forcing two opposing curves through the presser foot.
Curved piecing gives the cleanest integrated look, but it exposes every cutting and sewing error. It's also the method most likely to punish a bulky seam, especially when the finished quilt will receive dense quilting or a plush back.
English Paper Piecing offers control through paper shapes and hand stitching, though its pace makes it less practical for a very large field of repeated circles. Foundation Paper Piecing can be accurate for complex geometry, but it's often unnecessary for a simple full circle and may create extra seam bulk.
Practical rule: Choose the method that makes the quilt easier to keep flat, not the method that looks fastest in a diagram.
For design inspiration, the Blue Onion quilt pattern article shows how repeated rounded forms can create movement without making every circle identical. Before cutting expensive minky, make a test block in quilting cotton and assess the seam behavior, pressing direction, and quilting density.
Mastering Full-Circle Piecing and Layout Math
Full-circle piecing rewards preparation. The most common failure isn't the curve itself. It's cutting the background too small, losing the seam allowance, or assembling rows in the wrong sequence.

What cutting sequence keeps a circle block accurate?
For a repeatable full-circle block, use this order:
- Cut the circle fabric to about a 9-inch square. Keep the square intact until the circle is marked and cut. That surrounding fabric gives you something stable to handle while you're matching the curve.
- Cut the background at least 1 inch larger than the unfinished block. An undersized background leaves no room for trimming and can force the circle out of alignment during assembly.
- Mark the centers before sewing. Fold both pieces carefully and use the crease points as matching references. Matching only the outside edge encourages the curve to drift.
- Sew with a 1/2-inch seam allowance. Keep the allowance consistent around the entire circumference. A changing seam width alters the finished circle and makes neighboring blocks harder to join.
- Press the seam open or toward the darker fabric. Either choice can reduce visible bulk, but open pressing is particularly useful when several circle seams meet.
The background needs enough extra fabric to absorb handling and trimming. If it's cut to the exact unfinished size, even a small amount of stretching can leave you with a block that no longer squares cleanly.
How does layout math prevent distortion?
A published full-circle example uses 6 blocks across by 8 blocks down to create a 38 x 50 inch quilt. The useful lesson isn't copying that exact arrangement. It's calculating the finished dimensions before cutting, then checking whether the block size, seam allowance, and border plan agree.
Write the row sequence on paper or label completed rows with removable notes. Mis-sequencing can create a visually obvious shift, and correcting it after adjoining rows have been pressed is much harder than maintaining order from the start.
For additional planning help, use OPN's quilt yardage guide before buying fabric. It's especially important when the circle fabric and background have different nap, stretch, or directional patterns.
Appliqué and Template Techniques for Crisp Edges
Appliqué is the practical escape route when curved seams are stealing the enjoyment from the project. You can place a circle on an existing quilt top, add a row of circles to a border, or build a whole design without cutting a concave opening into the background.
How do you make a clean appliqué circle?
Start with a firm template that matches the finished circle size. Trace on the wrong side of the fabric, cut with a consistent allowance, and use folding or marking to locate the vertical and horizontal centers before positioning it.
For a six-minute circle approach, the preparation is designed to produce a turned edge quickly. The method works best when the fabric responds predictably to pressing and doesn't stretch as you handle the perimeter.
Needle-turn appliqué takes longer but gives you direct control over the edge. Use a fine needle, short manageable sections, and minimal thread tension. Pulling the thread tightly can draw the edge inward and create the very puckers you're trying to avoid.
A stabilizer should support the fabric without making the circle stiff. Lightweight cotton usually needs less intervention than a loose weave, while a slippery or plush surface may need temporary support so the edge doesn't shift during stitching.
Which edge-finishing choice suits minky?
Minky is not the place to rely on aggressive pressing. Heat and pressure can change the surface, and the pile can make an edge appear smooth until the fabric is moved.
For a cotton appliqué circle on a minky-backed top, secure the circle to the quilt top before the backing is added. Keep the quilting line deliberate and avoid packing multiple close stitches into the perimeter unless the design requires that density.
The OPN appliqué tutorial is a useful reference for building confidence with the edge before committing to a large project. Practice one circle, wash or handle the sample as you expect to handle the finished quilt, and inspect the edge from both the front and back.
Designing Circle Quilts for Minky and Extra-Wide Backings
Plush backing changes the engineering of a circle quilt. Shannon Cuddle and Luxe Cuddle add softness and dimension, but their pile can conceal drag, seam ridges, and small puckers until the quilt is already loaded.
Circle-heavy tops usually behave better when the visual scale is bold and the quilting field isn't overcrowded. High-contrast circles read clearly against plush textures, while many tiny circles can create a busy surface and concentrate handling stress around repeated seams.

How should you match circles to plush drape?
Use the backing width to guide the scale of the top. Extra-wide options include 90-inch and 110-inch widths, which can reduce or eliminate a central backing seam on large quilts, as described in OPN's extra-wide backing guide.
A large circle motif generally complements a broad, soft backing better than a tightly packed field of small circles. The larger the finished quilt, the more important it becomes to control the number of intersecting seams and avoid building thick points where several pieces meet.
Batting should provide enough structure to support the top without turning the quilt rigid. A lofty batting may exaggerate seam ridges, while a flatter option can preserve drape and let the Luxe Cuddle surface remain the dominant tactile feature.
Which plush textures work with geometric circles?
Shannon Fabrics textures such as Hide, Snowy Owl, and Fawn create very different visual conversations with a circle top. Hide brings a pronounced textural statement, Snowy Owl creates a soft high-pile effect, and Fawn offers a warm, understated surface for stronger top colors.
| Project concern | More reliable choice |
|---|---|
| Bold graphic top | A plush texture with enough contrast to separate the circle shapes |
| Soft, draping throw | A backing that doesn't add unnecessary seam weight |
| Large quilt without a back seam | Extra-wide minky selected to fit the finished dimensions |
| Dense circle top | Lower-bulk seam treatment and restrained quilting density |
Plush fabric magnifies construction decisions. If the top is fighting to lie flat before quilting, the backing won't rescue it.
Use a walking foot during assembly where possible, secure the layers without stretching, and inspect the pile direction before cutting. A mismatched nap can make identical color look inconsistent across the back, while a shifted backing can introduce drag that distorts the circle field.
Shop note: OPN Quilting stocks Shannon Cuddle and Luxe Cuddle options, including textures such as Hide, Snowy Owl, and Fawn, alongside extra-wide backing choices for larger projects.
Longarm Quilting Strategies for Circle Patterns
Circle quilts demand careful control at the frame, especially when a plush minky backing adds drag and movement. For shaped quilts, cut the backing at least 4 inches larger than the quilt top on all four sides, following the guidance in this Longarm University circle-quilting resource. That extra margin gives the clamps and rollers enough fabric to hold without pulling the curved perimeter inward.
How do you prepare a circle quilt for the frame?
Square the top as far as the design permits, then inspect the backing for nap direction and loose selvage edges. A small wall hanging can tolerate more hand positioning, while a larger, drapier quilt benefits from firm edge stabilization before the quilting begins. Baste across the top edge first, then down both sides, so the unusual perimeter stays controlled as it advances.

Registration lines make template work more predictable. Draw a horizontal line across the working area and add a vertical reference when needed. Align the etched template line with the mark, then keep the hopping foot against the template edge. Plush pile can hide small shifts, so check alignment at each advance instead of trusting the previous pass.
Secure thread tails before starting the first curve. Tuck them beneath the template, then stitch over the beginning and ending points until the join nearly disappears. This prevents tangled thread from collecting against the minky pile.
For a fuller preparation checklist, use these OPN longarm quilt prep tips.
Which quilting designs work for repeated circles?
Edge-to-edge patterns travel across the quilt rather than remaining inside individual blocks. Circle Meander, Roundabout, Circle Bubbles, and Bubbles provide repeatable circle motifs, demonstrated in this circle edge-to-edge quilting demonstration.
For concentric circles with a walking foot, begin with the larger outer circle and work toward the center. Advance in 1 to 2 stitch increments, pause with the needle down, and rotate the quilt slowly. Count stitches on the first small circle, then repeat that count to maintain spacing. Keep your eyes on the walking-foot guide and ruler line. Slow rotation keeps the circle looking intentional from edge to edge, while steady guide contact prevents flat spots and puckers.
Finalizing Your Circle Quilt Project
The finish should preserve the shape you worked so hard to build. Press from the appropriate side for the fabric, trim only after the quilt has relaxed, and inspect the perimeter for pulled threads or exposed seam allowances before binding.
Use OPN's binding guide when the circle edge or curved border needs a flexible finish. A straight binding may fight a rounded edge, while careful preparation keeps the binding from creating waves.
OPN Quilting's Mail-in Longarm service includes batting and thread, with free return shipping. The shop also carries curated minky collections, including Luxe Cuddle textures such as Hide and Snowy Owl, and provides support for selecting a finish that suits the quilt's size and backing.
Save on your first order: Use the 15% first-order coupon, and remember that orders of $70 or more qualify for free U.S. shipping, as stated by OPN Quilting.
Customers can also review the shop's hundreds of verified reviews when deciding whether to purchase backing, supplies, or finishing services. For a circle quilt, that combination of controlled construction and professional quilting can turn a difficult plush-backed project into a soft, stable finished piece.
On Pins & Needles Quilting Co. offers premium Shannon Cuddle and Luxe Cuddle fabrics, extra-wide backing, and Mail-in Longarm finishing for circle quilts that need careful handling. Visit On Pins & Needles Quilting Co. to choose your backing or book your longarm service, then use the 15% first-order offer to get started.