
A fabric bundle is a coordinated set of pre-cut or pre-measured fabrics sold together, so the buyer gets matching prints without matching them by hand. The best fabric bundles for sewing contain pieces that fit your cutting list, not just enough fabric in total.
What good is a beautifully coordinated stack if none of its pieces is wide enough for your border? Choose by usable cut geometry first, then color and texture. That's how we approach bundle selection for patchwork, soft gifts, and quilt backs: decide what must come out of the fabric before deciding what goes into the cart.
What Are the Common Fabric Bundle Types?
Most shoppers encounter cotton precuts first, followed by larger measured cuts for blankets and backing. They solve different problems: precuts provide coordinated smaller pieces, while minky yard cuts provide broad, continuous fabric.
Piece size and continuous width matter more than the bundle's name. A stack of squares can't replace an unbroken backing panel, even when its total area looks generous.
| Bundle | Typical cut size | Best for | Main limitation |
|---|---|---|---|
| Fat quarters | About 18 x 22 inches | Quilt blocks, pouches, bags | Selvages and directional prints reduce usable area |
| Charm squares | 5 x 5 inches | Small patchwork, mini quilts | Too small for large background pieces |
| Layer cakes | 10 x 10 inches | Larger patchwork blocks | Check piece count; larger squares don't guarantee more pieces |
| Jelly rolls | 2.5 x 42 inches | Strip-pieced quilt tops | Built for strips, not broad pieces |
| 2 Yard Luxe Cuddle cut | 2 yards long, width set by the cut | Blankets, pillow covers | Confirm width on the product page before ordering |
| 2.5 Yard Luxe Mirage 80 cut | 2.5 yards x 80 inches wide | Throws and large blankets | Plush pile makes inaccurate cuts harder to disguise |
| 3 Yard Extra Wide Cuddle cut | 3 yards x 90 inches wide | Quilt backs and large throws | Fewer seams, but heavier to handle |
How should we compare squares, strips, and yard cuts?
Compare each format against the largest uninterrupted piece your pattern requires. Fat quarters offer useful depth for bag panels and blocks; charm squares make sense when the design already calls for small units.
Layer cakes give you more room to subdivide a square, but don't assume every pack has the same piece count. Check the listing for duplicate prints, total pieces, and whether the collection includes enough light and dark fabrics for the design.
Strip bundles work well when the construction starts with long strips. Cutting them into short sections is straightforward, but joining strips to manufacture a broad background introduces seams you may not want.
With plush yard cuts, length alone doesn't tell you whether the project fits. A broad blanket panel needs both dimensions, plus a layout that respects the pile direction.
Buying rule: Compare what you can cut, not how impressive the stack looks.
For square-based patchwork, compare layer cake fabric bundles before choosing between larger squares and smaller precuts. Write down the largest cut your next project needs, including seam allowances, before choosing a format.
Which Bundle Fits My Project and How Much Extra Do I Need?
Judge a bundle by the usable cuts it gives your layout, not by the size of the stack.
| Project | Best bundle | Why it fits | Extra fabric to plan |
|---|---|---|---|
| Baby blanket | 2 Yard Luxe Cuddle cut | One cut provides a soft front or back | About 10% for trimming |
| Adult throw | 3 Yard Extra Wide Cuddle cut | Broad panels can avoid piecing seams | About 10% for trimming and nap matching |
| Pillow covers | Pillow kit with forms | Matched components simplify sizing | Check kit contents against cover size |
| Infinity scarf | Infinity Scarf Kit | Pre-selected pieces reduce the number of fabric choices | Check the kit contents against the scarf pattern before cutting |
| Patchwork quilt top | Fat quarters or layer cakes | Coordinated prints support a planned top | About 10% for trimming and alignment |
| Strip quilt | Jelly roll strips | The format suits strip construction | About 10% for trimming and strip joins |
| Quilt backing | 90- or 110-inch extra-wide minky | Can eliminate a center seam when the required backing fits | Allow the quilting service's required overage |
For the planning allowance in this table, the HC Quilts fabric guide recommends reserving approximately 10% for trimming, cutting mistakes, and pattern alignment, and lists standard precut dimensions for checking your layout.
That reserve still has to survive the actual cutting diagram. Directional prints and plush nap can prevent you from rotating a piece into an otherwise convenient gap, so a bundle with enough total area can still come up short.
How do we turn a cutting list into an order?
Start with the pattern's cut dimensions, not the finished block dimensions. Then work through the layout:
- List every rectangle. Include its quantity, orientation, and seam allowance.
- Draw the available cuts. Mark selvages and any edges you'll need to straighten.
- Place the largest pieces first. Fit smaller components into the remaining spaces without reversing directional motifs.
- Separate supporting yardage. Backgrounds, borders, binding, and backing often need their own purchases.
A bundle can contain enough square inches and still fail this test. Small squares won't produce a long, uninterrupted border unless you piece them, and piecing changes both the look and the construction time.
What does a realistic throw layout look like?
For a hypothetical 60 x 72-inch throw, allowing approximately a tenth extra along each dimension gives a planning rectangle of about 66 x 79 inches. That fits within a 3-yard x 90-inch cut, or 108 x 90 inches, provided the nap and intended construction permit that orientation.
There's fabric left for possible pillow covers, but don't promise a matching set until you draw those panels into the remaining shape. An offcut's length, width, and direction determine its usefulness.
This example adds allowance along both dimensions; it isn't the same as adding a tenth to total area. Don't use blanket-planning arithmetic as a substitute for longarm backing requirements.
Calculate your fabric yardage with the cutting list beside you. Sketch the layout on paper, verify every required piece, and only then place the order.
Which Makers Get the Most Value From Fabric Bundles?
Bundles earn their place when they remove a decision you don't want to repeat. They're less useful when you already know you need a large quantity of one fabric.
The FabShop market overview identifies coordinated precuts and beginner-friendly kits as formats that lower the barrier to starting a project. The practical benefit is simple: makers can concentrate on construction instead of selecting every print separately.
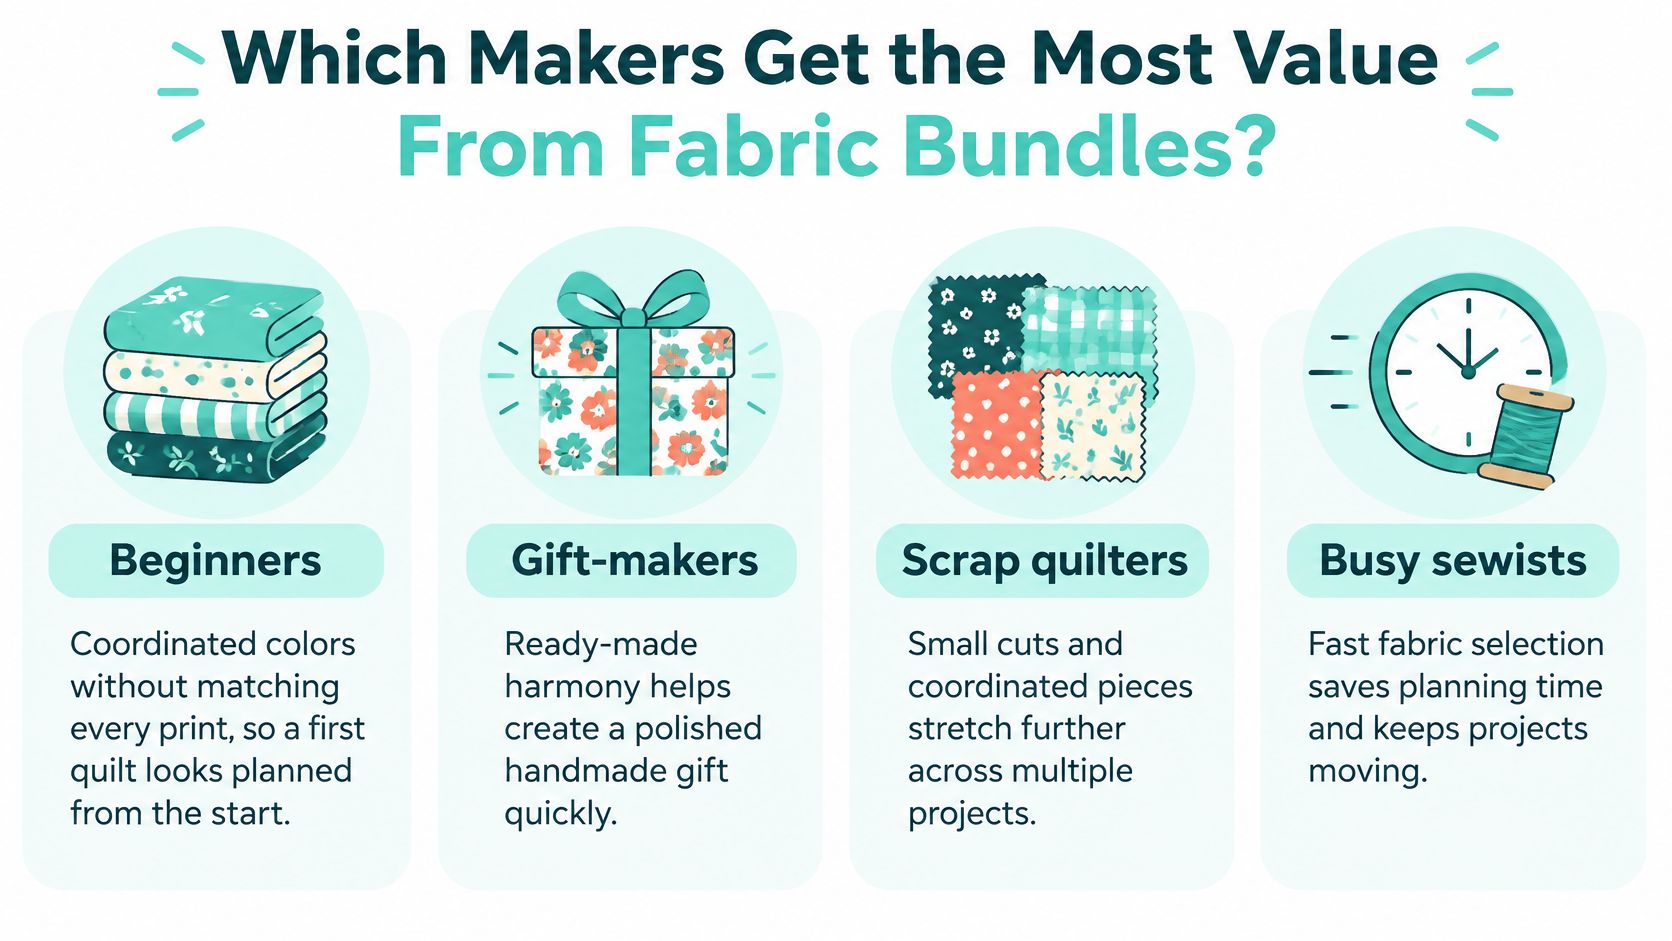
Who benefits from a coordinated starting point?
- Beginners: A coordinated set keeps a first quilt from becoming an extended color-matching exercise. Choose a pattern written for that precut format so you're not learning construction and redesigning the cutting plan simultaneously.
- Gift-makers: A blanket cut or project kit reduces the design decisions before each gift. Check the recipient's care needs before choosing the soft fabric.
- Small handmade sellers: Consistent cut specifications make repeat production easier to plan. Confirm availability before building a product line around a particular print, because a curated bundle isn't a guarantee of ongoing stock.
- Quilt piecers: Compatible prints help establish a palette across the top. Still check value contrast; fabrics can coordinate beautifully yet look too similar once sewn together.
For Shannon Fabrics textures such as Hide, Snowy Owl, and Fawn, coordinate more than color. Compare pile height, surface pattern, and how the fabrics meet at a seam before combining them in one panel.
When is plain yardage the better buy?
A bundle saves selection time, but it isn't automatically cheaper per usable inch. If you only need one fabric, compare continuous yardage with the bundle price after accounting for unwanted pieces and shipping.
Scrap quilters can make good use of smaller coordinated leftovers, while busy sewists may value the quicker selection more than the remnants. Neither advantage justifies buying pieces that don't fit the intended work.
Match yourself to the job: learning, gifting, repeat production, or piecing. Then choose the format that removes your biggest obstacle.
What Should I Check Before Buying Cuts and Backing?
A bundle earns its price when the pieces map cleanly to the panels you need. Judge the list by cut geometry: finished width, usable length after squaring, pile direction, and how much waste remains once the largest panel is claimed.
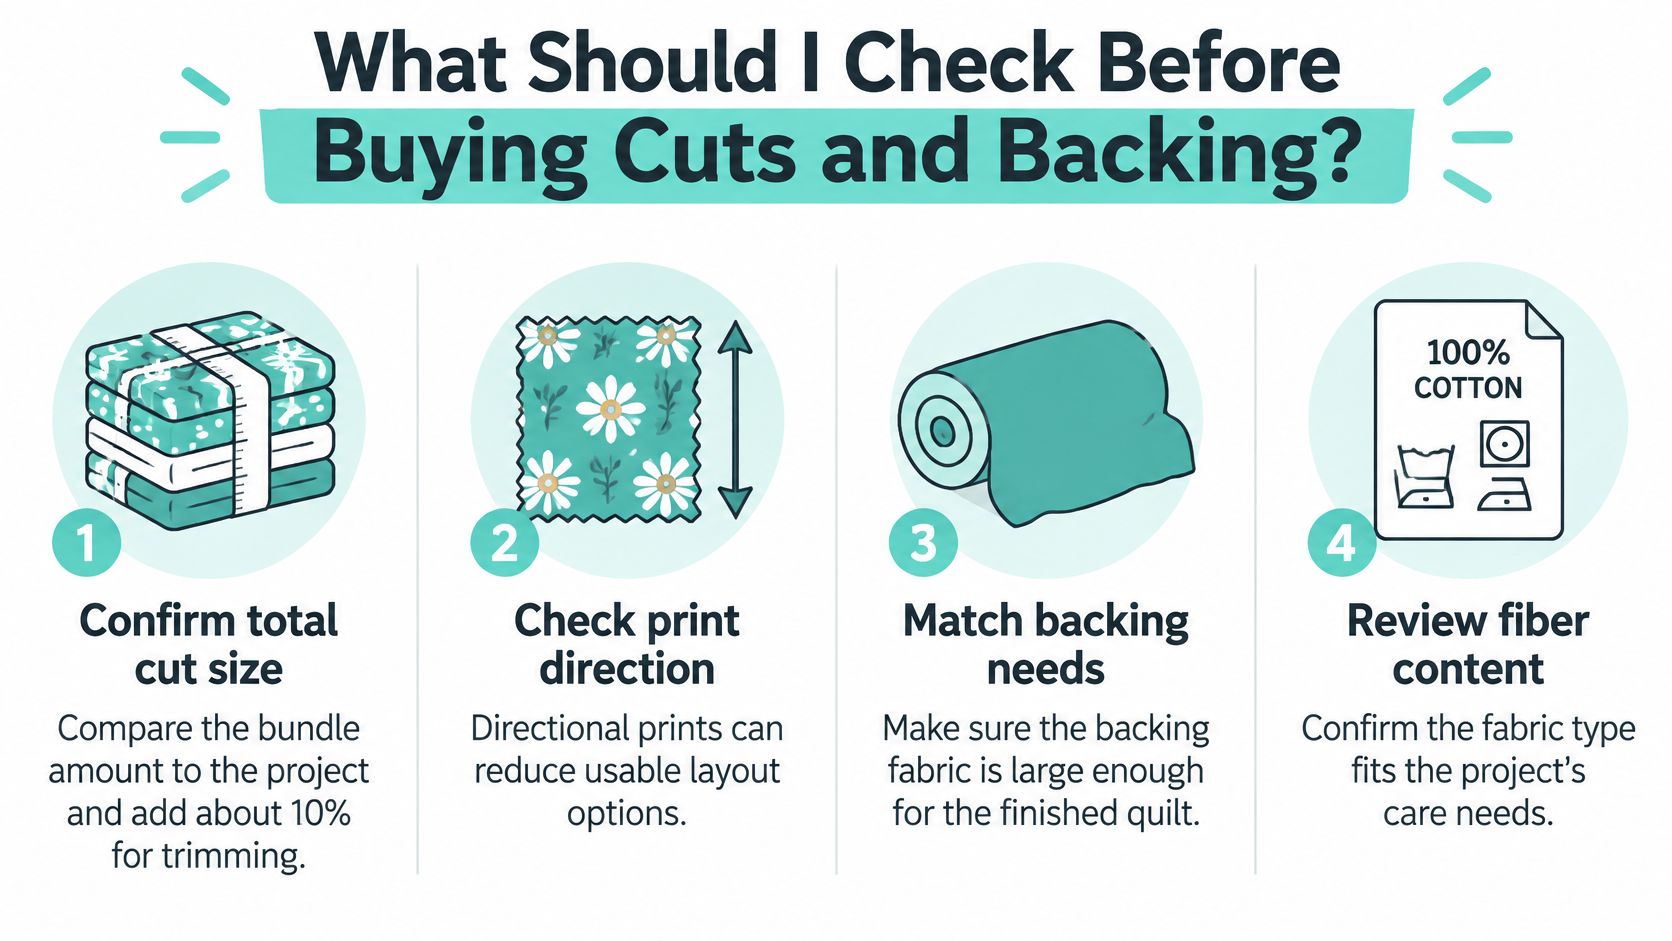
Run this check while the pattern and product description are both open:
- Confirm the full cut size. Compare length and width with the largest pattern panel, then keep trimming reserve separate from fabric already assigned to pieces.
- Check print and nap direction. Animals, lettering, and scenic motifs may need to face one way. Plush nap can impose the same limit even on a solid.
- Review fiber content and care. Coordinated materials still need compatible washing and pressing. A washable blanket gets awkward fast if one component needs different treatment.
- Inspect kit contents. Verify whether forms, backing, binding, and instructions are included. A fabric set is a materials bundle until the pattern confirms the rest.
- Compare usable cost. Include shipping and any extra yardage needed to finish. Leftovers count only when the shape and size can serve a later project.
How large should longarm backing be?
Size backing by the loaded requirement rather than the quilt top alone. It should extend past every edge of the top, with extra allowance for loading and handling, and the receiving quilter's prep directions should set the final margin. Remove selvages from backing seams and place any seam across the width, parallel to the quilt's top and bottom edges.
For our mail-in edge-to-edge service, follow the Quilt Prep Instructions before the final backing cut. If binding service is part of the order, send binding fabric with the quilt because binding services do not include it.
An extra-wide panel only removes the center seam when the required backing dimensions, including loading allowance, fit inside its usable width. A 90-inch or 110-inch extra-wide Cuddle option can still fall short if the usable width runs narrower than the label or the nap must travel one direction.
Mail-in machine quilting includes standard thread, patterns, Quilter's Dream 80/20 request loft batting, and free standard return shipping to the lower 48 USA states.
Before combining saturated prints with pale fabric, run a color fastness check. It is easier to swap one cut now than to correct transferred color after construction.
For storage, roll prepared fabric rather than pressing sharp folds into it. Label each bundle with measured cut size, fiber content, nap direction, and intended project; for mailing, pack the components securely and follow the quilt-preparation directions.
How Do I Prewash and Square Bundle Fabric?
Preparation should suit the textile, not the fact that it arrived in a coordinated package. Small cotton precuts, woven yardage, and plush polyester don't all respond well to identical washing and pressing routines.
The University of Nebraska–Lincoln sewing guide recommends preshrinking under the washing and drying conditions intended for the finished item and straightening grain before cutting. That prevents a carefully pieced project from changing shape unexpectedly after laundering.
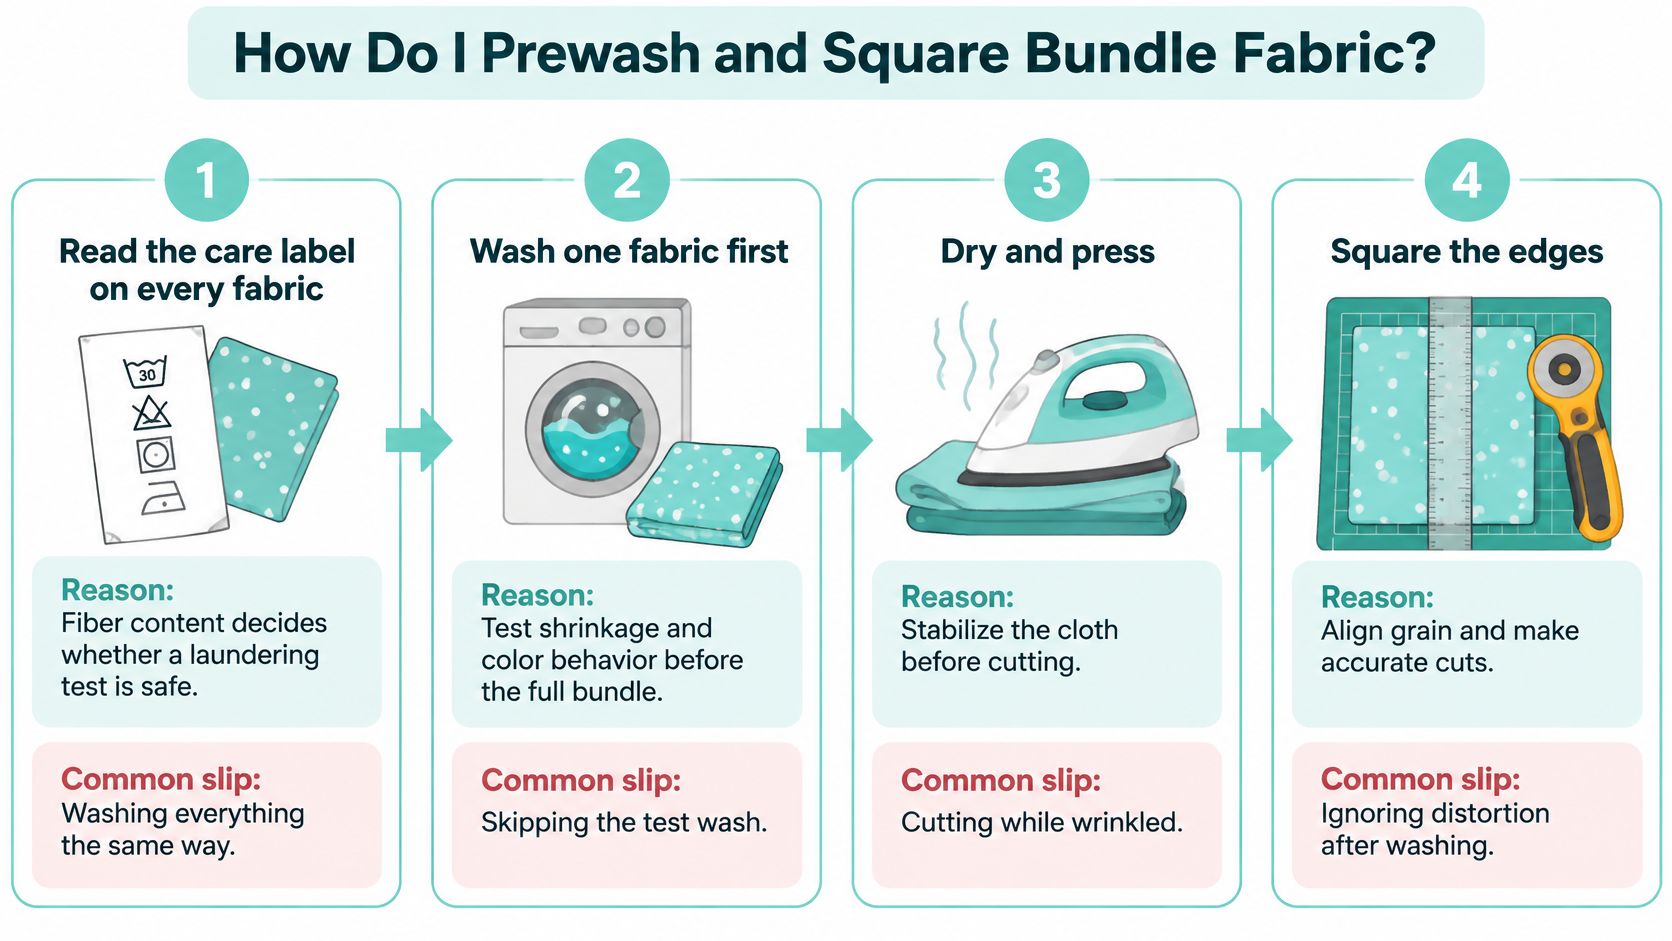
What preparation sequence works?
- Read the care label on every fabric. Fiber content and finish determine whether laundering or pressing is safe. Don't wash the entire bundle the same way merely because its colors coordinate.
- Test a representative swatch first. Use the washing and drying conditions the finished item will receive, or wash the whole bundle when its care instructions and cut format permit. Skipping this can leave you with dimensional changes after piecing, while washing tiny precuts carelessly can leave too little usable fabric.
- Dry completely and press without stretching. For woven cotton, lift and lower the iron rather than pushing it across the cloth. For minky, follow the manufacturer's heat guidance and don't treat the pile like quilting cotton.
- Align and square the fabric. On woven yardage, bring the selvages together, smooth the folded fabric on a flat surface, and check the crosswise grain before trimming. Don't cut a straight-looking edge through a distorted fold and assume the cloth is square.
- Test different fibers and finishes separately. Similar colors don't guarantee similar shrinkage or heat tolerance. Keep the test pieces labeled so you know which result belongs to each fabric.
- Cut with a sharp rotary blade and rigid ruler. Keep a pattern's grainline parallel to the selvage along its full length, checking at both ends rather than judging by eye. Support the fabric on the table so its weight doesn't pull the cut out of shape.
What changes when the bundle contains minky?
Don't try to straighten plush knit fabric by pulling it into the shape you want. Let it relax flat, keep it supported, and square the cut without stretching the backing.
Before opening a plush bundle at the cutting table, prepare to cut minky without the mess. Clear nearby materials and keep a brush or vacuum within reach.
A prepared bundle should lie flat without being held under tension.
Before cutting the project pieces, label each fabric and identify its usable edges. Include backing and binding in the preparation decision, rather than treating them as unrelated finishing materials.
How Do I Sew Minky Bundles Without Stretch or Shedding?
When minky layers creep apart, adding more fabric tension usually makes the problem worse. Stretch, slipping, and shedding require different fixes, and a textured bundle introduces more handling decisions than a simple, even-pile fabric.
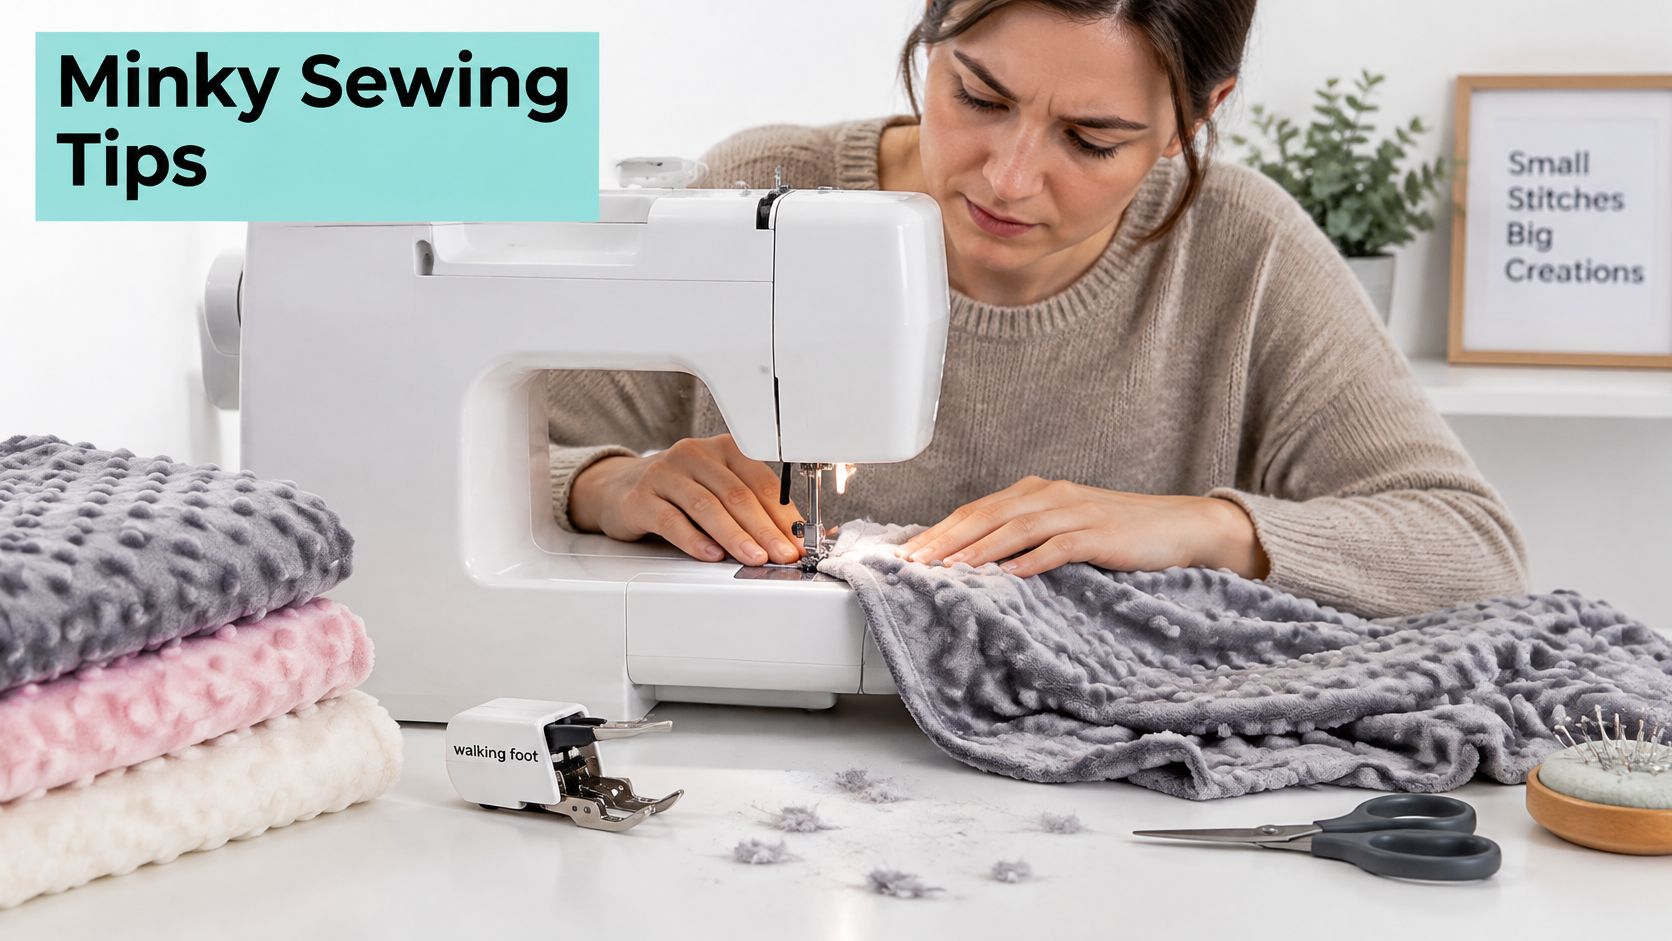
For a first plush project, choose a straightforward panel design and avoid mixing dramatically different pile heights. The minky sewing guide from I Can Sew This describes the fabric's slippery, stretchy handling and recommends tools and cutting practices suited to plush.
Keep the fabric's weight supported beside the machine rather than letting it hang from the table.
Which setup changes solve the common problems?
A walking foot helps move the top and bottom layers together. The University of Illinois sewing guide explains that its upper feed mechanism helps prevent stretching, but warns that it can damage very lightweight fabrics or push them beneath the stitch plate.
For ordinary straight seams, the Montana State University sewing guide gives a typical starting stitch length of 2–3 mm. Test toward the longer end for plush, adjusting for thickness, stretch, and seam purpose.
| Symptom | Likely cause | Fix |
|---|---|---|
| Skipped stitches | Dull or unsuitable needle, or fabric pulling | Fit a fresh stretch needle suitable for the fabric and test scraps |
| Creeping layers | Uneven feeding or unsupported fabric | Use the walking foot, clip layers, and support their weight |
| Bald-looking pile | Pile cut short or trapped in stitching | Cut from the backing side and gently release trapped fibers |
| Heavy shedding | Loose fibers released at cut edges | Brush and vacuum edges and the machine area after sewing |
| Seam puckering | Short stitches or fabric stretched during feeding | Test a longer stitch and let the feed mechanism move the fabric |
| Uneven nap across pieces | Pieces laid in opposing directions | Mark the nap on every piece before cutting |
Use clips to hold layers without forcing the edges to match by stretching. Adjust your setup to stop minky sliding before committing to a long seam.
Watch the handling technique, then test it on your own bundle.
Sew a sample seam using scraps of both project fabrics before cutting the main panels. Record the needle, stitch setting, and setup time so a repeat project doesn't start from guesswork.
Finally, mark nap direction on every cut. Check those marks again before sewing pieces together.
Which Bundle Should I Order for My Next Project?
Choose the construction path before choosing the print. For fabric bundles for sewing, the right order is project, required cuts, suitable format, then color and texture.
- Choose precuts for patchwork. Start with squares, fat quarters, or strips that match the pattern's construction.
- Choose curated yard cuts for blankets and throws. Prioritize an uninterrupted panel and manageable fabric weight.
- Choose extra-wide minky for quilt backing. Confirm the complete loading dimensions before preparing a quilt for Mail-in Longarm quilting.
Our Kits and Precuts selection includes 2 Yard Luxe Cuddle Cuts, 2.5 Yard Luxe Mirage 80 Cuddle Cuts, and 3 Yard Extra Wide Cuddle Cuts, alongside Cuddle Critters, Infinity Scarf Kits, Pillow Kits and Pillow Forms, Strips and Strip Kits, and Strip Blanket Kits. Choose a project-specific kit if you want supplied components rather than planning every cut yourself.
OPN has hundreds of verified reviews to help shoppers assess the shop before ordering. For finishing, our mail-in machine quilting includes standard thread, patterns, Quilter's Dream 80/20 request loft batting, and free standard return shipping to the lower 48 USA states.
Use our Quilt Prep Instructions before mailing your top, and include your binding fabric if you're ordering binding services.
Shop the Luxe Cuddle Collection.
Book Your Longarm Service Today.
You can get 15% off your first order, with free U.S. shipping on orders over $70.
On Pins & Needles Quilting Co. offers Shannon Cuddle and Luxe Cuddle cuts, project kits, and mail-in longarm finishing to turn a workable cutting plan into a finished project. Visit On Pins & Needles Quilting Co. with your project dimensions ready, choose the fabric format that fits, and Get 15% Off Your First Order.