
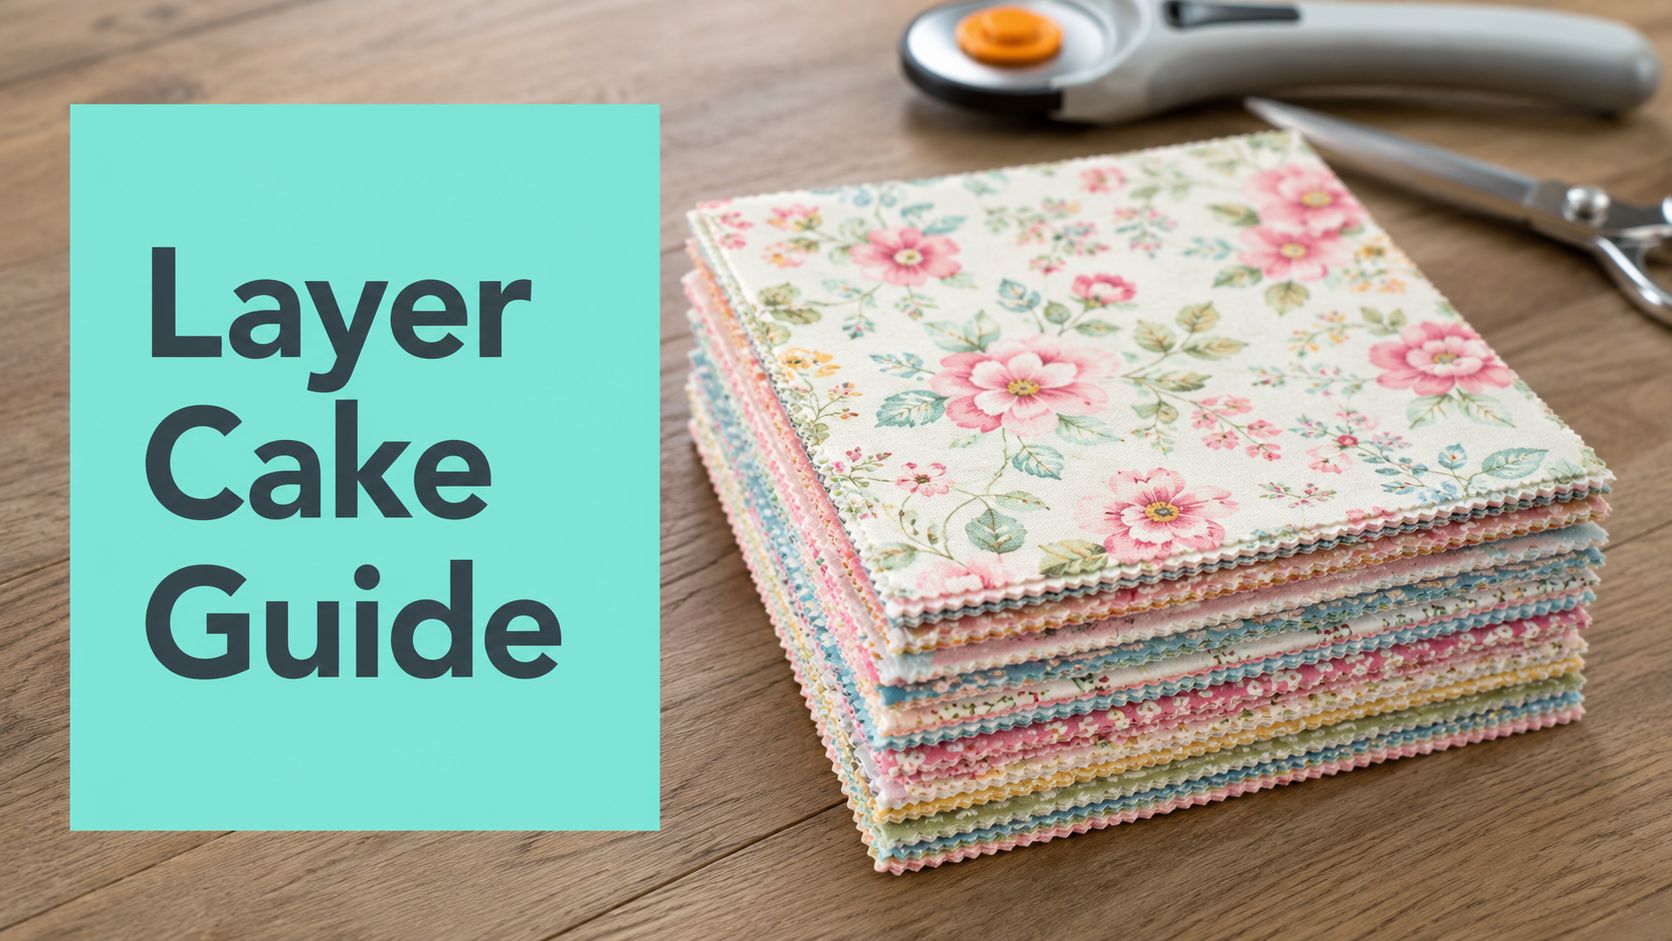
You're staring at a stack of layer cake fabric bundles and wondering if the prints will play nicely together, whether the edges are close enough to use as-is, and what to back the quilt with so the finished project still feels polished. A layer cake is a pre-cut bundle of 10-inch squares that lets you skip most precision cutting and move straight into block construction, which makes it a smart choice for beginners and experienced piecers alike.
What Are Layer Cake Fabric Bundles
At the cutting table, a layer cake is one of the easiest pre-cuts to understand. It's a pre-cut pack of 42 squares measuring 10 in × 10 in that gives quilters a ready-made stack of coordinated fabric without the usual yardage prep. That consistency matters because you can start arranging blocks right away instead of spending time squaring yardage and trimming each piece by hand.
Why quilters reach for them first
Layer cakes solve a common beginner problem, which is hesitation before the first cut. A new quilter can open the bundle, sort by color or print, and begin planning a quilt layout with very little setup. Experienced quilters like them for the same reason, they keep the workflow moving.
They also reduce the clutter that comes with pulling fabric from bolts one piece at a time. Because the squares are already cut, the design decisions become more visual and less technical at the start. That helps with patchwork, sampler quilts, and gifts where you want a coordinated look without building the fabric palette from scratch.
A layer cake works like a shortcut to the layout stage. You still need to press, inspect, and measure, but the hardest part of fabric selection is already done. If you want a closer look at how surface appearance and construction interact in fabric, the guide on how heather yarn is made is a useful reminder that those details can change the final hand and look of a textile.
Layer cakes also make brand comparison easier in real use. A square from one manufacturer may feel a little different from another because of pinked edges and cutting variation, so a quilter who measures carefully can spot whether the usable size is closer to a true 10-inch square or slightly less. That matters again when you plan to pair the top with a soft backing, especially if you are working toward a clean finish with a material like minky from OPN and want the quilt layers to lie flat together. For estimating fabric needs before you commit, the fabric yardage calculator can help you compare a bundle to the pieces your pattern will require.
Practical rule: A layer cake is best when your quilt design benefits from many different prints in one coordinated collection, not when you need a single continuous expanse of fabric.
Standard Sizes and Yardage Equivalents
A layer cake bundle gives you a reliable starting point, but the usable size can still shift a little from brand to brand. The usual standard is 42 squares at 10 inches by 10 inches, which works out to roughly 2 3/4 to 2 7/8 yards depending on the manufacturer and the way the fabric was cut. That estimate is useful when you are comparing a pre-cut bundle to a pattern written for yardage, especially if you are trying to decide whether the bundle will cover all the blocks without extra fabric.

Why the edge finish matters
Many layer cakes are cut with a pinked edge, not a straight edge, and that finish helps reduce fraying while the stack is handled and stored. The tradeoff is that the usable edge can vary slightly, because some manufacturers measure from the tops of the pinked points while others measure from the valleys of the zig-zag. A square labeled 10 inches may feel exact on paper, yet behave a little differently once you put a ruler on it and start subcutting.
That small difference matters most when your pattern depends on exact seam allowances. Open the bundle, measure a few pieces, and check whether the finished edge gives you enough room to cut cleanly before you trim the whole stack. A quick inspection saves trouble later, especially on blocks with narrow seams or points that need to match neatly.
If you are translating a pre-cut bundle into a yardage-based pattern, the safest habit is to compare the bundle to the pattern's total fabric needs before you cut anything. The guide on how to calculate fabric yardage is a helpful companion for that step, because it lets you think through what the pattern asks for before you commit your squares to the rotary cutter.
How Layer Cakes Compare to Other Pre-Cuts
Layer cakes sit in the middle of the pre-cut world, which is why they're so flexible. They give you more print variety than charm packs and less strip management than jelly rolls, but they're not always the best answer for every project. The right choice depends on whether your design needs squares, strips, or larger fabric units.
| Pre-Cut Fabric Comparison | Dimensions | Pieces per Pack | Yardage Equivalent | Best For |
|---|---|---|---|---|
| Layer Cake | 10 in × 10 in | 42 | Roughly 2 3/4 to 2 7/8 yards | Patchwork quilts, sampler blocks, balanced print variety |
| Charm Pack | Smaller squares | Varies by manufacturer | Varies by manufacturer | Mini blocks, tiny patchwork, scrappy accents |
| Jelly Roll | Long strips | Varies by manufacturer | Varies by manufacturer | Strip quilts, quick rows, repeated linear designs |
| Fat Quarter Bundle | Quarter-yard cuts | Varies by bundle | Quarter-yard units | Cutting flexibility, applique, mixed project work |
The useful distinction is not just size, it's how you plan to sew. Squares are efficient when your quilt block starts with a square shape, while strips make more sense when the pattern is built around long units. Fat quarters give you the most flexibility for custom cutting, but they also ask for more planning before sewing begins.
Mixing brands without confusion
Here's where many quilters get tripped up. The term “layer cake” is widely used for 10-inch squares, but other companies may call the same format Ten by Tens, Stackers, or 10-inch squares. A more useful way to think about it is that the format is standardized in size, but not always in bundle count or collection composition, so compatibility is high while predictability can vary.
If you're unsure whether a mixed-brand bundle will work, check the actual square size and the edge finish before you cut. For a visual reference on bundle types, the internal guide on precut fabric squares is a practical follow-up.
Good buying habit: Match the project to the pre-cut format first, then worry about brand names second.
Project Ideas and Patterns for Layer Cakes
A layer cake shines when the pattern lets the prints do the talking. The best projects use the square format without overcomplicating the cut plan, which means you can get strong results with minimal waste. That's why so many quilters start with quilts, then branch into runners, pillows, and coordinated home projects.

Best uses for 10-inch squares
A layer cake is especially good for block-based quilts where each square can be trimmed, sliced, or paired into a repeated layout. It's also a strong choice for baby quilts, throw-size gifts, and table runners because the bundle already gives you enough variety to make the project feel intentional. When you want a fast finish, a square-based design keeps the piecing straightforward.
Some quilters use 10-inch squares as the starting point for pillow covers or accent projects, especially when they want the fabric collection to stay cohesive. If you're choosing between a full bundle and a smaller project, the internal article on easy quilt blocks patterns is a solid place to look for pattern ideas that don't ask for complicated cutting.
A useful example is a quilt top that alternates full squares with framed blocks. The squares give you the print, and the framing fabric gives you structure. That combination works well when you want the collection to feel curated instead of busy.
A pattern that starts with squares should respect the square size. If you have to force the shape too early, the bundle is doing less of the work for you.
For quilters who like a more decorative finish, fabric presentation matters too. If you're setting up a gift table or a product display, a coordinated textile backdrop such as the Printano gold tablecloth can make fabric colors pop without distracting from the quilt itself.
Cutting and Sewing Tips for Success
A layer cake saves time only if you handle it correctly once it's open. The first mistake many quilters make is treating every square as if it were identical, even when pinked edges, storage, and manufacturer differences have changed the usable size. Start by checking the stack before you cut anything smaller.
A simple opening routine
- Open and inspect. Look for crooked edges, loose threads, or pieces that feel slightly off-square before you start laying out blocks.
- Press with care. Use a gentle press to flatten the square without stretching the grain.
- Test your seam. Sew a sample if the pattern depends on exact fit, especially when piecing smaller units from a 10-inch square.
You'll get cleaner results if you keep the squares flat and organized by print family or color value. That makes it easier to balance a quilt top visually before you commit to sewing. It also helps you catch a square that's smaller than the rest before it disappears into the block layout.

What to avoid while sewing
Don't tug the fabric while feeding it through the machine. That can distort the square before the seam is even pressed. Keep the pressure light, and let the feed dogs move the fabric at their own pace.
If a block comes out a little small, check the cutting stage before blaming the sewing. Pinked edges can change how much clean fabric you had to work with, and that's easier to correct early than after the entire quilt top is assembled. A consistent seam allowance matters too, because slight drift adds up across multiple blocks.
For a more complete fabric-prep reference, the article on how to choose quilt backing is useful when you're planning how the top and backing will come together later.
Pairing Layer Cakes with Minky Backing
A layer cake top can feel especially polished when the backing supports the front instead of competing with it. Minky does that well. Its soft surface gives the quilt a cozy finish, and the texture stays in the background while the piecing on top does the visual work. For quilters who like a little variation in the back, textures such as Hide, Snowy Owl, and Fawn create different effects, from quiet texture to a more dimensional look.
Choosing the right backing width
Backing choice starts with the quilt's final size and how much joining you want to do. Smaller quilts can sometimes use standard-width backing if you are comfortable seaming panels together. Larger quilts are usually easier to finish with extra-wide backing, because that cuts down on joins and keeps the back flatter. Many quilters plan for 44-45 inch, 90 inch, or 110 inch backing options before they sew the last block, so they do not end up short at the end.
Minky deserves a little extra attention here, because it drapes differently from woven cotton. If your quilt top is built from 10-inch squares, the front already has a clean, regular rhythm. A backing with enough width helps preserve that calm look on the finished quilt instead of forcing an awkward seam line across the back. That matters even more when you mix layer cake brands, since pinked edges and slight cutting differences can leave one bundle a touch smaller than another.
When the front is finished but quilting still feels like a big technical step, a mail-in service can take pressure off the process. OPN's Mail-in Longarm service handles professional quilting for quilters who do not want to buy equipment, and the finishing process includes batting, thread, and free return shipping. That gives the project a cleaner handoff and helps the quilt move from top assembly to final finish without extra stress.
Finishing rule: Match the backing choice to the quilt's final use, not just to the front fabric. A soft top needs a backing that supports the drape instead of fighting it.
If you want a quick reference for backing decisions, the guide on how to choose quilt backing is a useful place to compare width, softness, and finish.
Buying Guide and Alternatives
Not every project needs a full layer cake, and not every bundle should be judged only by the print you can see on top. The smartest buyers think about project scale, storage space, and whether they want a pre-curated collection or more cutting freedom. That's where alternatives can be better than the classic 42-square bundle.

When a smaller cut makes more sense
Curated yardage cuts can be the better fit if you only need a few coordinated pieces for borders, sashing, or backing accents. Strip bundles are another strong alternative when the pattern is built around repeated bands rather than squares. For some projects, a smaller set gives you exactly what you need without leaving a stack of unused fabric behind.
If you're still comparing cutting formats, the internal post on fat quarter bundles helps clarify when a quarter-yard bundle is more practical than a square-based pre-cut. That comparison matters because the right bundle often depends more on how you plan to cut than on how much you like the prints.
For shoppers who want simpler project prep, curated cuts and bundled options can keep the decision tree short. The tradeoff is less flexibility than yardage, but many quilters prefer that when they're making gifts or working on a deadline.
Buying cue: Choose the bundle that matches the first cut you plan to make. If the first cut is a square, a layer cake is usually the cleaner starting point.
Common Questions and Misconceptions
A frequent misconception is that every 10-inch square is identical from one brand to another. The overall format is similar, but the usable size can still shift because of cutting method, pinked edges, and how each manufacturer trims the bundle. Measure a few squares before you cut, especially if you are mixing brands in the same quilt.
Another common misunderstanding is that pinked edges mean the fabric is damaged or unfinished. In many bundles, those edges are there to help limit fraying during handling and storage, as explained by Hailey Stitches. When you know that, the edge shape stops looking like a problem and starts looking like part of the package.
If you open a bundle and count fewer than 42 pieces, check the product description and the label first. Bundle counts can vary by brand and collection, so the number on one package may not match what you expect from another. Naming can differ too, since “layer cake” is only one label used for 10-inch squares.
A layer cake also does not guarantee identical handling from brand to brand. Some pre-cuts feel a little stiffer, some have tighter weave, and some arrive with edges that take up a bit more space than you planned for. That matters when you are matching squares to a pattern or pairing them with a backing that needs a clean, flat finish.
Don't wash every pre-cut the same way just because it came in a bundle. Handle the fabric based on your pattern, your stitching tolerance, and how much shrink or texture change you are willing to manage.
Storage helps more than many beginners expect. Keep opened squares flat, dry, and grouped so you can match the right print to the right block without sorting through a mixed stack later. If you end up short a square, use a piece from the same collection first. If that is not possible, choose a print that stays quiet in the block instead of forcing a loud mismatch into the center of the quilt.
Layer cake fabric bundles work best when you respect both the convenience and the limits of the format. That is true whether you are mixing brands, checking pinked-edge measurements, or planning a quilt top that will finish with minky backing from On Pins & Needles Quilting Co. for a smooth handoff from piecing to longarm finishing.