
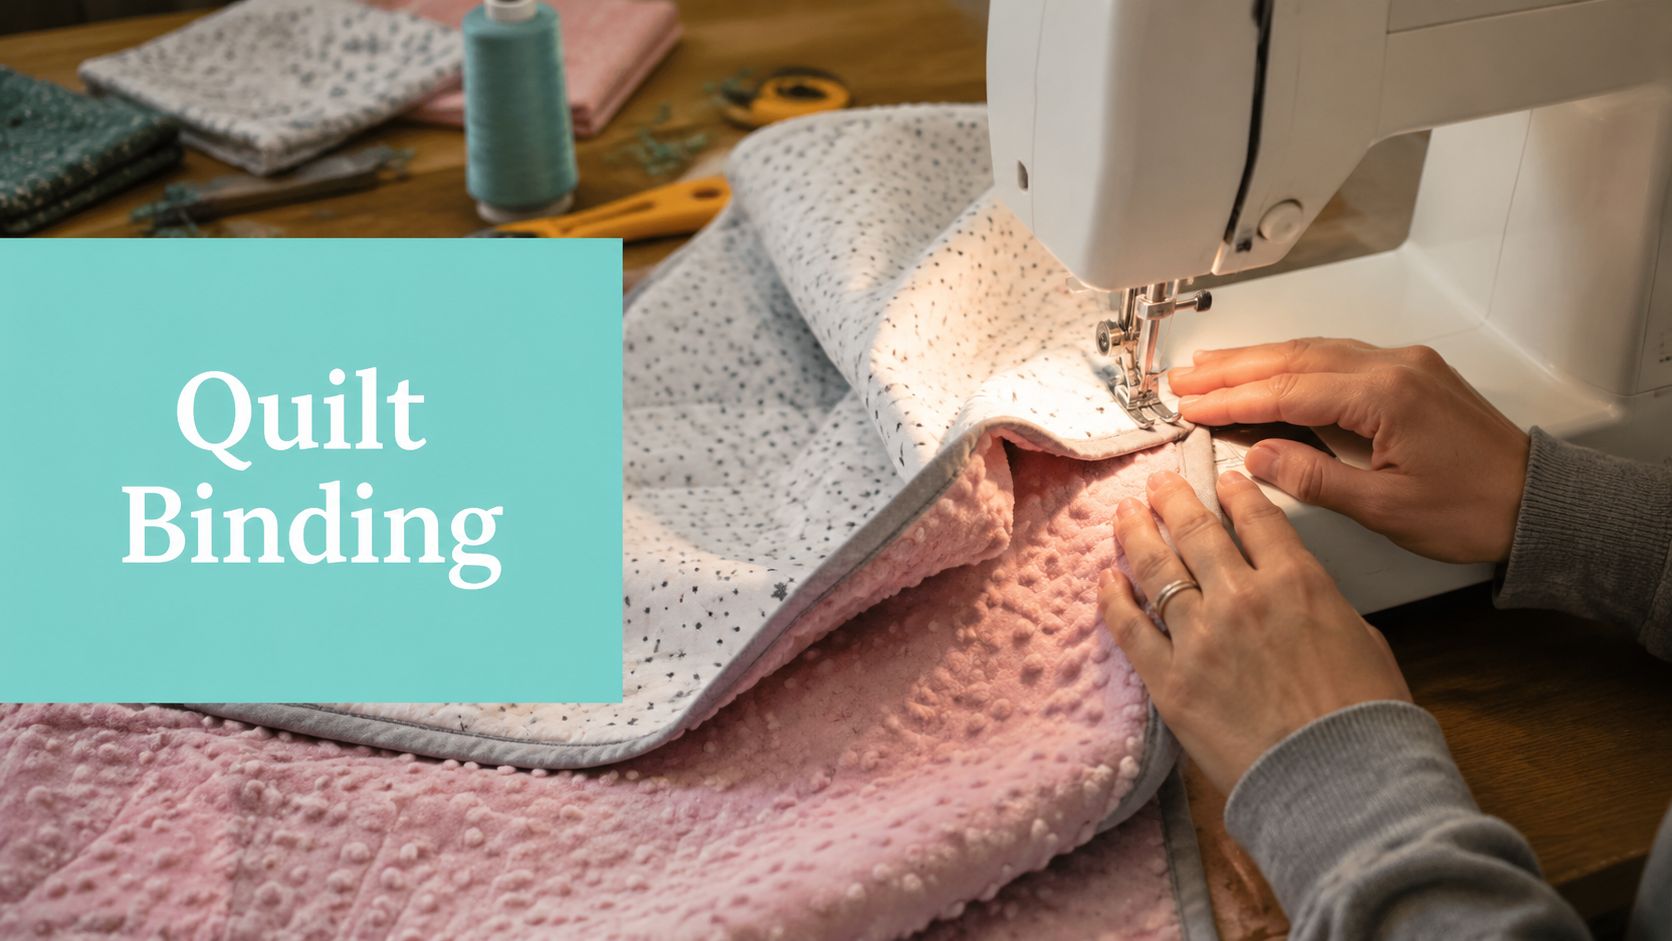
Binding for a quilt gets messy fast when the fabric is plush, the backing is extra wide, and the corners need to sit flat. The best finish comes from matching the binding method to the quilt's thickness, then measuring carefully and stabilizing the edge before you stitch.
If you've ever finished a quilt top and then watched the binding wave, stretch, or pucker, you already know why this step matters. The good news is that the same basic binding logic still works for cotton, minky, and bulky backings, as long as you make the right adjustments.
Introduction to Quilt Binding Basics
A quilt edge needs two things at once, a clean finish and real protection. Britannica describes quilts as being finished by turning the raw edges together or covering them with a binding, and vintage sources note that the older double-fold or French fold method stayed popular because it held up on quilts made for regular use. The modern version of that standard is still the double-fold binding.
The most common starting point is 2 1/4-inch strips, joined, pressed in half, and stitched to the quilt edge before the binding is folded to the back or front to finish. That method stays popular because it gives a repeatable edge that's easier to control than a loose, stretchy finish. It also helps explain why a lot of experienced quilters still treat binding for a quilt as a construction step, not just decorative trim.
For a deeper look at how minky changes the feel of a quilt edge, our guide to what Cuddle minky fabric is is a useful companion read. If you're working on a quilt that's already layered and ready for quilting, our mail-in longarm prep guide also helps you plan the finish before the binding ever goes on.
Practical rule: the more loft and pile your quilt has, the more attention the edge needs before you ever bring the binding strip to the machine.
Choosing the Right Binding Material

Cotton double-fold strips are still the safest default when you want a crisp, stable edge. They press cleanly, miter predictably, and don't fight the corner the way plush fabrics can. That's why they remain the baseline for heirloom quilts and utility quilts alike, especially when you want consistency in edge width and wear resistance.
Plush fabrics change the decision. Shannon Cuddle and Luxe Cuddle give the edge a softer hand, but the pile and stretch demand tighter handling, especially around corners. For small comfort quilts, that softness can be worth the extra control work, while for larger projects, bulk starts to matter more than people expect.
Extra-wide backings are a different kind of solution. A 90-inch or 110-inch backing can reduce seams on larger quilts and can also support a faux-binding or envelope-style edge when you want fewer joins. That matters on queen-size and king-size projects because seam minimization is part of the finish quality, not just a convenience.
Best fit by project: cotton for precision, Cuddle for softness, and extra-wide backings when you want fewer seams and a cleaner wrap on a larger quilt.
If you're comparing textures, our Shannon Cuddle fabric category and extra-wide backing options are the fastest way to see which finish suits the quilt you are making. For buyers who want a plush edge with a bit more visual texture, Luxe Cuddle by the yard is worth a look, especially in shades like Hide, Snowy Owl, and Fawn.
Most tutorials focus on standard cotton, but binding thick or minky-backed quilts often requires adjusting yield and overlap allowances, an angle public guides rarely address. That's why the material choice and the quilt's total thickness should be decided together, not separately. For many plush projects, the “best” binding isn't the prettiest sample, it's the one that stays flat after turning and washing.
Top OPN Binding Product Recommendations
Ready-made supplies save time when the quilt is already finished and you just want the edge to behave. If you prefer a traditional look, start with cotton binding-friendly fabrics cut into consistent strips and paired with a matching backing. If you're aiming for a plush finish, Luxe Cuddle textures in Fawn or Hide give you a softer boundary without losing the rich feel of the quilt.
For larger projects, extra-wide backing fabric is often the smartest buy because it helps you avoid unnecessary seams in the back and reduces the chance of a bulky join at the edge. That's especially helpful when you're planning a faux-binding or backing-fabric wrap on a quilt that already has a lot of loft. If you want to keep shopping simple, our longarm service page pairs well with a backing choice that's already sized for a clean finish.
A good buying rule is to match the edge treatment to the quilt's use. A baby quilt that gets washed constantly benefits from a durable, predictable edge. A decorative throw may justify a softer texture and more visual interest.
Offer to keep in mind: many first-time customers can use the 15% first-order coupon, and orders over $70 qualify for free shipping, which makes it easier to stock up on binding supplies and backing at the same time.
For more product guidance, the binding and finishing blog archive helps compare project types without forcing you into one fabric path. The strongest purchases are the ones that solve the edge problem before it reaches the sewing machine.
Measuring Cutting and Joining Binding Strips

A clean binding starts with accurate length. Measure the full perimeter of the quilt, then leave 6-8 inches of extra tail so the ends can be joined cleanly at the end of the run, a detail that shows up repeatedly in binding instruction and matters even more on bulky quilts. Our own yardage planning notes are easier to follow when you also check calculating yardage for quilts before you cut.
For minky, the strip direction matters. Experts recommend cutting minky binding strips straight across the grain, not on the bias, and using 2-inch-wide strips with a 1/2-inch seam allowance to reduce bulk and distortion. That narrower cut helps the strip stay controlled when it wraps around thick corners.
A simple cutting order
- Measure first: Write down the quilt's total perimeter before touching the rotary cutter.
- Add the tail: Leave 6-8 inches extra so you can join the ends without panic.
- Cut with the grain logic in mind: Straight cuts give minky less chance to grow or twist.
- Join with diagonal seams: A diagonal join lays flatter than a blunt straight seam and keeps the binding less visible.
The join itself should be smooth, not rushed. Align the strips at right angles, sew the diagonal, trim the seam allowance, and press the long strip in half before attaching it. That sequence keeps the finished binding from feeling lumpy where the strip pieces meet.
A detailed formula sounds fussy until you're working around a plush backing and realize that even a little extra distortion can show on the front. With bulky quilts, the math protects the look.
Preparing Quilts for OPN Mail-in Longarm
When a quilt is headed out for mail-in finishing, the binding decision starts before shipping. The top, batting, and backing should be layered with enough backing allowance to give the edge room to breathe, and the quilt should be secured so it doesn't shift in transit. If you want the longarm stage to support a clean binding later, the prep needs to be just as tidy as the stitching.
The best starting point is to follow our mail-in longarm prep instructions and keep the layers square. That matters because a quilt that arrives distorted is harder to finish neatly, especially when the outer edge will eventually be folded, trimmed, and bound. We see the cleanest results when the backing is chosen with the finish in mind, not as an afterthought.
What helps most before shipping
- Square the layers: Uneven edges create trouble at the binding stage.
- Keep the backing generous: Extra allowance gives the edge room when the quilt is loaded.
- Use secure packing: Fold or roll the quilt so the edge doesn't get creased badly in transit.
- Think ahead about the finish: Edge-to-edge quilting and binding are easier when the quilt starts aligned.
For quilters who want more structure on the finished edge, our pattern gallery makes it easier to choose quilting that won't compete with the binding. If the project is a plush build, that pairing can make the edge look intentional instead of improvised.
Attaching Binding and Mitred Corner Techniques

The cleanest double-fold finish starts with the raw edges aligned and the binding stitched to the quilt with even seam allowance. After that first pass, the strip is folded over the edge and secured by machine or by hand, depending on the look you want. A slip stitch gives the quietest hand-finished result, while topstitching is faster and more durable for everyday quilts.
Corners need their own discipline. Fold, press, and keep the corner angled before stitching continues, so the miter stays sharp instead of collapsing into a lump. That tiny pause at each corner is what separates a tidy finish from one that looks hurried.
Self-binding work on minky-style quilts needs even tighter stabilization. One tutorial advises pinning through all layers every 1 to 1.5 inches and using a zig-zag stitch set around 5 mm width and 5.5 mm length to prevent bunching and shifting, and that kind of dense control is exactly what plush edges need when they start to move under the presser foot. For a more detailed walk-through, the blanket binding guide is a useful companion.
Faced binding versus faux binding
Faced binding uses a separate facing piece, then folds it back for a cleaner front edge. Faux binding uses the backing fabric itself, which can be a smart move on thicker quilts because it reduces one more seam line.
That's also why a resource like booklet binding options can be a surprisingly useful reference point, even though it's from a different craft category. It's a reminder that “binding” is really about how edges are controlled, wrapped, and finished, not just which strip gets sewn first.
Most guides assume separate binding strips, but tutorials show backing-fabric binding can yield neat mitered edges on bulky quilts, an approach few sources fully compare. On plush projects, that alternative can be the difference between a heavy edge and a finish that folds cleanly.
Comparing Faced and Faux Binding Options

Faced and faux binding both aim for a cleaner edge, but they solve different problems. A faced edge hides the finish on the front more completely, which works well when you want the quilting or print to stay the visual focus. Faux binding leans practical, especially when the backing itself has enough width to wrap neatly and create a less fussy perimeter.
For thick quilts, faux binding often wins on simplicity. The backing is already there, so the edge can look clean and continuous without needing a second fabric choice to coordinate. Faced binding can still be the better option when you want a defined frame and a sharper front presentation.
How the two methods differ
| Method | What it uses | Best for | Main trade-off |
|---|---|---|---|
| Faced binding | Separate facing fabric | A very clean front edge | More steps and more planning |
| Faux binding | Backing fabric extended to the edge | Bulky quilts and simpler finishes | Needs backing width and careful folding |
Vintage guidance on envelope-style edges still matters here, because it shows the backing often needs to be at least 4 inches wider on each side when the fabric itself becomes the finish. That measurement is a practical planning tool, not just a historical note, especially when you want enough material to wrap and miter without strain.
If you're comparing edge styles for your own project, the how to finish quilt edges guide is a smart next read. It helps separate the edge treatments that look similar from the ones that behave differently once the quilt is washed and handled.
Troubleshooting Care Tips and Next Steps
Puckered corners usually need a fresh press and a slower hand at the fold. Loose stitches point back to tension, while minky pile shedding is best handled with a pressing cloth so the heat doesn't rough up the surface. For the finished quilt, gentle washing on cold with low-heat drying or air-drying keeps the binding from taking unnecessary strain.
Vintage envelope binding methods also show why extra backing allowance matters, since the backing should be at least 4 inches wider on each side when that fabric is doing double duty as the edge. That little bit of planning can prevent a lot of frustration later.
For a closer look at fabrics and finishes that hold up well, browse Shannon Cuddle fabric, Luxe Cuddle by the yard, and extra-wide backing fabric. If you're ready to finish the quilt without wrestling the edge yourself, our mail-in longarm service is built for that handoff.
[plain paragraph, no ## heading] A CTA for On Pins & Needles Quilting Co.. Shop the Luxe Cuddle Collection, Book Your Longarm Service Today, and Get 15% Off Your First Order.