Use a 2-inch wide satin or Cuddle® binding strip, stitch it on with a 1/4-inch seam allowance, secure it with quilt clips, and form each corner with a 45-degree fold before you sew past it. That combination is the most dependable way to get blanket binding onto a minky blanket without ripples, bulky corners, or a lumpy finish.
If you're staring at a soft minky blanket right now and wondering why binding suddenly feels harder than the whole project, you're not imagining it. Plush fabric shifts, satin slides, corners get thick fast, and the final join can ruin an otherwise beautiful edge if you rush it.
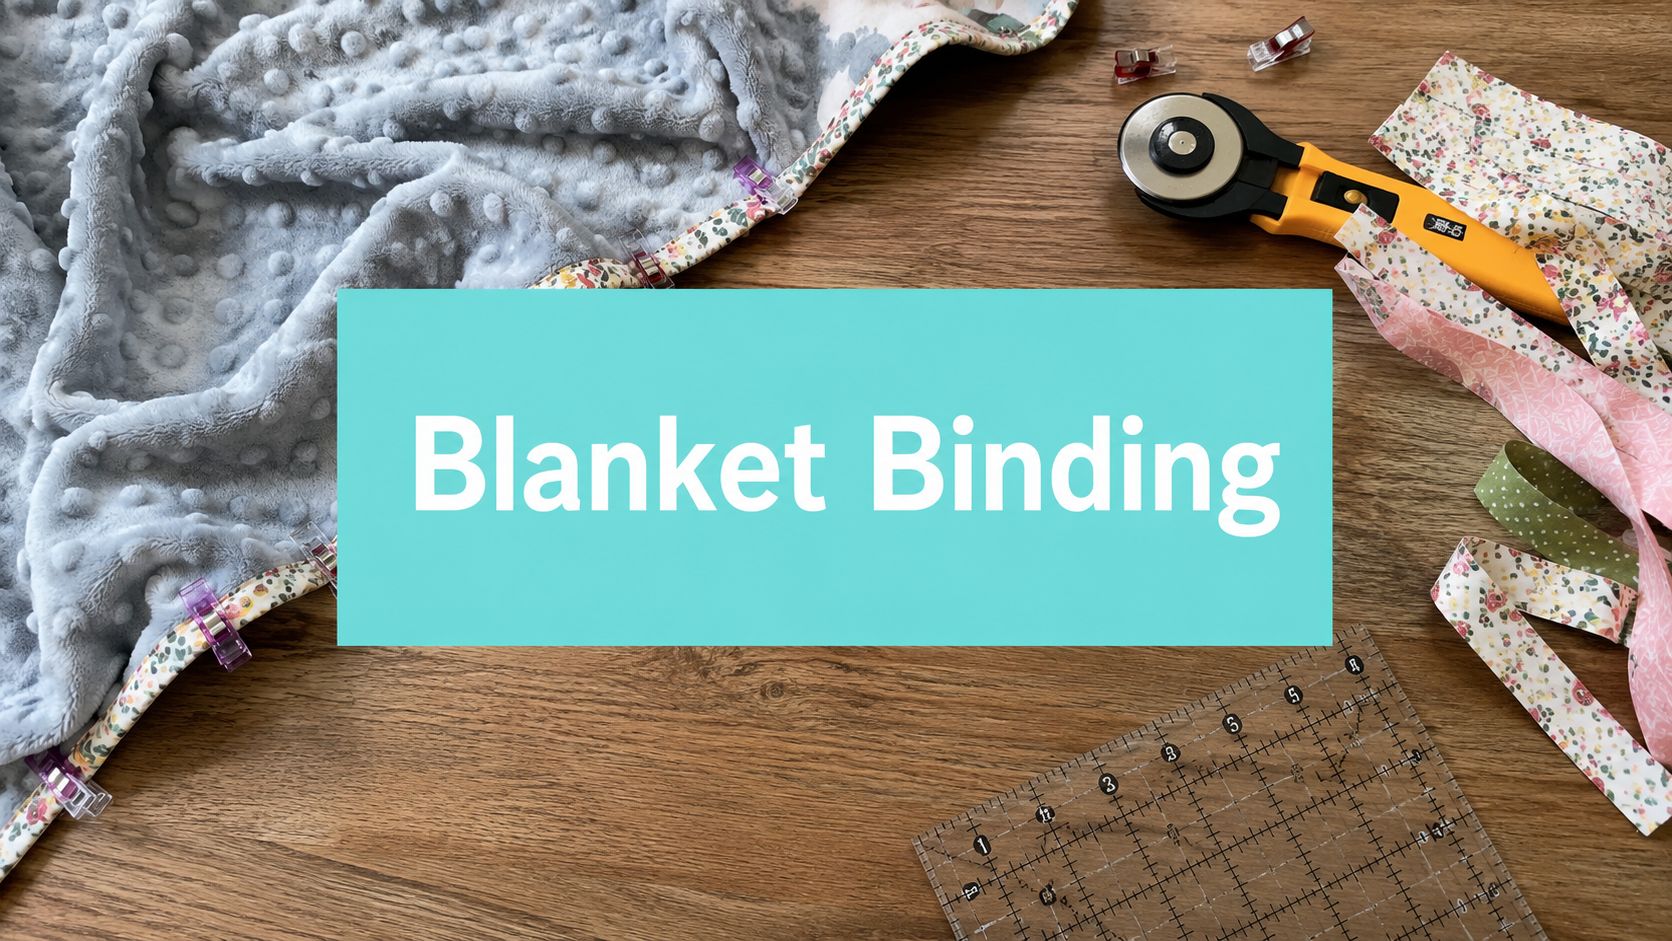
Meta description: Learn how to apply blanket binding on minky and satin blankets with cleaner corners, a smoother final join, and pro finishing tips.
What Materials Do You Need for Blanket Binding
A minky blanket can go sideways fast at the edge. The fabric creeps, the binding twists, the corners get thick, and the last join is often where a pretty project starts to look homemade in the wrong way. Good results start with the right materials, especially if you want crisp mitered corners and a final join that disappears instead of drawing the eye.
The goal is control.
For plush blankets, 2-inch wide binding strips are still my preferred starting point because they give enough coverage without creating a heavy ridge. I also reach for clips instead of pins on minky and satin. Many quilters do the same, because pins can snag the surface and distort a slippery edge while clips hold everything in place without flattening the pile.
Which supplies matter most

A standard sewing setup will work, but a few tools make a noticeable difference on minky because bulk and drag show up first at the corners and at the closing join.
- Quilt clips: The safest choice for plush or satin edges. They hold layers together without poking holes or pulling the nap. If you want help choosing styles and sizes, this guide to quilting binding clips is a useful reference.
- Rotary cutter and mat: Clean cuts matter more on binding than many quilters expect. A wavy strip usually turns into a wavy finished edge.
- Long ruler: Useful for keeping strip width consistent, especially over several joined lengths.
- Iron and pressing surface: Best for preparing cotton binding and setting diagonal seams. Satin and Cuddle® need a lighter hand, but pressing still helps where the fabric allows it.
- Walking foot: Worth using if your machine has one. It helps feed thick layers more evenly and reduces shifting between the blanket and binding.
- Sharp fabric scissors: Handy for trimming seam allowances and reducing bulk where joins stack up.
- Matching polyester thread: A practical choice for blankets that will be washed and used often.
- Binding material: Pre-made satin, quilting cotton, or Cuddle® all work. Each one solves one problem and creates another.
Practical rule: Choose tools that keep the edge stable. On minky, control matters more than speed.
Which binding option should you choose
The best binding is not always the prettiest one on the shelf. It is the one you can control at the corners and close neatly at the end.
| Binding Type | Best For | Pros | Cons |
|---|---|---|---|
| Pre-folded satin binding | Baby blankets, silky gift blankets, fast finishing | Classic blanket look, soft shine, ready to sew | Slips easily, corners can shift, final join takes care |
| Quilting cotton binding | Standard quilts, lighter minky blankets | Presses well, easier to shape, cleaner miters | Less plush against a soft blanket |
| Cuddle® or minky binding | Luxury blankets with a very soft edge | Soft hand, rich finish, blends beautifully with plush fabric | Bulkier, harder to turn, corners need extra attention |
| Double-fold store-bought binding | Utility projects, quick finishes | Convenient, consistent width | Can feel too stiff or too narrow for thick loft |
If you are deciding between satin and Cuddle®, the trade-off is simple. Satin gives that traditional blanket edge but moves around more under the presser foot. Cuddle® feels beautiful and matches the body of the blanket, but it adds bulk right where mitered corners and the final join already demand precision.
If you need more than one strip, join them with a 45-degree diagonal seam. That spreads bulk across the seam allowance instead of building one hard lump into the edge.
How much binding is enough
Measure all four sides, then add extra length for turning the corners and closing the binding at the end. Short tails make the final join much harder than it needs to be.
I like to cut a little more than I expect to use. On minky, that extra few inches gives you room to adjust without forcing the join, and forced joins are usually the reason a smooth edge ends with a visible bump.
How Do You Prepare Minky Fabric for Binding
The neatest binding jobs usually come from boring prep. That's especially true with minky, because stretch and nap can work against you before the first seam is sewn.
A blanket can look square at a glance and still be slightly off. On a woven quilt, you might get away with that. On minky, the error shows up fast when the binding reaches the corners.
What should you do before sewing
Start by laying the blanket flat and checking each edge. Trim stray backing, batting, or plush overhang so all layers meet cleanly.
Then identify the nap direction. Run your hand across the surface. One direction feels smoother, the other feels fuller. Keep that direction consistent across the project so the blanket doesn't feel visually and physically uneven.
- Square the blanket: Use a ruler and mat so opposing sides match cleanly.
- Smooth, don't stretch: Pat the minky into place instead of tugging it straight.
- Check the loft at the edge: Thick buildup near the perimeter makes the binding roll awkwardly.
- Use clips to test-fit a short section: That quick preview will tell you whether your width and fold feel balanced.
Should you pre-wash minky
Some makers pre-wash, some don't. What matters most is consistency across all the materials in the project.
If you do pre-wash, treat the fabric gently and avoid anything that crushes the texture. If you don't pre-wash, at least remove lint, loose fibers, and cutting debris from the edge before binding. A clean edge feeds better and folds more predictably.
Minky doesn't usually misbehave because it's “bad” fabric. It misbehaves when the nap, stretch, and edge bulk aren't managed together.
One prep habit that's worth adding is a light staystitch close to the edge, especially if the blanket has been handled a lot. It helps stabilize the perimeter so the binding isn't trying to tame a moving target.
If sliding fabric has already frustrated you, this tutorial on how to sew with minky fabric without it sliding covers the handling side well.
What tends to go wrong in prep
The biggest mistakes are subtle:
- Ignoring nap direction, which makes the blanket feel uneven.
- Leaving edges unsquared, which throws off the corner folds.
- Skipping stabilization, which lets the outer edge ripple under the binding.
- Trimming too late, when the binding is already attached and every correction gets harder.
A few extra minutes here saves a lot of seam ripping later.
How Do You Attach Binding to a Minky Blanket
You line up the binding, start stitching, and halfway down the first side the minky has crept, the edge feels thicker than expected, and the binding no longer wraps evenly to the back. That is the point where a tidy blanket turns into a wrestling match.
My method is built around control. On minky, the two failure points that matter most are keeping the edge feeding evenly before the corners, and leaving yourself enough room for a clean final join later. If you rush either one, the blanket tells on you.

Start by joining your binding strips with 45-degree diagonal seams, trimming those seam allowances to reduce bulk, and pressing the full strip in half lengthwise. Then attach the binding to the front of the blanket with the raw edges aligned, leaving an unsewn tail at the beginning. That tail gives you the space you need for the final join, which is much harder to fake neatly on thick Shannon minky once everything is stitched down.
A consistent 1/4-inch seam allowance matters here. In our experience, customers get better results when they stick to that line closely, because it gives the binding enough reach to wrap the back without making the edge draw up. If your seam is too narrow, the back edge may not get caught later. If it is too wide, the blanket edge can feel stiff and look slightly pinched.
What order works best
Use this sequence:
- Cut the binding strips and join them with diagonal seams.
- Trim the seam allowances on those joins to reduce buildup.
- Press the full strip in half lengthwise.
- Leave a tail unsewn at the starting point so you can make a cleaner final join later.
- Align raw edges to raw edges and clip in place.
- Sew with a 1/4-inch seam allowance until you reach the first corner.
If you want a basic binding refresher before tackling plush fabric, this beginner quilt binding guide covers the core mechanics well.
What helps on slippery blankets
I treat minky binding as a feeding problem first. The fabric has loft, the nap wants to shift, and the edge can stretch just enough to throw off your finish.
- Use a walking foot if available: It helps the binding and blanket feed together.
- Clip generously near the edge: Clips hold thick fabric better than pins in most cases.
- Do not pull from behind the needle: Let the feed dogs do their job.
- Pause to flatten the next section: A few seconds of smoothing prevents ripples you will notice later.
- Check the back every so often: Minky can hide a small shift until several inches are already sewn.
A visual walkthrough helps here:
Should you stitch to the front or back first
For minky blankets, stitching the binding to the front first is easier to control. You can see the seam line clearly, keep the width consistent, and wrap the folded edge to the back with better accuracy.
I also like to fold the binding so the back side extends just past the original stitching line before the final pass. That small overlap gives you a cleaner catch on plush fabric. If it only barely covers the line, you risk skipped spots on the back. If you pull too much to the back, the edge gets heavy and uneven.
What Is the Secret to Perfect Mitered Corners
You can sew three sides of a minky blanket beautifully, turn the first corner, and suddenly the whole project looks homemade in the wrong way. Corner bulk shows every little mistake. On Shannon-style plush fabrics, the two trouble spots are always the same: getting a crisp miter without a puffy knot at the point, and keeping the fold controlled so the corner lies flat after it's turned.

How do you fold the corner correctly
Quilters and sewing teachers keep coming back to the same 45-degree miter fold because it handles bulk better than forcing the binding straight around the turn. Incorrect tension is also one of the biggest reasons corners go wrong on DIY blankets. A corner that looks small and tidy before stitching can twist, cup, or spread once the plush layers relax.
I use this sequence every time:
- Stop before the corner: Sew to your marked stopping point, not to the raw tip.
- Backstitch: Secure the seam so the fold stays put.
- Fold the binding up at 90 degrees: This creates the diagonal miter line.
- Fold it back down in line with the next edge: Match the raw edges neatly.
- Start the next side at the top edge: Keep the needle out of the fold itself.
Sew4Home's step-by-step binding guide shows the basic fold clearly. The difference with minky is that the fold has to be deliberate. If the binding shifts even a little, the loft multiplies that error at the corner point.
Why thick minky corners get bulky
Minky does not behave like quilting cotton. It has loft, the nap resists being pressed flat, and the corner wants to spring back open. Satin binding adds another challenge because it slides while the blanket underneath compresses.
The fix is usually not tighter stitching. It is better distribution of bulk.
Keep the wrapped binding on the back just far enough to cover your original seam line. More than that, and the corner gets heavy and rounded. Too little, and you miss the underside right at the point. That balance is what gives you a clean miter instead of a stuffed-looking corner.
One more practical tip. Trim stray tufts from the seam allowance at the corner before turning the binding. I do not trim the blanket aggressively, but I will reduce obvious fluff in the turn area. On thick plush, that small cleanup can make the point fold much more cleanly.
When does the sandwich method help
The sandwich method helps when a standard wrap keeps shifting out of place on a thick blanket. By positioning the edge evenly between the folded layers before stitching, you control the corner shape earlier and spread the thickness across the fold instead of forcing it into one lump at the tip.
It is not my first choice for every blanket. It is my backup when the minky is extra lofty, the binding is slippery, or the corner keeps opening after I fold it.
For extra practice on the fold itself, this beginner quilt binding tutorial with clear corner structure is a useful companion.
If you want better corners on the final blanket, test one miter on a scrap first. That five-minute sample will show you whether your fold, stitch line, and wrap depth are working before you commit to four bulky corners.
How Do You Join Binding Ends for a Seamless Look
This is the part that too many tutorials rush. They'll teach three sides beautifully, then tell you to overlap the ends and sew them down.
That shortcut works on some thin cotton bindings. It often looks clumsy on satin and minky.
Verified guidance notes that the final closure is underserved in most tutorials, and that many reduce it to a quick overlap-and-stitch step even though satin blanket binding is slippery and the end seam is the bulkiest point, as discussed in Coral + Co's satin blanket binding tutorial. That's the exact reason I don't recommend the simple overlap method for plush blankets.
Why overlap-and-stitch often fails
A straight overlap piles the thickness in one spot. On a blanket with loft, that can leave a visible hump you feel every time you run your hand around the edge.
With slippery binding, it gets worse. The layers can skew while you sew, so the finish line twists or shifts off-center.
- Bulk stacks in one place
- The seam line becomes obvious
- Slippery binding can creep while stitching
- The finished edge may look shorter or tighter at the join
Most binding looks professional until the last few inches. The final join is where rushed work shows.
What works better for a cleaner finish
Use a diagonal join on the final tails, just like the joins used to make the continuous strip in the first place. That spreads seam allowance across the width instead of stacking it at one point.
A clean process looks like this:
- Stop sewing with enough space left open to manipulate both tails comfortably.
- Lay the tails flat along the open gap without stretching them.
- Mark the needed length carefully so the binding fits the edge snugly, not tight.
- Trim and join the tails on a 45-degree diagonal.
- Press the joined section if you can manage it.
- Finish sewing the remaining gap closed.
The key judgment call is fit. The joined binding should lie against the edge with no slack, but it shouldn't pull the blanket inward. If it feels tight in your hands before the final seam goes down, it will look tighter once stitched.
What thread and handling choices help here
Because the final join sees so much manipulation, thread quality matters. A smooth, dependable thread helps when you're opening, refolding, and restitching thick edges.
This article on the best thread for sewing minky fabric is useful if you're troubleshooting skipped stitches or rough feeding during the finish.
If you're using satin binding on a plush fabric such as Luxe Cuddle® Fawn, slow down for the last seam. At this point, slippery material likes to slip out of place and create the visible lump people often blame on the whole method, when it's really a closure problem.
What If You Don't Want to Bind It Yourself
You can get all the way to the last few inches, hit a bulky corner or a fussy final join, and decide you've had enough. That is common with minky. The blanket is soft, thick, and slippery, and the two spots that usually go wrong are the same ones many tutorials rush past: the mitered corners and the closing join.
Sometimes it makes sense to finish it yourself for the practice. Sometimes the smarter call is to hand off the edge work and save your patience for the next quilt.
When outsourcing makes sense
Outsourcing is a good option if the blanket fights you in ways that have less to do with skill and more to do with bulk, drag, and time.
- The blanket is large and heavy. Turning and supporting the weight at the machine can pull the binding off line.
- The minky has a deep pile. Thick plush makes corners harder to fold neatly and makes the last join more visible if the fit is even slightly off.
- You need a polished gift or sale finish. People notice the edge first, especially on a cuddle blanket.
- You have already redone a corner or join once. That usually means the hard part is not the straight runs. It is the finishing details.
- You are tired of the project. Binding done in a hurry rarely looks as good as the rest of the quilt.

What should you do instead
If the quilt is finished and the binding is the only thing holding it up, professional help can be the cleanest path to a result you will be happy to gift or keep. OPN offers an attach binding service for finished quilts when you want that last step handled by people who work with plush fabrics every day.
I usually tell quilters to make this decision based on friction, not pride. If the corners are stressing you out, or you know the final join is likely to leave a lump you will see every time the blanket is folded, outsourcing is a practical choice.
A finished blanket on the couch beats a nearly finished blanket in the sewing room every time.