
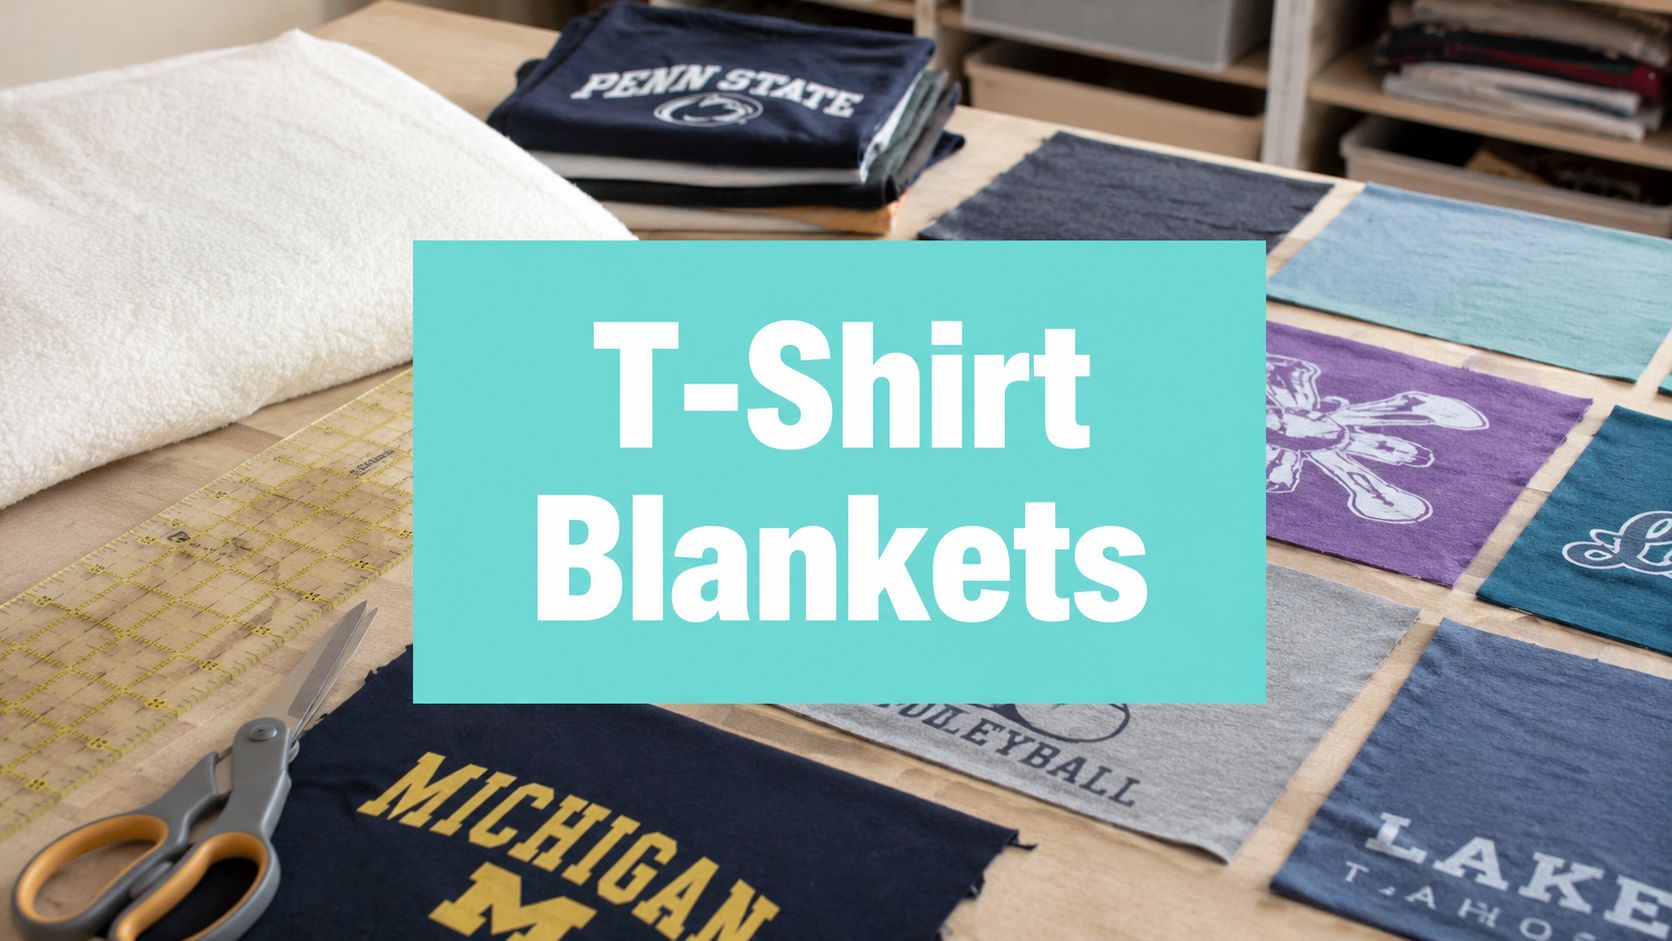
You're probably staring at a pile of sentimental shirts right now and wondering which ones are worth cutting. The best answer is to choose the method first, no-sew tied for speed, sewn for structure, or a premium backed finish for the most polished result.
T-Shirt Blankets How to Make Without Mistakes
A t-shirt blanket works best when you match the method to the shirts, not the other way around. If you've got oversized graphics and want something fast, the tied method is the cleanest path. If you want a flatter, more durable keepsake, the sewn route and a better backing material will save you a lot of frustration later.
Choosing the Right T-Shirt Blanket Method for Your Project
Start with the shirts you actually have
Lay every shirt out before you cut anything. Count how many large graphics you want to preserve, then decide whether those panels can live in a regular grid or need more creative spacing. A common mistake is to start cutting before knowing whether the collection suits a throw, twin, or larger layout.
For t shirt blankets how to make decisions, the question is not sewing skill alone. It's whether you want the quickest finish, a flatter quilt top, or a more refined heirloom result. The historical no-sew tie method uses simple tools and edge knots, while sewn quilt construction depends on stabilizing knit fabric and keeping rows aligned, and that difference changes the whole experience. Read the tied-blanket workflow first if you want a fast gift, then compare it with the sewn approach if you care about crisp edges and everyday use.
Practical rule: choose the method based on the most delicate shirt in the pile, not the easiest one.

Compare the three methods before you cut
| Method | Skill Level | Time Required | Tools Needed | Durability |
|---|---|---|---|---|
| No-Sew Tied | Beginner | Fastest | Scissors, ruler, optional fleece backing | Good for casual use |
| Sewn Top | Intermediate | Moderate | Sewing machine, stabilizer, pressing tools | Strong for everyday use |
| Professional Finish | Confident maker or outsourced | Varies | Quilt top prep, backing choice, finishing service | Highest polish and longevity |
The tied version is forgiving and approachable. The sewn version gives you cleaner geometry, especially when your shirts vary in logo size. A professional finish becomes the best choice when the shirts are sentimental and the final blanket has to look intentional from the front and the back.
Backing matters from the start, not at the end. Fleece gives a soft, familiar throw feel, while a better specialty backing changes drape, warmth, and the overall hand of the blanket. If you want to browse soft backing options now, take a look at Shannon Cuddle fabric by the yard and extra-wide minky quilt backing before you commit to a layout.
How to Make a No-Sew Tied T-Shirt Blanket

Cut once, then standardize everything
Wash and dry every shirt first. That keeps you from building a blanket around shrinkage you can't undo later. Pick the largest logo area you want to keep visible, then make every block the same size so the blanket doesn't drift off-grid.
One historical tied method uses 18-inch squares, with 3-inch corner squares removed and 3-inch slits about every inch along each edge, while another no-sew guide uses 12-inch by 12-inch shirt squares with 4-inch slits spaced 1 inch apart before knotting to a fleece backing Bethany Peck tutorial. Those measurements affect how many shirts you need and how large the final throw will be. If your shirts are small, forcing them into oversized blocks usually leaves awkward empty space around the graphics.
Tie the panels so the blanket stays secure
Cut your fringe or slits evenly. Uneven cuts make the knots bulkier in some spots and loose in others, and that unevenness shows after the blanket is washed and used. If you're tying panels together, work methodically across the rows so the tension stays consistent.
A fleece-backed version gives the blanket more body and a warmer feel. The no-sew workflow is especially useful for memorial shirts, school spirit collections, and gifts where speed matters more than a quilt-show finish. For a step-by-step tied method, use these fleece blanket instructions alongside your own shirt layout.
Mid-project upgrade: if you want a softer backing than standard fleece, a first-order 15% discount can make premium backing more practical for a one-time keepsake purchase.
Avoid the mistakes that ruin the drape
Do not cut slits too close together. That creates a thick edge that knots stiffly and can pull the blanket out of square. Do not mix wildly different square sizes unless you're deliberately building an asymmetrical layout.
For the cleanest result, keep each knot snug but not straining the fabric. Loose knots look fine at the table and then shift once the blanket is handled. If you want a tied blanket that still feels gift-worthy, choose a soft backing from the start and keep the fringe uniform across every edge.
Sewing a T-Shirt Quilt Top That Lies Flat

Stabilize the knit before you touch the machine
T-shirt fabric stretches. That's the whole reason sewn quilts get wavy when beginners skip stabilization. A common sewn rule is to cut each square with about 0.25 inch seam allowance, so a 12-inch block starts as a 12.5-inch block before sewing, which helps the finished top stay true to size wheresemmanow tutorial.
Interfacing is the fix when shirts are thin, very stretchy, or printed with large heavy graphics. Fuse it before cutting if you want the block edges to behave. If the shirts are sturdier, you may still stabilize selectively around the logo area and preserve some softness in the rest of the panel.
Build the grid from the finished size backward
Start with the blanket dimensions you want, then divide that width by the number of columns and the height by the number of rows. That tells you the block size, which keeps the quilt from ending up lopsided after seam allowances are added. A practical workflow also squares up each block, sews blocks into rows, then joins the rows with a typical 1/4 inch seam allowance for stable seams and a predictable fit Instructables layout workflow.
Press each seam as soon as it's stitched. Letting rows pile up before pressing is how small distortion becomes a full quilt-top wave.
Use a walking foot if your machine tends to feed knit and woven layers unevenly. Alternate seam directions when pressing rows so the intersections don't build a ridge at every crossing. If you're backing the quilt, leave an opening of about 18 inches in one edge so you can turn the piece right side out cleanly wheresemmanow tutorial.
Choose the layout before you sew the first seam
The shirt layout matters as much as the stitching. A good grid keeps graphic sizes balanced, spreads dark and light shirts evenly, and prevents the eye from getting stuck on one overloaded corner. If you need help squaring a top before quilting, use this quilting layout guide as your sanity check.
Why Minky Backing Transforms Your T-Shirt Blanket
Fleece and flannel work, minky feels finished
Fleece and flannel are common because they're easy to find and easy to imagine on a blanket. But they don't always solve the core issue, which is making a keepsake feel soft, stable, and substantial enough for repeated use. A plush minky backing improves the hand of the blanket and gives the finished piece a more intentional look.
Shannon Fabrics textures like Hide, Snowy Owl, and Fawn add character to the reverse side without competing with the shirts on the front. That matters when the blanket is meant to be gifted or kept for years. If the front is full of memories, the back should still feel like a premium textile, not an afterthought.
For a deeper look at what makes this fabric different, read what Cuddle and minky fabric are.
Size the backing to the project, not the other way around
Smaller throws can work well with 44-45 inch Quilting Cuddle. Bigger bed-size projects often benefit from 80 inch Mirage, and 90 or 110 inch extra-wide options are the cleanest path when you want to avoid piecing seams across queen or king backs. That no-seam backing is a real advantage on large shirt blankets because the back stays smoother and the finished quilt looks more professional.
Minky also has practical sewing advantages. Its lower stretch can make it easier to back a T-shirt top than a slippery fleece that shifts at the corners. Pin carefully, keep the nap direction consistent, and avoid dragging the layers through the machine.
Helpful note: orders over $70 qualify for free U.S. shipping, which makes it easier to add backing fabric, thread, and batting in one checkout.
If you're deciding between textures, browse Luxe Cuddle fabrics and Quilting Cuddle by the yard. The difference shows up immediately once the blanket is washed, folded, and used around the house.
Finishing Options From Self-Binding to Mail-In Longarm

Pick the edge finish that matches the blanket's purpose
Self-binding works when the backing fabric is wrapped to the front for a neat, framed edge. Faced edges create a cleaner borderless look, which suits graphic-heavy shirt tops better than decorative borders do. A separate binding strip gives the most durable edge, especially if the blanket will be washed often.
Batting changes the feel more than most makers expect. Low-loft cotton batting keeps the blanket flatter, while polyester batting adds more puff and warmth. If you want the shirt graphics to remain the focus, keep the quilting pattern restrained rather than busy.
Use longarm quilting when the blanket needs to last
Mail-in longarm quilting is the strongest finishing upgrade when you want all three layers secured evenly without wrestling a big quilt at home. The quilting passes hold the top, batting, and backing together, while the pattern adds texture that doesn't compete with the shirt blocks. Pattern choices like modern, floral, juvenile, holiday, and nature motifs work well when they stay visually secondary to the logos.
For logistics and prep details, the longarm service page explains how to send in your quilt top, what's included, and how the return shipping works. See mail-in longarm quilting services if you want the cleanest route from shirt pile to finished keepsake. If you're comparing finishing textures, the minky collections pair well with both self-binding and quilted finishes.
Match the finish to the shirt graphics
A busy shirt layout needs a quieter finish. A simple block arrangement can handle more decorative quilting, but a sentimental collage usually looks better with understated stitching. If you're unsure, choose the finish that protects the shirt art instead of drawing attention away from it.
Troubleshooting Common T-Shirt Blanket Problems
When seams wave, the fix usually starts before the next stitch, not after pressing. Add stabilization where the fabric is still behaving badly, then re-square the block before you force it into the grid. If a seam intersection has gotten bulky, trim cautiously and press from the back so the layers settle instead of piling up.
Shifting backing fabric is a different problem. Keep the nap direction consistent and use the minky-sewing method that reduces sliding, especially if you're quilting multiple layers at once. A good walkthrough for that is how to sew with minky without sliding.
For washing, use a gentle approach that protects both the printed shirts and the soft backing. Avoid harsh treatment that beats up the knit edges, and dry it in a way that preserves loft rather than flattening everything at high heat.
If you're at the point where the home machine is fighting you, stop forcing it. Shop the Luxe Cuddle collection for a backing upgrade, or send the top out for longarm quilting service so the finish comes back even and secure. The first-order 15% off offer and free shipping over $70 make it easier to choose the better materials on the first try.
On Pins & Needles Quilting Co. carries the premium backing fabrics and finishing services that take a T-shirt blanket from homemade to heirloom-worthy. If you're ready to stop fighting stretch and seam bulk, visit On Pins & Needles Quilting Co. to choose your backing, plan your finish, and get the result your shirts deserve.