
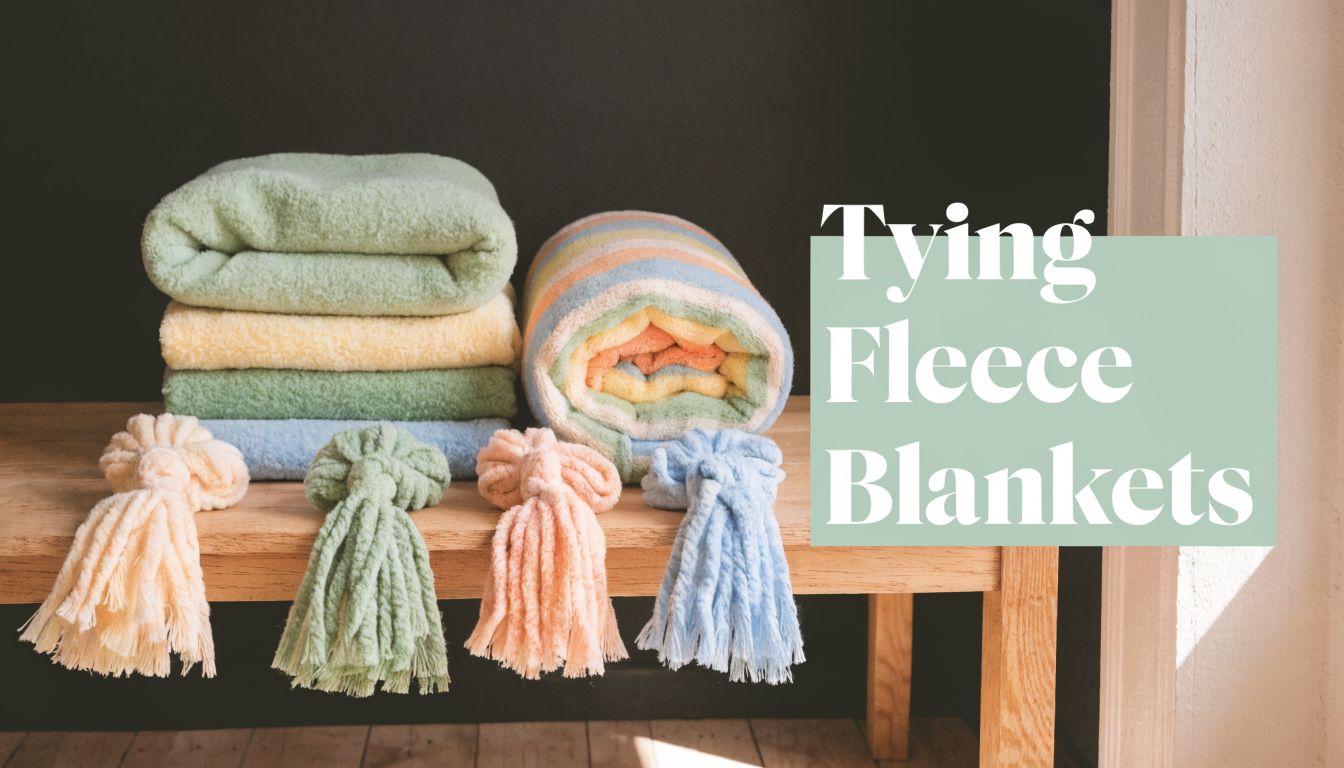
Yes. The cleanest tying fleece blankets instructions are simple: cut evenly, pin generously, and tie with consistent tension. If you want the blanket to look polished instead of homemade, the fabric choice matters just as much as the knot.
If you're standing at a table with fleece or minky, a ruler, and a little uncertainty about where to start, you're in the right place. The basic method is beginner-friendly, but premium plush fabrics need a more careful hand than standard craft-store fleece.
URL Slug: /blog/tying-fleece-blankets-instructions
Meta Description: Tying fleece blankets instructions for clean, professional results. Learn how to cut, tie, and choose better fabric with 15% off your first order.
What Tools and Materials Do You Need First?
A no-sew blanket is forgiving, but only up to a point. The right tools keep your edges straight, your fringe even, and your layers from creeping out of alignment while you work.

Which tools actually matter
- A sharp rotary cutter or very sharp scissors keeps the fringe clean. Dull blades drag the nap and make plush fabric look chewed at the edges.
- A self-healing cutting mat gives you a stable surface and protects the table. It also makes repeated fringe cuts easier to space.
- A clear quilting ruler helps you keep strips uniform. That matters more than beginners expect because uneven fringe shows up immediately after tying.
- Safety pins or quilting clips hold the two layers together. This becomes especially important with minky because the layers can slide while you cut.
- A cardboard or plastic template saves time and improves consistency. It’s one of the easiest ways to avoid a lopsided border.
- A washable marker or chalk pencil helps if you're marking corner cutouts or fringe depth before cutting.
What fabric amount should you start with
Standard no-sew instructions use 2 yards of fleece from a 60-inch wide bolt, which yields a blanket about 72 inches long by 58 inches wide after trimming. Those same instructions call for 1-inch wide strips and a 3 to 4 inch fringe, and the method’s popularity is reflected in over 85,000 YouTube tutorial views noted alongside similar guides in the BYU Women’s Conference tied fleece blanket tutorial.
That size works well for a throw. It’s large enough to feel useful, but not so large that a first project becomes frustrating.
Practical rule: If you’re unsure whether a tool is optional, ask whether it affects consistency. If it does, use it.
One more quiet advantage of being prepared is that it helps you troubleshoot later. If your cuts are clean and your spacing is consistent, any problem that shows up usually comes down to the fabric itself or the way the knots were tightened.
If you're still building your sewing and quilting toolkit, a thread weight chart is also worth bookmarking. Even on no-sew projects, understanding common quilting tools helps you make better material choices.
How Do You Choose the Best Fabric?
You notice fabric choice the minute the blanket is picked up. A tied blanket can be cut neatly and knotted well, but if the fabric feels flat, stretches out of shape, or curls at the fringe, it will still look homemade in the wrong way. That matters even more with premium minky, because its softness and drape can either look polished or get messy fast depending on what you choose.

Is standard fleece good enough
For practice, donation blankets, and simple family throws, yes. Anti-pill fleece is stable, easy to cut, and forgiving if your fringe spacing is not perfect.
Premium minky is a different material with different rules. It has a deeper pile, a softer hand, and more movement. Generic fleece tutorials often treat them as interchangeable, and that is exactly why beginners get frustrated with stretching, creeping layers, and uneven edges on minky projects.
Modern polar fleece became popular in the early 1980s with the development of Polartec, and blanket makers now have far more fabric options than the old basic fleece aisle, including specialty plush fabrics and wider cuts noted in this history of polar fleece and modern fleece options.
When should you choose Shannon Cuddle or Luxe Cuddle
Choose premium minky when the feel of the blanket matters as much as the look. I recommend it for baby gifts, comfort blankets, and throws that are meant to feel rich the second they are unfolded.
Shannon Cuddle is especially good for this kind of project because the pile is dense, the texture reads clearly, and the finished blanket has a fuller drape than standard fleece. The trade-off is that you need to handle it more gently. It can shift while cutting, and some textures are bulkier at the knots, so fabric selection is not just about color. It affects how easy the blanket is to tie and how refined the edge looks when you are done.
Textures matter. Hide gives a sculpted, high-end surface. Snowy Owl feels lush and dramatic. Fawn is softer visually and easier to use if you want texture without a busy finish.
Here’s a quick comparison:
| Fabric type | Best use | What works well | What to watch |
|---|---|---|---|
| Anti-pill fleece | Simple throws, beginner practice | Easy to cut, stable, forgiving | Less plush hand and lighter drape |
| Plush fleece | Casual cozy blankets | Softer feel, fuller look | Can create bulk in tied corners |
| Shannon Cuddle or Luxe Cuddle | Gifts and premium throws | Rich texture, beautiful drape, standout softness | Needs careful handling, especially at the cutting and tying stages |
Premium minky earns its place when the blanket is meant to feel special the second someone touches it.
A good starting point is learning the difference between regular fleece and plush minky before you buy. This guide on what Cuddle minky fabric is gives a useful foundation.
If you already know you want a softer, deeper pile fabric, browse the Shannon Cuddle fabric options. If the goal is a finished gift rather than a DIY project, a ready-made minky blanket may be the better fit.
What Is the Correct Way to Prepare and Cut the Fabric?
The neat edge everyone wants is decided before the first tie. With premium minky, especially Shannon Cuddle, careless prep shows up fast. Corners drift, fringe widths vary, and the pile gets crushed or stretched before the blanket is even assembled.

How should you lay out the fabric
Lay both pieces on a large, flat surface with the plush sides facing out and the wrong sides together. Smooth each layer with open hands. Do not pull from the corners to force it flat. That is the habit that causes wavy edges on minky.
Fleece usually forgives rough handling. Minky does not. The loft and stretch that make Shannon Cuddle feel so good are the same qualities that let it creep while you cut. If one layer is hanging off the table or twisted slightly under the other, fix that first before you reach for the ruler.
Why pinning makes such a difference
Secure the layers before trimming. I prefer fine pins or clips placed every few inches around the edge, then a few more through the middle if the blanket is large. That extra minute saves a lot of correction later.
Use this order:
- Trim off the selvages so the edges relax naturally.
- Square one corner and use it to guide the rest of the blanket.
- Match all four edges before marking fringe.
- Cut identical corner squares first.
- Check that both layers still line up every time you rotate the blanket.
Beginners often want to cut all the way around in one pass. On plush minky, slower is cleaner. I get better results by cutting one side, re-smoothing the layers, then continuing.
What fringe size works best for minky
For most premium minky tie blankets, start with fringe strips about 1 inch wide and 4 inches long. That proportion gives enough length to tie comfortably without building a heavy, bulky border.
Shorter fringe can be frustrating on thick Luxe Cuddle because there is not much room to form a tidy knot. Longer fringe ties easily, but the edge starts to look loose instead of neat. If the goal is a polished gift finish, moderate fringe usually looks best.
A template helps more than people expect. Cardstock works fine, and an acrylic ruler is even better if you want crisp, repeatable cuts. Consistent fringe is one of the small details that makes a no-sew blanket look intentional instead of improvised.
Smooth the fabric. Don’t stretch it. Those are not the same thing.
If you want the option to switch from a tied blanket to a quilted finish later, follow these blanket and quilt prep instructions before you cut too much away at the edges.
For plush gift projects, it also helps to start with a fabric you already love looking at. Browsing textures like Hide Luxe Cuddle or Snowy Owl Luxe Cuddle often makes it easier to decide whether you want a tied edge or a more refined sewn finish.
What Are the Best Tying Fleece Blankets Instructions?
Not every tying method produces the same edge. Some are flatter, some are stronger, and some are faster when speed matters more than appearance.
Which tying method gives the neatest finish
For plush blankets, the loop-and-pull method usually gives the nicest edge. It lays flatter than a chunky overhand tie and keeps the border from looking crowded.
The motion is simple:
- Pair the top and bottom fringe strips.
- Form a loop over your fingers.
- Pull the ends through gently.
- Tighten just enough to seat the knot at the base without crushing the pile.
This method works especially well on soft, lofty textures because it reduces bulk at the edge. It also helps the blanket keep a smoother outline.
When is a square knot the better choice
Use a square knot if durability matters more than softness of appearance. It’s a dependable choice for blankets that will be washed often or handled by kids.
The key is to tie it correctly. A true square knot sits more evenly than a rushed single knot, and it resists twisting at the base.
Is the slit method worth trying
The slit-hook method appeals to makers who want speed and a more modern look. In benchmark data, the slit-hook method can produce an 85% speed gain for experienced crafters, while the double-knot showed 97% post-wash integrity, and the balloon-loop offered a flatter, kid-safe frill in this comparison of tying variants.
That sounds appealing, but there’s a catch. Slit-based methods are less forgiving on heavy minky if your cuts aren’t very clean.
Here’s the practical comparison:
| Method | Best for | Strength | Look |
|---|---|---|---|
| Loop-and-pull | Plush minky, gift blankets | Good | Flat, tidy, soft |
| Square knot | Frequent washing, utility throws | Strong | More traditional |
| Slit-hook | Fast production, experienced makers | Moderate when done well | Clean, modern |
Best choice for plush minky: Use loop-and-pull when you want the edge to lie flatter and feel less bulky in the hand.
A helpful companion if you're making a smaller gift is this tutorial on how to make a minky baby blanket. The project scale is smaller, but the handling advice carries over well.
If you already know you want a rich hand and visual texture, look at Fawn Luxe Cuddle or Marble Cuddle options before choosing a tie style. Denser textures often look better with flatter knots.
How Do You Fix Common Minky Blanket Mistakes?
A tied blanket can look finished on the table, then disappoint the minute you lift it. The corners ripple, the layers creep apart, and thick knots sit on the edge like little lumps. That happens more often with premium minky than standard fleece because Shannon Cuddle has more drape, more pile, and more movement. If you want a polished result, you have to correct the problem at its cause, not just tug the blanket back into shape.
Why are the edges wavy
Wavy edges usually come from stretch during setup, uneven fringe, or ties that were cinched too hard. I see this most often on plush textures like Hide or Seal, where the nap makes it easy to pull one area tighter than the rest without noticing.
Start by laying the blanket flat and checking whether the ripple is consistent all the way around or only in one section. If it is local, trim that area so the fringe matches the neighboring strips. If the whole edge is waving, loosen a few knots and let the blanket relax for a bit before judging it. Minky often settles once the weight is evenly distributed again.
If the edge still flares after that, the border was probably stretched during cutting. At that point, a light re-trim usually gives a cleaner result than trying to tighten every tie to force it flat.
Why do the layers keep slipping
Slipping starts before the tying does. Minky has a soft pile and a bit of give, so the top layer can drift while the bottom layer stays put. Generic fleece tutorials rarely warn you about that, but it is one of the main reasons tied minky blankets end up looking homemade instead of crisp.
Use more clips or pins than you think you need, especially near the corners and along long sides. Keep the full blanket supported on the table so its own weight is not pulling one layer off grain. Then work in stages. Cut and tie one side, check alignment, and only then move to the next side.
If the layers are already off, do not keep tying and hope it disappears. Untie back to the last accurate section, smooth both layers flat, and realign before continuing.
Why do the knots look bulky
Bulky knots usually come from fringe that is too short, pile that is too dense for the tying method, or knots tightened right down to the base. On premium minky, that bulk shows fast.
A flatter tie helps. Loop-and-pull usually sits better on plush Cuddle than a hard square knot. Leave a little breathing room at the base instead of choking the knot tight, then use your fingers to lift the nap around it so the pile is not trapped underneath.
Some fabrics ask for a different finish. Marble and Luxe-style textures often look better with fewer, cleaner ties than with a tightly packed fringe.
What if the blanket still doesn’t look high-end
Be honest about the fabric and the finish. Tying is a good no-sew option, but it is not always the best-looking option for every minky texture or every blanket size. If the goal is a gift with a polished boutique look, a sewn edge can be the better choice.
Care also affects the final appearance more than beginners expect. Washing and drying minky the wrong way can flatten the pile, twist the fringe, and make a decent finish look tired. This guide on how to wash minky blankets properly will help you keep the texture soft and the edge neat after the blanket is done.
If you decide the tied edge is fighting the fabric, there is no shame in switching plans. A ready-to-gift plush throw can be the cleaner answer for certain projects, especially when the fabric itself is the star.
What Fabric Measurements Do You Need for Different Sizes?
Size mistakes usually show up at the cutting table. A blanket sounded generous in your head, then the finished piece barely covers a lap or hangs short on the sides of a bed. With premium minky, it pays to choose the size by real use first, then match the fabric width to that plan.
For tied blankets, I keep the decision simple. Baby and throw sizes are the most forgiving. Queen and king sizes ask more from the fabric, and that is where generic fleece advice often falls apart. Regular-width cuts can work for smaller projects, but larger minky blankets look cleaner when you do not have to piece in extra panels.
Blanket Size and Fabric Guide
| Blanket Size (Approx. Finished) | Fabric Needed (Per Layer) | Shop The Perfect Cut |
|---|---|---|
| Baby | Smaller cut suitable for baby-sized throws | Shop baby-friendly minky cuts |
| Throw | A common starting point is a throw-sized cut for couch use | Shop 2 to 2.5 yard minky cuts |
| Queen | Larger cuts or wide backing are often the cleaner option | Shop 80-inch and extra-wide minky |
| King | Extra-wide fabric helps avoid bulky seams | Shop 110-inch wide minky backing |
A tied edge also changes your planning. You lose fabric to the fringe, so the starting cut needs to be larger than the size you want to end with. Beginners often forget that step, especially on plush Shannon Cuddle, where a wide decorative border can eat up more width than expected.
How should you choose between regular width and extra-wide
For a couch throw, regular width is usually enough. For bed sizes, extra-wide minky is often the better choice because it avoids seams, bulk, and the visual break that shows up across a smooth plush surface.
That matters more with premium minky than with basic fleece. Shannon Fabrics Cuddle has a richer pile, and any added seam can interrupt the drape and catch the eye. If the blanket will be folded at the foot of a bed or used as a gift, a single uninterrupted width usually looks more polished.
Wider fabric saves cutting compromises and gives large minky blankets a calmer, more finished look.
If you are between sizes, buy a little more rather than trying to stretch a tight cut. Extra fabric gives you room to square the layers, account for fringe loss, and keep the proportions looking intentional instead of skimpy.
Are You Ready to Start Your No-Sew Blanket Project?
You smooth the blanket out on the table, tie the last corner, and step back. If the edges lie flat, the fringe is even, and the minky still looks plush instead of stretched, you did it right.
That result starts long before the first knot. With premium Shannon Cuddle, careful cutting and gentle handling matter more than beginners are usually told. Basic fleece tutorials often skip that difference, which is why so many no-sew minky blankets end up wavy, curled, or slightly off-square.
A tied blanket is still a simple project. It just rewards precision. Keep the layers square, cut fringe that is consistent from side to side, and tie firmly without pulling the edge out of shape. If you want a soft, gift-worthy finish, those small choices show.
For some projects, tying is not the best finish. A large blanket, a luxury gift, or very plush 110-inch minky can look cleaner with quilted finishing instead of fringe. If you want to compare the look of professional finishing with DIY tying, this overview of professional finishing versus DIY tying gives a helpful visual reference.
If you are ready to begin, choose the best fabric for the size and finish you want, then commit to one method and do it carefully. Good materials help. Realistic expectations help just as much.
For Shannon Cuddle, Luxe Cuddle textures such as Hide, Snowy Owl, and Fawn, wider backings, smaller pre-cut options, or a polished alternative to tied edges, On Pins & Needles Quilting Co. carries the kinds of materials and finishing services serious makers look for. As noted earlier, their minky selection includes specialty textures, extra-wide cuts for larger blankets, and mail-in quilting for projects that call for a more custom finish.