
You've got a pile of appealing fabrics, a pattern open on the table, and one practical question: how do I make a patchwork quilt without getting lost halfway through? Start with a simple block, keep every seam consistent, choose the backing before cutting, and decide early whether you'll quilt the layers yourself or use a mail-in longarm service.
What Making a Patchwork Quilt Actually Involves
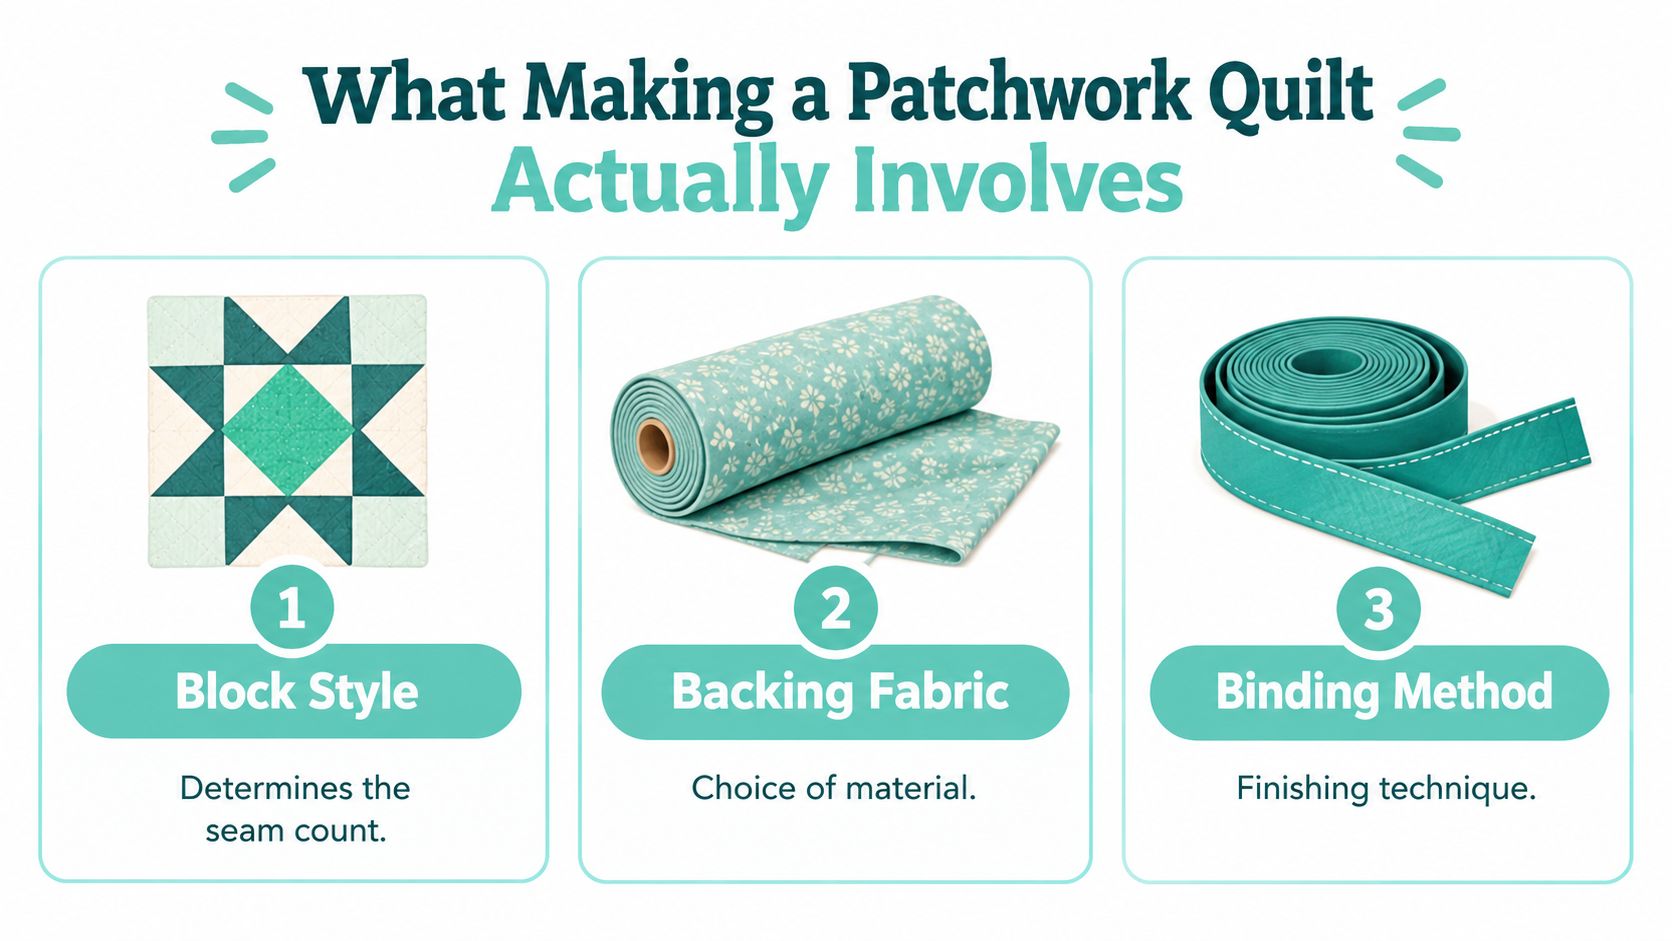
Making a patchwork quilt isn't one giant task. It's a sequence of manageable decisions, and three choices shape almost everything that follows: block style, backing fabric, and finishing method.
Your block style determines how many pieces you cut and seams you sew. A simple square or four-patch layout gives you fewer opportunities for pieces to shift, while triangles and intricate blocks demand more accurate cutting and alignment. Your backing choice affects handling too. Quilting cotton is stable and familiar, while minky gives the finished quilt a plush surface but can stretch and move under the needle.
The third choice is how you'll quilt the sandwich. You can quilt straight lines on a domestic machine, or send the prepared quilt to a mail-in longarm service for an edge-to-edge or custom finish. Neither route is automatically correct. The right option depends on your equipment, patience, design, and comfort handling a bulky quilt.
Patchwork quilting has deep roots. The history of quilt making reaches at least the 14th century, with the Tristan Quilt made in Sicily around 1360–1370 often cited as the oldest surviving decorative quilt still intact. The craft later became a distinct and common style in America during the 19th century, so your first quilt belongs to a long tradition of practical sewing and creative design.
Practical rule: Treat your first quilt as a learning project, not an afternoon test. Choose a forgiving design, make one sample block, and let accuracy improve gradually.
You'll need a small, dependable toolkit:
- Cutting tools: A rotary cutter, self-healing mat, and acrylic ruler.
- Sewing supplies: Quality cotton thread, a fresh machine needle, pins, and an iron.
- Accuracy aids: A seam guide or painter's tape for marking the 1/4-inch line.
- For plush backing: A walking foot if you're using minky.
Choosing a Beginner-Friendly Block Style
The easiest first block is the one whose construction you can remember without constantly checking the pattern. Squares and rectangles are forgiving, especially when you're learning to cut, sew, press, and assemble in a logical order.
A four-patch uses four squares joined with four seams per block. A nine-patch adds more pieces and alignment points, but the units remain square and the overall design still reads clearly. Half-square triangles and snowball corners create attractive movement, yet they introduce bias edges, trimming demands, and greater risk when working with directional prints.
| Block | Seams per Block | Piece Shape | Directional Print Risk |
|---|---|---|---|
| Four-patch | Four seams | Squares | Low |
| Nine-patch | More than a four-patch | Squares | Low to moderate |
| Half-square triangle | Varies by pattern | Triangles | Moderate to high |
| Snowball corner | Varies by pattern | Square with corner triangles | Moderate |
| Churn dash or flying geese unit | More complex construction | Squares, rectangles, and triangles | Higher |
A triangle can flip the direction of an animal, stripe, or word. A square usually lets the print remain easier to read, which means less wasted fabric and fewer layout surprises. Curves, Y-seams, and very intricate blocks can wait until you're comfortable controlling a consistent seam.
For a first project, consider a 12-inch block in a baby or throw size. That scale gives you enough space to see the design while keeping the number of pieces and the quilt's physical bulk manageable. You can find additional ideas in these easy quilt block patterns.
Choose your block by construction, not only by appearance. Every seam is a chance to lose a small amount of fabric width, and those small differences accumulate across a row. If the seam count fits in your head, you're more likely to sew confidently and catch errors before they spread.
Picking Fabrics and Cutting Your Pieces
For the patchwork top, 100% quilting cotton is the simplest starting point. It presses flat, feeds predictably beneath a standard presser foot, and holds a crease well enough to support accurate piecing. If you're comparing materials for other soft home projects, this guide to the best fabric for pillow 2026 offers useful context about fabric selection.
Minky is different. It's a plush polyester fabric that can stretch, shed fibers while cutting, and shift as it passes under the presser foot. That softness makes it appealing for a quilt back, but beginners should plan around the material rather than treat it like cotton.
OPN carries extra-wide minky in 90-inch and 110-inch widths, which can let you back a throw or twin quilt without piecing a center seam. The wider format solves a common problem: joining multiple backing panels and then managing that bulky seam while quilting. Explore extra-wide minky backing when you know your finished top's dimensions.
How should you prepare the fabric?
Use this order at the cutting table:
- Pre-wash quilting cotton if you want to control future shrinkage. Skip pre-washing minky unless the manufacturer's care guidance supports it.
- Starch the cotton lightly if the fabric feels loose or unstable. Press it dry and smooth.
- Square the bolt edge before measuring strips. A crooked starting edge makes every later cut less reliable.
- Strip-cut first, such as cutting 2.5-inch strips when your pattern calls for them, then subcut the strips into patches.
- Square up after rotation. Each time you turn the fabric or ruler, check that the edges remain aligned.
Directional prints need special attention. Animals, stripes, text, and repeating motifs may require extra fabric because you'll want the design facing a consistent direction. Lay out a few pieces before cutting the full set so you can see whether the print behaves as expected.
Label every cut stack with the block name or row position. A small paper label prevents a large assembly mistake, especially when several fabrics look similar. Curated options such as fat quarter bundles can also simplify color coordination while giving you enough variety for a scrappy top.
Piecing, Pressing, and Building the Quilt Sandwich
Before sewing, lay the cut pieces on a flat surface and arrange the first block. Take a quick photograph, then stack each row in sewing order with a label on top. This short pause protects you from a common beginner error: constructing each unit correctly, then joining the units in the wrong arrangement.
Place matching pairs right sides together and sew with a consistent 1/4-inch seam allowance. Chain-piecing lets you feed the next pair under the needle without cutting the thread after every unit. The connected chain keeps your rhythm steady and limits the handling that can shift small pieces out of alignment.
Why does the 1/4-inch seam matter so much?
Seam consistency controls the finished size of your patchwork. Check it by sewing a test unit, pressing it exactly as you plan to press the quilt, and measuring the result. One source links 83% of wonky quilts to seam allowances drifting between 0.20" and 0.32", while another found only 37% of tested quilters maintained ±1/16" consistency across 10 consecutive seams without rechecking. Review the detailed quilt-making accuracy guidance.
Sew two or three test strips before making the full block. Measure the unit, then adjust your needle position, 1/4-inch presser foot, or painter's-tape seam guide until the result matches the pattern's finished dimensions. That test functions like a ruler for your machine, showing whether its setup produces the size your pattern expects.
Press seams to the side, usually toward the darker fabric, so adjoining seams can nest. Press the completed block flat from the front, taking care around raised seam allowances. Pressing shapes each unit before it meets the next one, much like flattening stepping stones before building a straight path.
How do you build the quilt sandwich?
Spread the backing wrong side up on a clean floor or large table and tape it flat without stretching it. Lay the batting over the backing, then center the pieced top on the batting. The top, middle, and backing should lie smooth and relaxed, with no ripples trapped between layers.
Choose one basting method:
- Spray adhesive: Useful for smooth, even layers.
- Curved safety pins: Place them throughout the sandwich, working from the center outward.
- Loose tacks: Helpful when you prefer temporary hand basting.
Smooth wrinkles from the center toward the edges instead of pulling the backing tight. For a clearer explanation of what quilt batting does, review how this middle layer adds body and separates the quilt top from the backing.
Plan on at least 4 inches of batting and backing overhang on each side. This gives the layers room to shift during basting and quilting, then leaves a clean margin to trim afterward. Check the batting manufacturer's packaging for expected shrinkage before deciding whether to prewash it. The U.S. State Department's quilting overview documents quilting's shift from household necessity to a mass hobby, including a reported more than 21 million American quilters in a 2003 survey.
Quilting Your Layers, DIY or Mail-In Longarm
The most accessible home finish is straight-line quilting. Set your machine to a longer stitch, around 3.0 to 3.5 mm, attach a walking foot, and begin near the center of the quilt. Work outward in channels roughly 4 inches apart, or create a broad grid or gentle wavy pattern.
A walking foot helps the top, batting, and backing feed more evenly. This matters even more with minky, which can shift beneath a regular presser foot. Keep the quilt supported on the table so its weight doesn't pull against the needle.
A mail-in longarm service makes sense when the top is finished but you don't want to wrestle with a large sandwich at home. OPN Quilting offers mail-in edge-to-edge longarm quilting, and its process can include batting, thread, and return shipping. Check the current requirements before sending anything, particularly if you're using a plush backing.
| Factor | DIY Home Machine | Mail-In Longarm |
|---|---|---|
| Equipment | Uses your existing machine and walking foot | Uses a professional longarm setup |
| Design | Straight lines, grids, or broad waves | Edge-to-edge or custom patterns |
| Handling | You manage the full quilt sandwich | The service handles the quilting stage |
| Timing | Depends on your sewing time | Turnaround is often 4 to 8 weeks, depending on the service |
| Best fit | Learning, simple texture, and immediate control | A polished finish without buying a longarm machine |
Compare cost per square inch, turnaround, accepted batting, and any special handling rules for minky before choosing. The mail-in longarm preparation guide can help you prepare the top and backing correctly.
If you choose plush fabric, Shannon Cuddle textures such as Hide, Snowy Owl, and Fawn create distinct surfaces, but each can make the quilt feel different during handling. On Pins & Needles Quilting Co. is one option for Shannon Fabrics Cuddle and Luxe Cuddle materials as well as longarm finishing, with product information and service requirements available on its site. A first-order 15% coupon and free U.S. shipping on orders over $70 may apply to eligible purchases, so confirm the current terms before ordering.
Binding the Edges for a Clean Finish
Binding seals the raw quilt edges and gives the project its finished shape. Double-fold binding is a reliable choice because the folded strip covers the edge on both sides.
Cut binding strips 2.5 inches wide on the cross-grain. Join the strips with right sides together at a 90-degree angle, sew across the diagonal, press the seams open, and trim the dog ears. Join enough strips to cover the quilt perimeter plus 12 inches, giving yourself room to start and finish comfortably.
Fold the long strip in half lengthwise with wrong sides together and press it. Binding instructions commonly use a 1/4-inch seam allowance when joining strips, followed by this fold before attaching the finished strip to the quilt. The beginner quilt binding tutorial demonstrates the process in more detail.
How do you miter the corners?
Start several inches from a corner and sew the binding to the quilt front. Stop 1/4 inch before the corner, backstitch, and remove the quilt from the machine.
Fold the binding upward so it forms a 45-degree fold, then fold it back down along the next edge. Begin sewing the new side at the edge, keeping the fold in place. This creates the miter without bunching the corner.
Continue around the quilt. At the end, overlap the binding tails and join them by hand or with a carefully measured seam so the connection lies flat.
Fold the binding over the raw edge to the back. Finish by machine-in-the-ditch from the front, or hand-stitch along the folded seam crease for a quieter finish. Take your time at the corners. A clean miter makes a simple quilt look deliberately finished.
Troubleshooting Tips and Your Next Step
Most first-quilt problems have a specific cause. Check the symptom before unpicking an entire row.
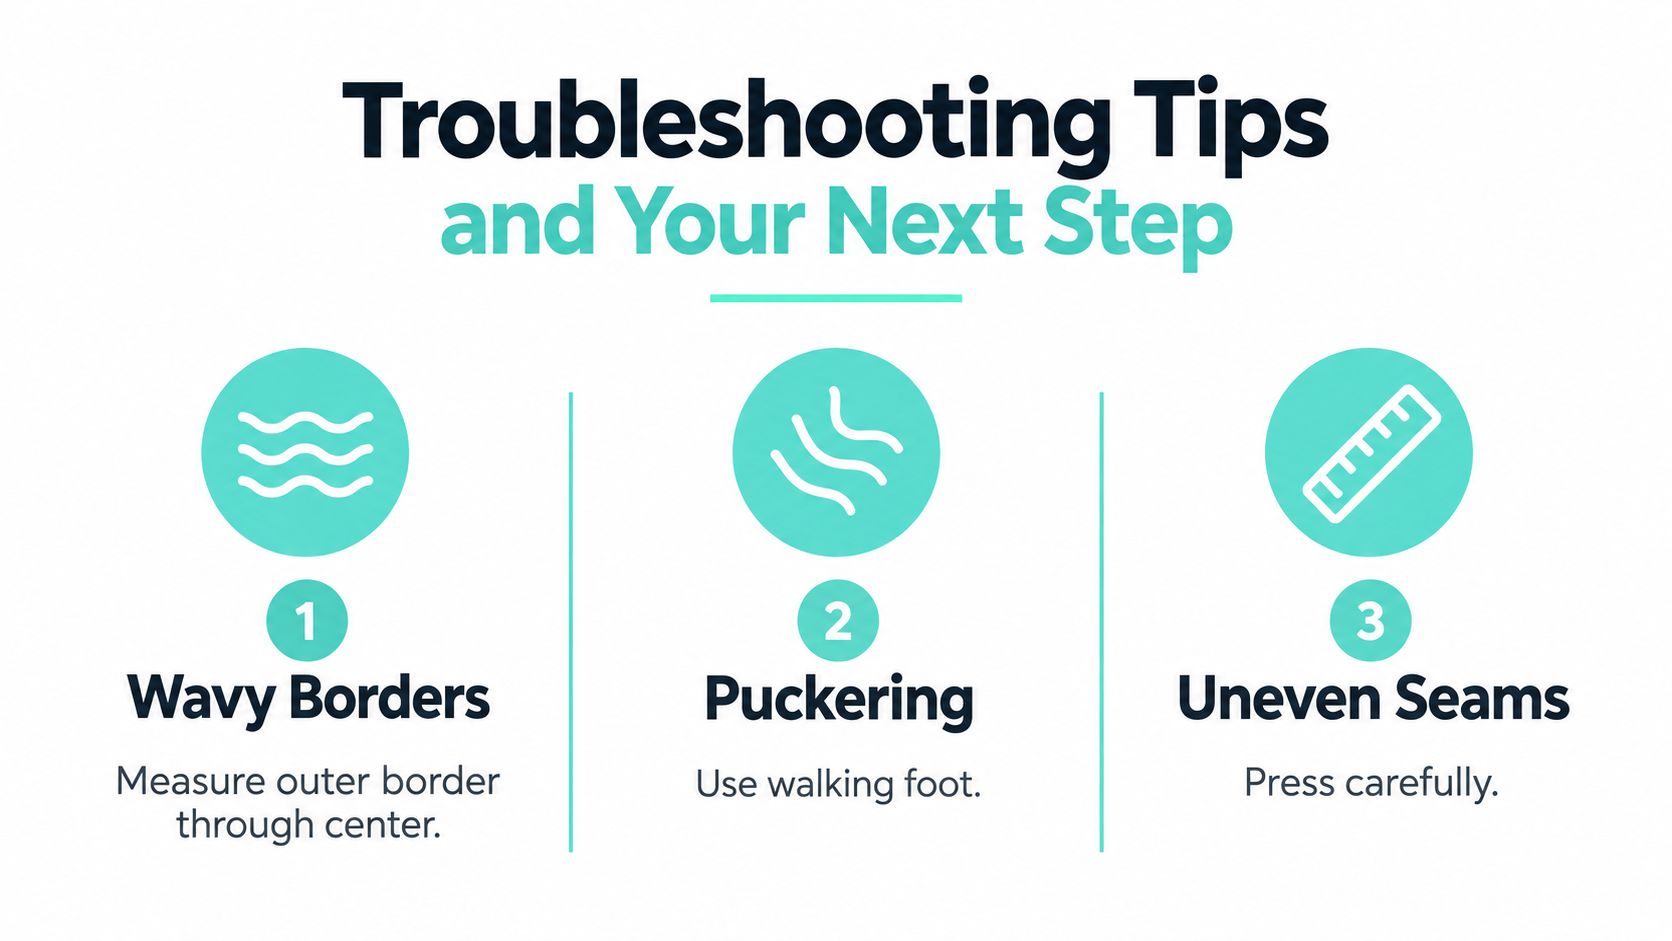
- Wavy borders: Measure the outer border through the midpoint instead of cutting it only from the edge. Avoid stretching the border while pressing or sewing.
- Puckered seams: Recheck whether the seam allowance drifted away from 1/4 inch. Test another unit before continuing.
- Minky shifting: Use a walking foot, a longer stitch, and basting pins or spray adhesive. Support the quilt's weight beside the machine.
- Uneven binding tails: Rejoin the strips with a true 45-degree seam rather than a straight join.
- Corner gaps: Check that the batting and backing weren't trimmed too short before binding.
Three habits will improve the rest of the project immediately:
- Press every seam before joining the next unit.
- Square the top after every row so small changes don't become a distorted final edge.
- Mark the seam allowance on the machine with painter's tape and use that line consistently.
For general care ideas after finishing, this guide to DIY blanket care by Striped Circle offers a useful comparison for handling soft textile projects, although your batting and fabric manufacturer's instructions should take priority.
Choose your finishing path before you cut the backing. Use DIY straight-line quilting if you want direct control and a hands-on finish, or choose OPN's mail-in longarm service if you want a polished result without managing dense quilting at home. Match the backing width, 90 inches or 110 inches, to the quilt top dimensions, then order enough fabric with the required overage.
On Pins & Needles Quilting Co. offers Shannon Cuddle and Luxe Cuddle fabrics, extra-wide minky backing, and mail-in longarm quilting for patchwork projects. Visit On Pins & Needles Quilting Co. to choose your backing and book your finishing service, then use the available 15% first-order offer or free shipping on eligible orders over $70.