

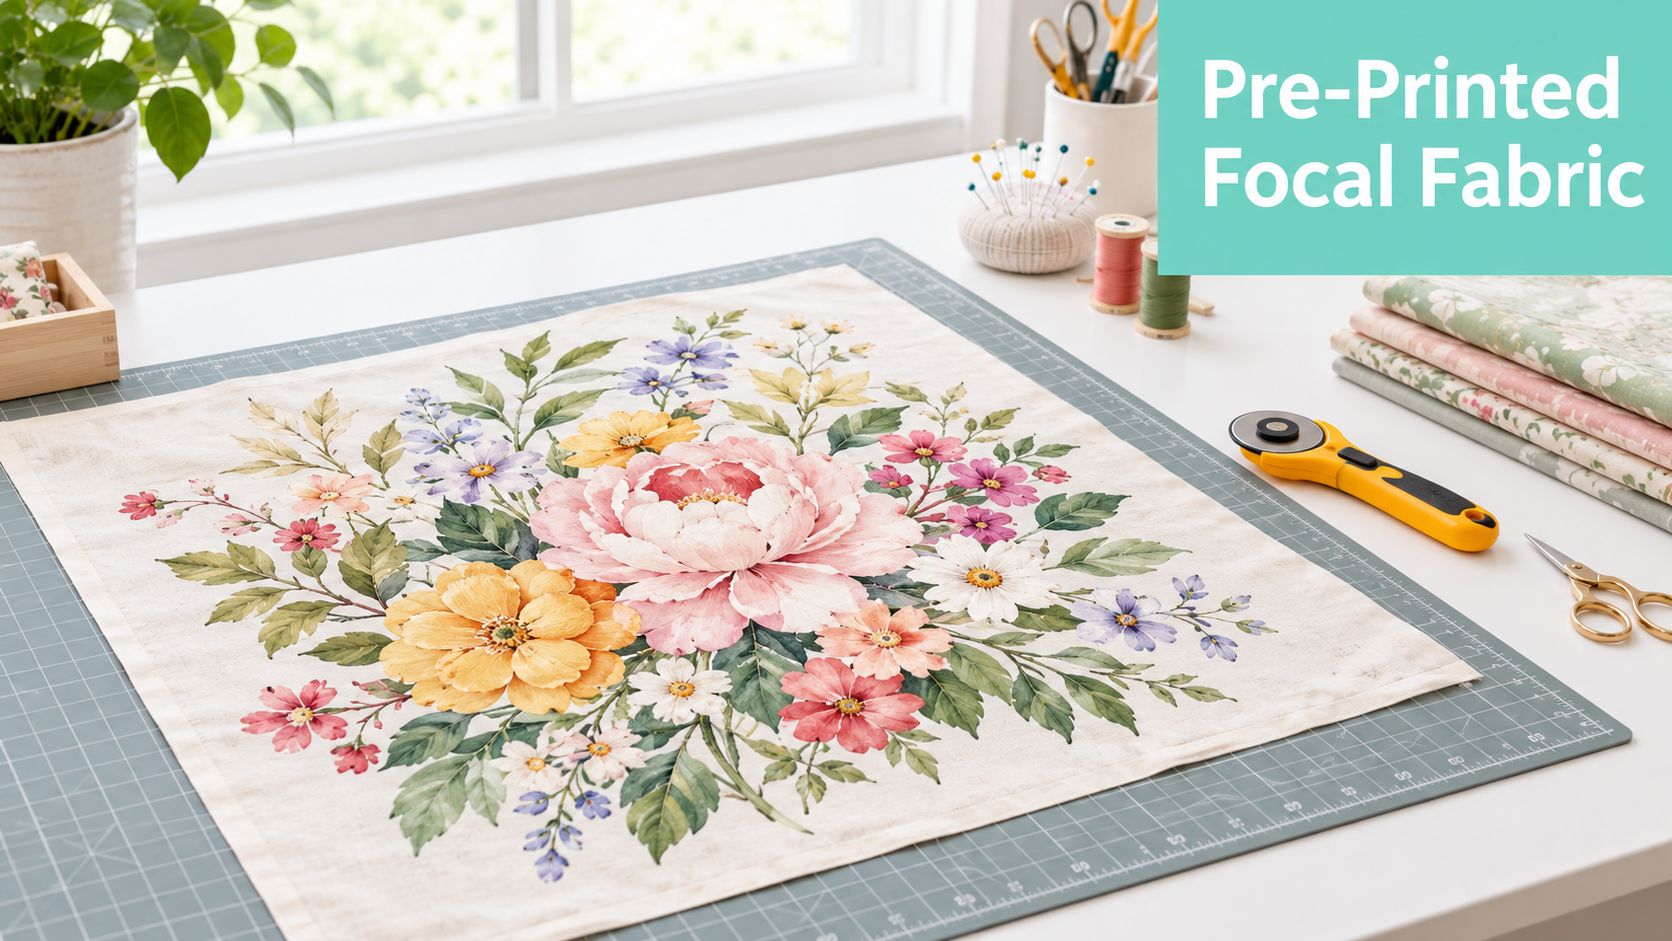
You've found a beautiful floral panel, but you're not sure whether it belongs on a wall, in the center of a quilt, or across the back of a bed-sized project. A flower quilt panel is a pre-printed focal fabric designed to anchor a quilt, giving you an established image to frame, sash, or adapt instead of piecing every flower from small cuts.
A maker might begin with a large peony print, add a quiet border, and finish with a soft minky backing. Another might crop the same fabric into pillow fronts or a table runner. We'll show you how to make that choice, using practical measurements, border planning, project ideas, and finishing methods that work especially well with Shannon Cuddle textures.
At OPN Quilting, our workshop conversations often start with the same question, “What can I do with this panel?” Our advice comes from hands-on finishing work, customer projects, and hundreds of verified reviews, not just from looking at fabric photographs. If you want a quick visual starting point, this guide to using quilt panels offers another way to think about layout.
The appeal is immediate. A panel can save piecing time while delivering strong floral impact, but the print also limits where you can cut and how you can enlarge the finished top. Once you understand the panel as the quilt's visual anchor, those limitations become useful design information.
How a Flower Quilt Panel Works as a Quilt Center
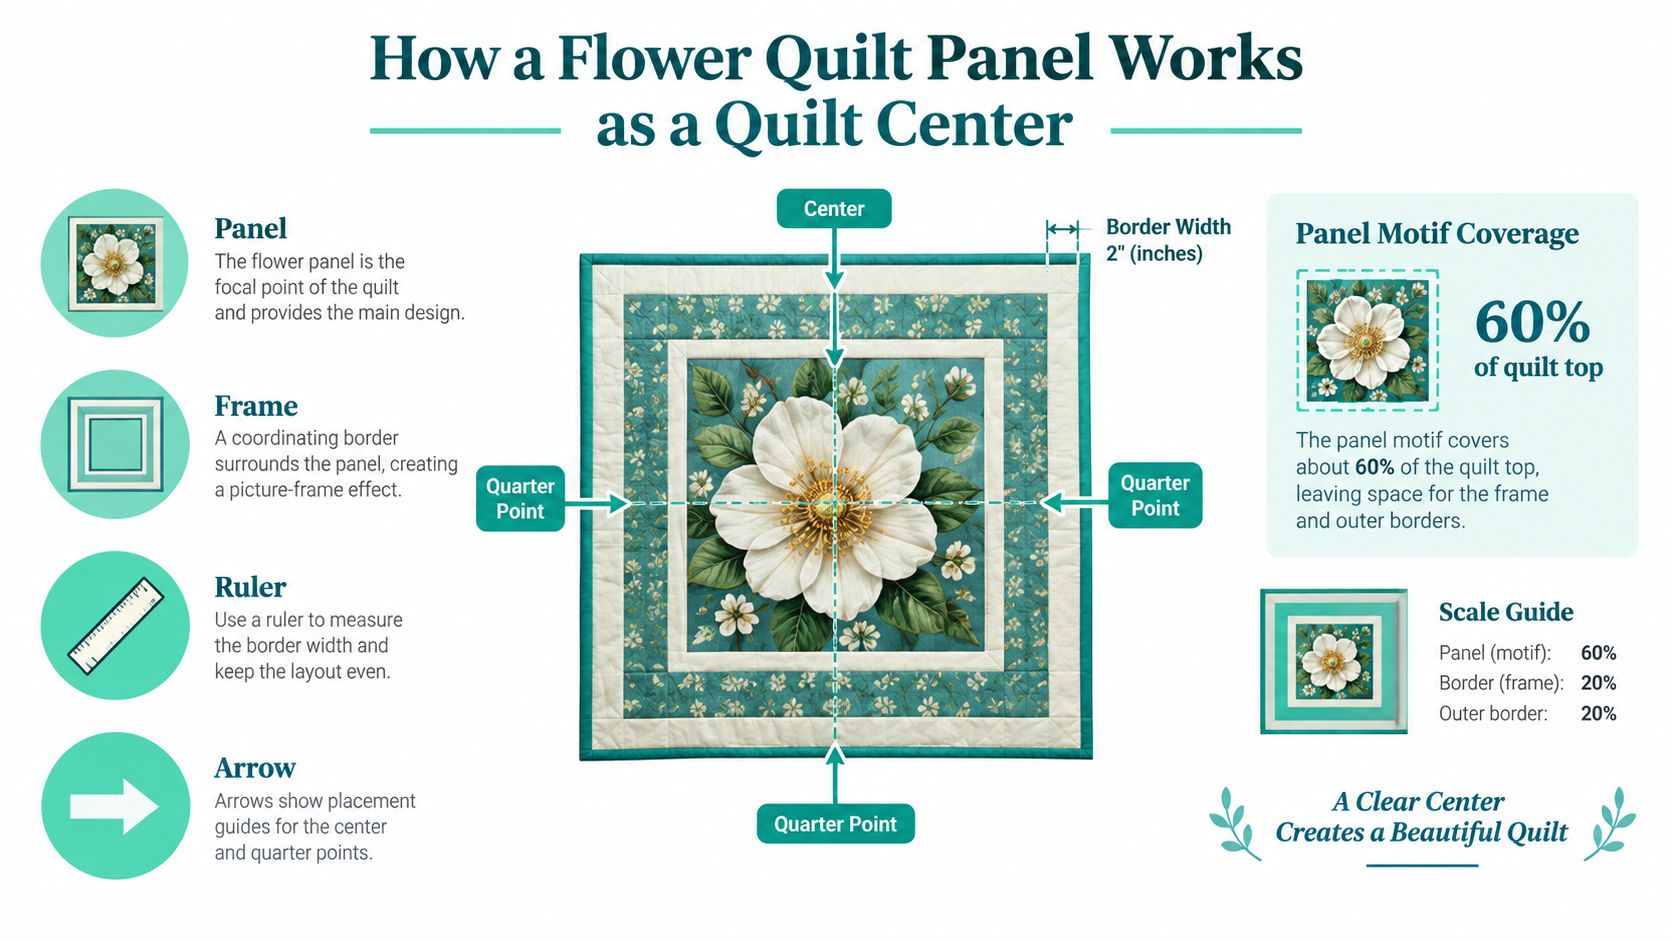
Think of a flower quilt panel as the picture inside a picture frame. The printed motif carries the attention, while borders, sashing, cornerstones, and quilting provide the space that helps the image feel intentional.
Yardage usually gives you a repeating field that can be cut in many directions. A panel gives you a planned composition, often with a central bouquet, wreath, or oversized bloom. That difference affects every decision after you open the package.
Why does the printed image need breathing room?
A floral panel works best when the surrounding fabric supports rather than competes with it. A narrow border can make the panel feel crisp and contained, while a wider border gives you room to enlarge a small panel into a more substantial quilt center.
The Metropolitan Museum's record for a printed cotton textile notes that flowered, handkerchief-like pieces were reused as quilt center panels, showing that these fabrics were valued as focal objects rather than treated only as ordinary repeating yardage. The same record identifies John Hewson, who arrived in Philadelphia in September 1773, as the first important, well-documented textile printer in America. By around 1790, he was producing flowered dress goods and printed panels, and “a dozen or so” surviving panels are known to have been reused as quilt center panels in the Metropolitan Museum collection record.
That history explains why scale matters. The panel's motif is meant to be seen as a complete or nearly complete image, so cutting through a flower head or leaving an uneven margin can make the finished quilt look accidental.
What should you check before framing the panel?
Lay the panel flat and inspect it before cutting. Look for the printed image area, the outer fabric margin, the direction of the grain, and any visible distortion caused by printing or handling.
Use this quick inspection:
- Find the visual center. The true center may be the largest flower, not the geometric midpoint of the fabric.
- Measure more than once. Check width and length at the top, middle, and bottom.
- Assess the edges. Decide whether you'll preserve the printed margin or trim back to the image.
- Choose the frame fabric. A solid, subtle blender, or low-contrast floral usually gives a busy panel enough authority.
- Test the arrangement. Place fabric strips beside the panel before sewing so you can judge contrast in natural light.
A panel doesn't have to occupy the exact center of a quilt top, but the surrounding construction should make its placement look deliberate. For additional ideas using straightforward piecing around a focal fabric, browse easy quilt block patterns.
What Sizes and Print Types Will You Find
Flower quilt panels vary from compact blocks to large statement pieces, so the finished project depends on more than the flower design. You need to compare the usable printed image, the total fabric dimensions, and the amount of fabric required to frame it.
Many panels measure about 23 x 42 inches, while other common formats include 15 x 44, 35 x 42, and 54 x 64 inches. These dimensions are listed in the Fat Quarter Shop panel assortment, and they give us a useful planning range for small projects, wall pieces, and bed-sized quilt centers.
| Panel Size | Typical Use Case | Border Strategy |
|---|---|---|
| 15 x 44 inches | Table runner, narrow wall piece, tote fronts | Add side borders carefully, or preserve the elongated shape |
| 23 x 42 inches | Baby quilt center, pillow group, lap quilt focal point | Use a picture-frame border or add sashing for more width |
| 35 x 42 inches | Larger throw center, generous wall art, full floral composition | Add balanced borders, then consider corner blocks |
| 54 x 64 inches | Large throw, bed accent, oversized statement center | Keep the panel intact and use restrained borders |
How do print styles change the cutting plan?
A centered bouquet behaves differently from an all-over floral rectangle. A bouquet usually rewards a full-panel layout, while a scattered floral can tolerate cropping, piecing, or turning into smaller projects.
Watch for these design types:
- Central arrangements need balanced trimming and benefit from a calm frame.
- Bordered scenes should usually stay intact, because cutting away the edge can remove the visual finish.
- Oversized single blooms can work beautifully as cropped pillows or bags, but you'll need to mark the exact area before cutting.
- Scattered florals offer more flexibility because the eye doesn't depend on one complete composition.
- Dense prints reveal skew quickly, especially where straight borders meet strong stems, leaves, or geometric backgrounds.
A listing may show the total cut of fabric, but the usable image can be smaller because of selvages, printed margins, or an intentionally uneven edge. Measure the fabric you receive rather than relying only on the product photograph.
How should you plan borders?
Border math starts with the finished panel, not the nominal size on the label. If you want a final center width, subtract the panel's usable width first, then divide the remaining space between the left and right borders. Repeat the process for length.
Don't force a panel into a bed quilt just because the fabric is attractive. A small panel can become a successful quilt when you give it enough framing, but an oversized border may change the visual balance and require substantial additional yardage. When you're considering a soft back for that larger project, OPN's guide to 110-inch extra-wide minky can help you compare the backing format before you buy.
Which Project Should You Make With Your Panel
The best project depends on what the panel already does well. If the print has a complete bouquet, protect the composition. If it has one oversized flower, cropping may create a stronger result than trying to display every inch.
A useful decision rule is simple: use the panel as a focal front when the image deserves attention, and use it as a backing accent when the front design already has enough visual activity.
Which projects make the most of a complete image?
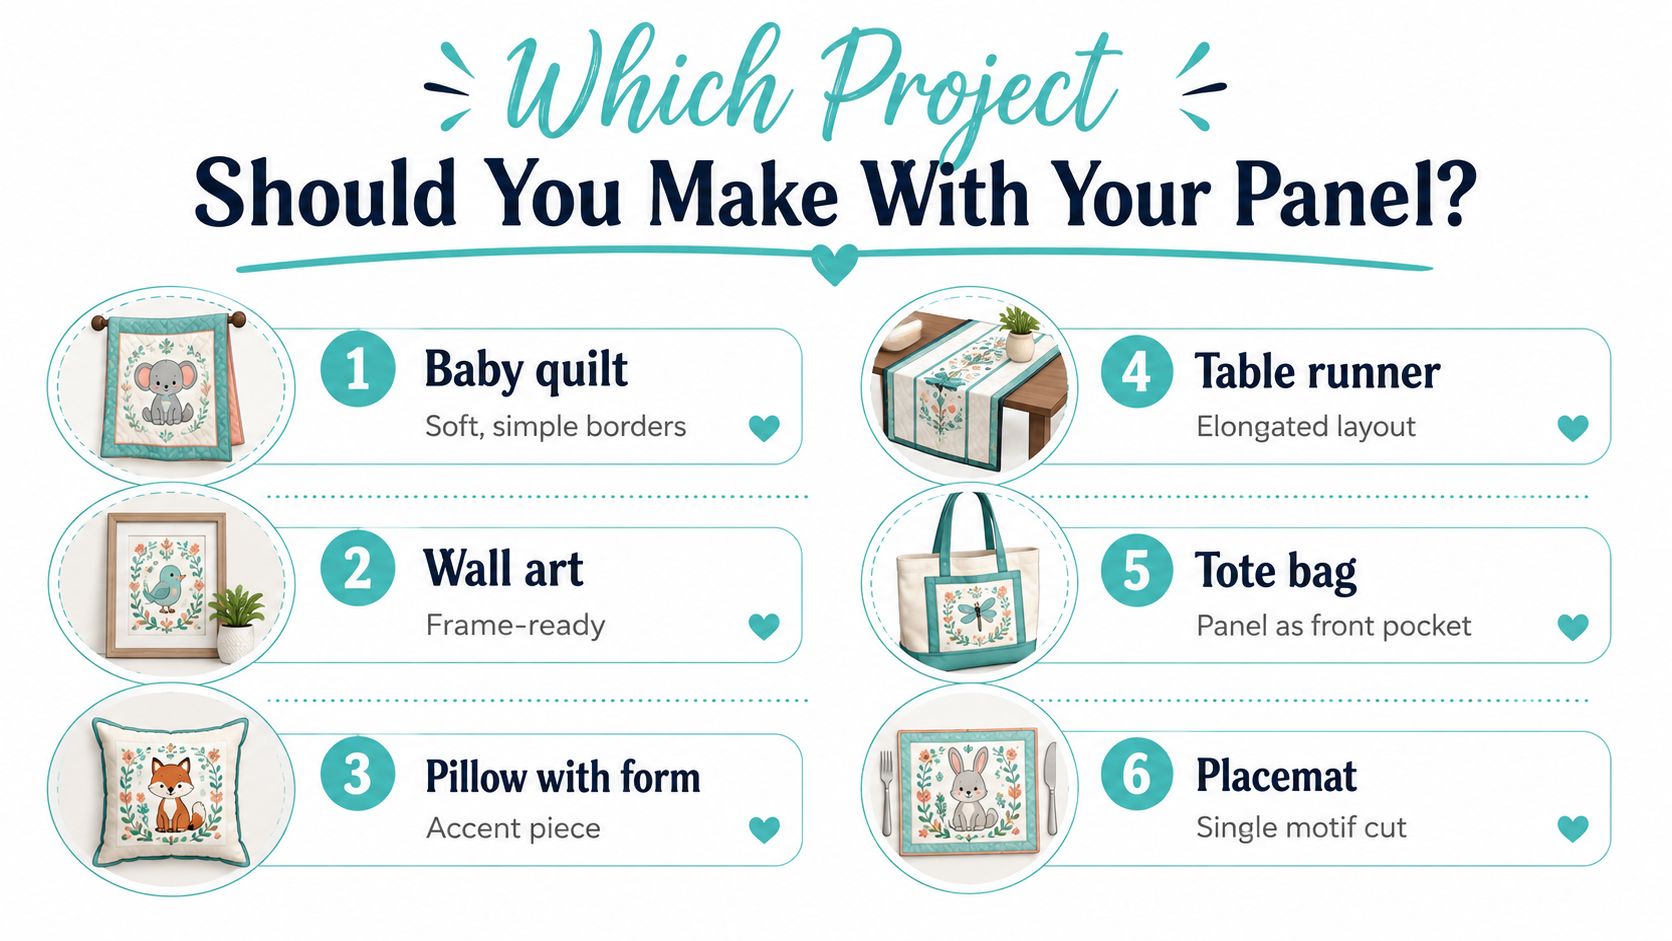
A baby quilt is often the easiest starting point. Add a soft border, keep the quilting pattern open enough to preserve the floral shapes, and choose a backing texture that feels comfortable without overpowering the front.
Wall art is another natural fit when the panel has a strong edge or frame-like composition. For a less permanent display, mount the finished piece over a slim support rather than cutting away the printed margin.
For smaller cuts, consider:
- Pillows with forms. Center one flower on the front and use a quiet coordinating fabric on the back.
- Table runners. Preserve an elongated panel, or frame a square floral image with lengthwise borders.
- Tote bags. Use a cropped motif on the front pocket, where one flower can remain visible even after construction.
- Placemats. Cut individual motifs only when the printed design gives each crop enough breathing room.
- Small accent quilts. Combine leftover border fabric with simple blocks instead of forcing scraps back into the original composition.
When should the panel become the backing?
Use a floral panel as a backing accent when the front needs a quiet, restful surface but you still want a surprise on the reverse. You can center the panel behind the quilt, place it near the upper third, or combine it with coordinating yardage.
That approach works particularly well when the panel's image is attractive but too large or directional for the front. It also reduces the need to build an elaborate top around a print that already feels complete.
Design shortcut: If you keep asking how to fill empty space around the panel, the project may need a simpler border or a different use. The right project makes the image feel supported, not rescued.
For makers considering a soft finished gift rather than a traditional pieced quilt, a Custom Mark fleece blanket buyer's guide offers useful general context on choosing a fleece-based format. For more panel-specific project paths, see fabric panel project ideas.
Plan your purchase: New customers can use the 15% first-order coupon, and orders over $70 qualify for free U.S. shipping. Those offers can make it easier to pair a panel with border fabric, batting, or a coordinated backing.
How Do You Back and Finish a Flower Quilt Panel With Minky
Minky can give a flower quilt panel a wonderfully soft reverse, but it needs a controlled construction process. The plush surface can hide small distortions while you're sewing, then reveal them as puckers or shifted edges after quilting.
Start with the panel and backing on a flat surface. Don't assume either piece is perfectly square because the fabric looks straight on the bolt.
What should you do before sewing?
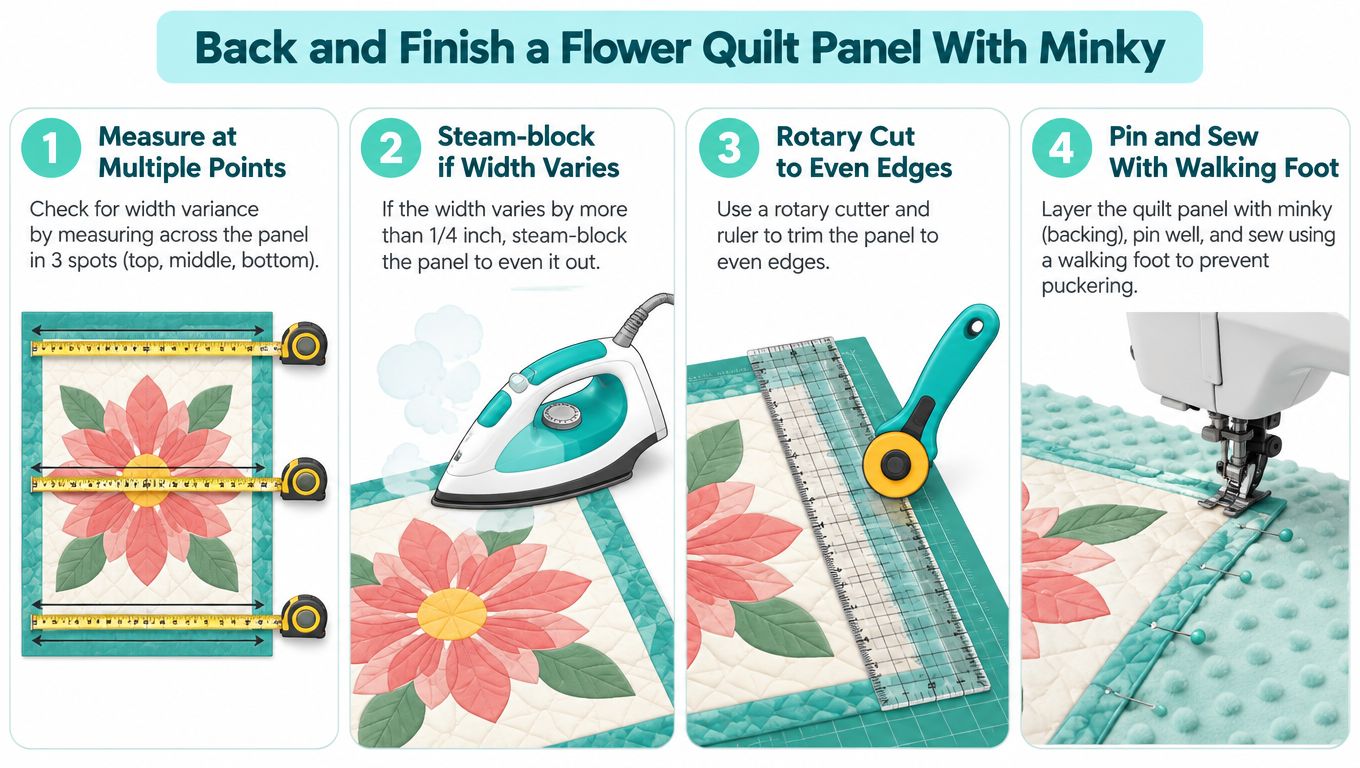
- Measure at multiple points. Check the width and length in three places, including the center. If the width varies by more than 1/4 inch, steam-block the panel according to the fabric's care and pressing requirements, as recommended in panel preparation guidance from SewEndipitous.
- Square the edges. Use a rotary cutter, a long ruler, and a stable cutting surface. Trim only what you need to create usable, straight edges.
- Cut the backing with overage. Many quilting guides recommend adding 4 inches to each side, or 8 inches total to both the width and length, so the layers have room for quilting and handling. The quilt backing size guide from Hailey Stitches uses this method and calculates that a 110 x 108 inch king quilt top needs a 118 x 116 inch backing, or about 9 3/4 yards of standard backing fabric.
- Secure the layers. Use a walking foot and a consistent 1/4-inch seam allowance when joining fabric pieces or constructing borders. The walking foot helps feed the layers evenly and reduces distortion.
Why choose extra-wide minky?
Extra-wide backing can eliminate a bulky center seam on a large quilt. Wide-back quilting cotton is commonly sold in 108-inch and 110-inch widths, and one calculator shows that a 110 x 108 inch king quilt can use about 6.5 yards of 108-inch wideback fabric instead of about 9.75 yards of standard 42-inch cotton, as shown by FibreCalcs' backing guide.
The same seam-avoidance logic applies to extra-wide minky. Options such as Shannon Cuddle Hide, Snowy Owl, and Fawn can create a plush reverse with fewer joins, depending on the finished quilt dimensions and the available width.
Minky textures also change the character of the project. Hide gives a furry, dimensional surface, Snowy Owl creates a longer, wintery texture, and Fawn offers a soft, animal-inspired finish. Always confirm the nap direction before cutting so the surface reads consistently across the quilt.
Should you quilt it yourself or mail it out?
A small panel project may be manageable on a domestic machine, but a large floral top with minky backing can become awkward under the arm space. OPN's Mail-in Longarm service uses an intake process based on quilt length multiplied by width, a size tier, and backing and batting supplied with extra overage. The service page also states that thread and free domestic return shipping are included.
Before sending your quilt top, press it, inspect the seams, square the corners, and label the top edge. A clear edge-to-edge quilting pattern can add texture without drawing attention away from the flowers. After quilting, finish the edge with a binding method suited to the thickness of your chosen backing, using this quilt binding guide for a clean finish.
How to Choose and Buy the Right Flower Quilt Panel
Buying a flower quilt panel is a design decision first, but it's also a materials decision. The most attractive print won't save a project if the image is too small, the fabric is unstable, or the panel's edges leave you without enough room to square it.
Check four details before adding one to your cart:
- Image area: Separate the printed motif from the total fabric cut. A wide margin may be intentional, or it may be fabric you'll trim away.
- Directional layout: Confirm whether the flowers, stems, and border run in one direction. Direction affects pillows, runners, bags, and backing placement.
- Fabric stability: Look for a panel that can be pressed and handled without excessive stretching. Dense floral printing makes skew easy to see.
- Project scale: Match a compact panel to a pillow, runner, baby quilt, or wall piece. Choose a larger format when you want fewer seams in the quilt center.
Is a panel better value than yardage?
Not automatically. A panel can save piecing time and give you a finished focal image, but yardage offers more freedom when you need to cut borders, blocks, or a flexible backing.
For a fair comparison, consider:
| Buying Question | Flower Quilt Panel | Wide Yardage |
|---|---|---|
| What are you paying for? | A planned image and quick visual impact | Flexible cutting and broader coverage |
| Where does it save time? | It avoids constructing the central motif | It can simplify borders or backing |
| What limits use? | The image has a fixed direction and scale | The print may repeat or require more layout planning |
| When is it strongest? | Design-first focal projects | Efficiency-first large surfaces |
Extra-wide formats are particularly useful when the goal is a back rather than a decorative front. OPN's extra-wide minky collection is worth checking alongside Shannon Fabrics panels, prints, and curated cuts.
Before buying, review current inventory because colors, textures, and panel availability change. Look for the specific cut you need, whether that's a 2, 2.5, or 3 yard option, a strip bundle, a pillow kit, or a ready-made piece. If you're uncertain, responsive support and accurate cutting are more valuable than choosing a print that creates a difficult layout.
Bring Your Flower Quilt Panel Project to Life
A successful flower quilt panel project starts with one clear decision. Are you protecting a complete floral image as the focal anchor, or are you treating the fabric as a useful accent for the back, a pillow, a runner, or another small project?
Use this workshop checklist:
- Measure the usable image, not only the advertised fabric size.
- Decide whether to center, crop, border, or sash before cutting.
- Choose border fabric that frames the flowers instead of competing with them.
- Plan backing overage before ordering minky.
- Consider extra-wide minky when avoiding a center seam matters.
- Prepare the top carefully if you're using Mail-in Longarm finishing.
- Check the quilting scale so the stitches support the print.
For a plush finish, explore Shannon Luxe Cuddle fabrics, including textures such as Hide, Snowy Owl, and Fawn. If your project needs a broad, low-seam reverse, compare 110-inch minky backing options before settling on standard-width fabric.
New customers can use the 15% first-order coupon, and orders over $70 receive free U.S. shipping. Those savings are especially practical when you're combining a flower quilt panel with border fabric, batting, or a soft backing.
Finish the project at home if you have the space and equipment, or book Mail-in Longarm quilting when you want professional edge-to-edge stitching without managing a large minky-backed quilt on a domestic machine.
On Pins & Needles Quilting Co. offers premium Shannon Cuddle and Luxe Cuddle fabrics, extra-wide minky backing, curated cuts, and Mail-in Longarm finishing for flower quilt panel projects. Visit On Pins & Needles Quilting Co. to choose your backing, prepare your focal quilt, and move from beautiful panel to finished quilt with confidence.