
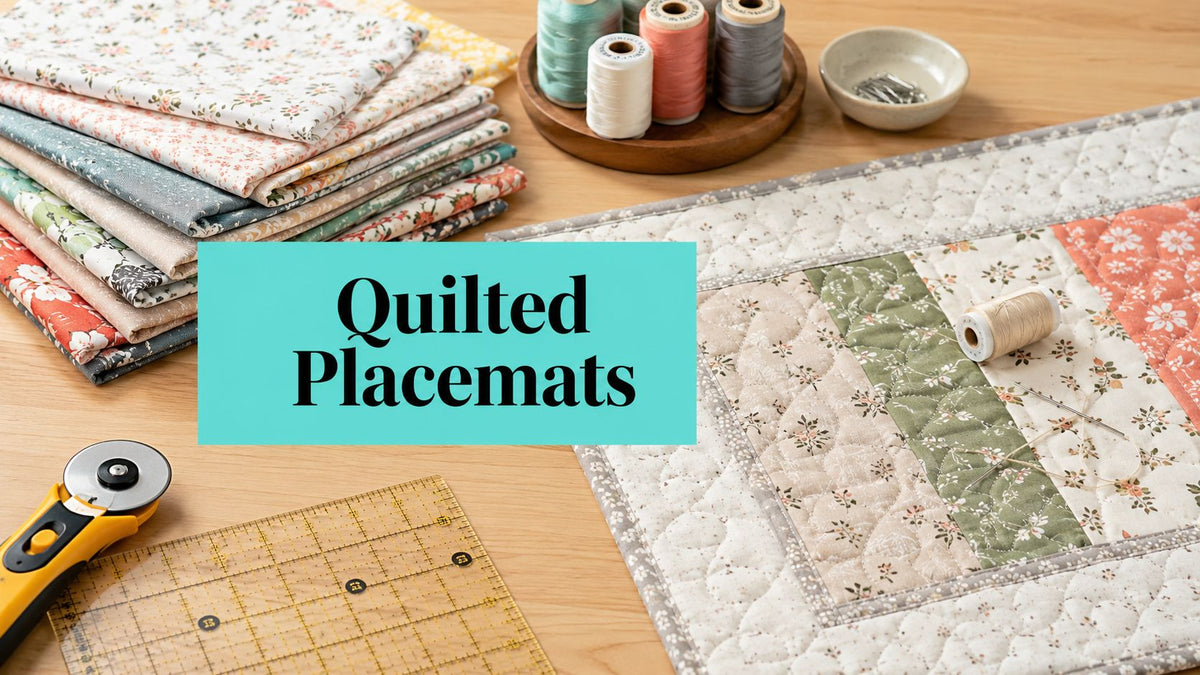
You've got four fat quarters on the cutting mat, guests coming this weekend, and just enough time to make the table feel special. This quilted placemats free pattern gives you four 12 x 18 inch finished placemats with a confident-beginner construction, a quarter-inch seam allowance, and clear choices for cotton, minky, bound, bindless, dinner, and charity sizes.
Quilting has a long history, from an ivory carving dated to the 35th century B.C. to the wider popularity of quiltmaking in the United States after the early 19th century, as documented in this scholarly review of quilting history. A small placemat is a practical way to enter that tradition without committing to a bed-sized quilt.
Stitch a Set of Quilted Placemats With This Free Pattern
Download the free Four-Piece Quilted Placemat PDF included with this post, then pull four coordinated fabrics from your scrap bin or quilting cotton collection. By the time you close your sewing room, you'll have four 12 x 18 inch quilted placemats, machine quilted, bound, washed, and ready for the table.
The pattern is designed for a confident beginner and takes roughly two hours for a set of four, depending on your quilting speed and finishing choice. Every seam uses a quarter-inch seam allowance, so keep that measurement consistent from the first cut through the final binding stitch.
You'll learn how to decide between an all-cotton set and a cotton-top, minky-backed version. I'll also show you when a traditional bound edge makes sense, when a bindless finish saves time, and why the 12 x 15 inch charity size used by Minnesota Quilters differs from the dinner-table size. Their self-bordered placemat pattern demonstrates how a small project can support meal-delivery programs as well as home decorating.
- For dinner: Finish at 12 x 18 inches.
- For charity or a smaller hostess gift: Finish at 9 x 13 inches.
- For a first project: Use cotton on both sides and low-loft batting.
- For a plush accent: Pair a cotton top with Shannon Cuddle or Luxe Cuddle backing.
If you're making these as a meaningful gift, you might also enjoy this guide to a heartfelt anniversary quilt gift, especially when you're choosing colors with a personal story behind them.
Cotton or Minky Picking the Right Placemat for Your Table
The fabric on the back changes the sewing experience more than most beginners expect. All-cotton placemats press crisp and wash easily, while a minky-backed mat has a softer hand and richer texture but needs slower handling.
OPN Quilting stocks Shannon Cuddle and Luxe Cuddle textures such as Hide, Snowy Owl, and Fawn. Before ordering, consider whether your priority is a flat everyday mat, a plush winter table, or a gift that feels decorative as soon as it's unwrapped. This Cuddle and minky fabric guide is useful if the pile, nap, and fabric names are new to you.
| Feature | All-Cotton Placemat | Cotton Top + Minky Back |
|---|---|---|
| Washability | Easy to wash and press flat | Wash gently and dry carefully to protect the plush nap |
| Heat protection | Low-loft batting gives modest insulation | The plush layer adds body, but it shouldn't be treated as a trivet |
| Drape on the table | Flat, structured, and crisp | Softer, warmer, and slightly more relaxed |
| Beginner stitching | Most forgiving option | Use a walking foot, longer stitch length, and careful basting |
| Yardage approach | Use quilting cotton for the top and backing | Use quilting cotton for the top and fabric from a 40 inch minky bolt for the back |
| Best use | First sets, charity sewing, and children's tables | Hostess gifts, winter tablescapes, and confident makers |
For a first set, I'd choose cotton. It's easier to square, easier to bind, and more practical for a table that sees frequent spills.
Minky makes sense when the tactile finish matters. A cotton-plus-minky placemat photographs beautifully, especially with a textured back such as Hide or Snowy Owl, but the nap can shift beneath the presser foot. Slow your feed, use a walking foot, and test your tension on a scrap before touching the finished layers.
Practical rule: If the placemat needs to be washed often, prioritize a stable cotton construction. If it's mainly a hostess gift or seasonal accent, the extra care of minky can be worthwhile.
Materials Cutting Diagrams and Yardage for the Free Placemat Pattern
Gather everything before cutting. A rotary blade is safest when you aren't stopping midway to search for batting, thread, or a compatible foot.
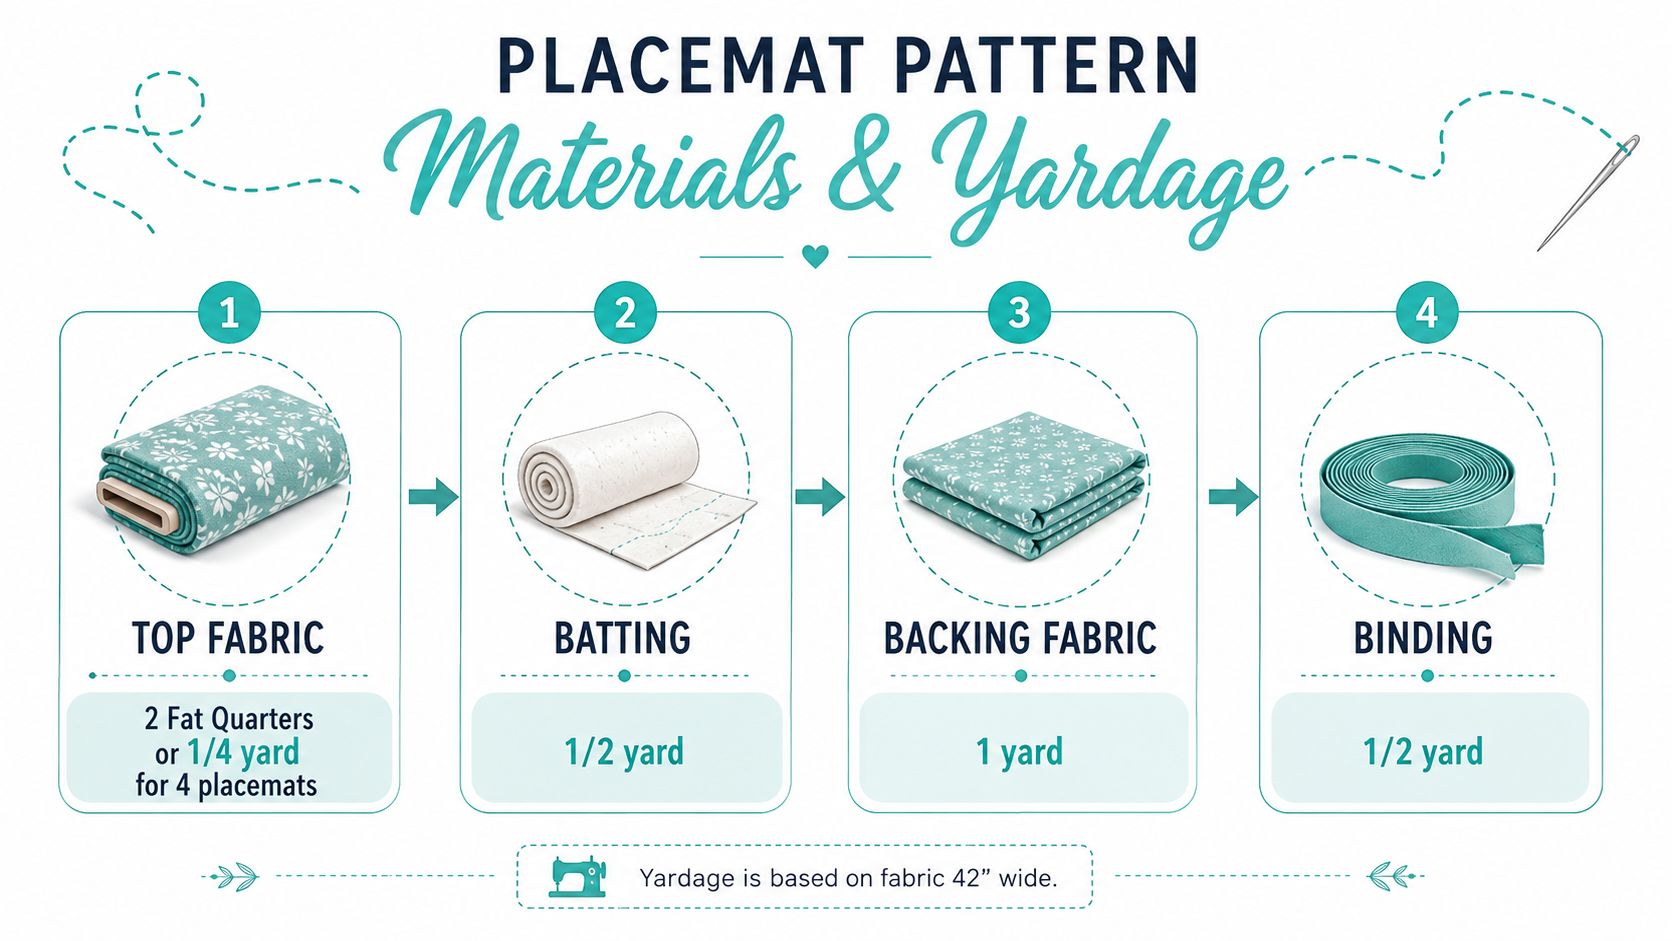
For four dinner-size placemats, use:
- Top fabric: Two fat quarters or one quarter yard of quilting cotton.
- Backing: One yard of coordinating cotton, or half a yard from a 40 inch minky bolt.
- Batting: One yard of low-loft cotton batting, or one package of 34 x 45 inch batting scraps.
- Thread: Aurifil 50 wt for piecing and 40 wt for quilting.
- Tools: Rotary cutter, mat, ruler, clips or pins, iron, sewing machine, and walking foot.
- Binding: Coordinating cotton, cut after quilting so you can measure the actual perimeter.
For each 12 x 18 inch finished dinner placemat, cut the following pieces oversize:
- One 12.5 x 18.5 inch top.
- One 12.5 x 18.5 inch backing.
- One 12.5 x 18.5 inch batting piece.
The oversize cut gives you room to quilt without worrying about minor edge movement. A fabric-yardage calculation guide can help if you're changing the number of mats or combining several prints.
Charity and hostess cutting diagram
For the smaller 9 x 13 inch finished size, cut each layer at:
- One 9.5 x 13.5 inch top.
- One 9.5 x 13.5 inch backing.
- One 9.5 x 13.5 inch batting piece.
That smaller format is useful for charity sewing, compact tables, or a hostess set paired with napkins. Minnesota Quilters uses a placemat around 12 x 15 inches for donated meal-service projects, so check the receiving organization's preferred finished dimensions before cutting a large batch. The broader history of patterns also matters here. Designs once moved mainly through family and friends, while magazines and newspapers began carrying patterns more widely in the last half of the 19th century, as described by Patterns From History.
What should you order together?
For an all-cotton set, place the top and backing in your quilting cotton cart. For a plush version, combine a Shannon Cuddle fabric selection with a coordinating cotton top, or browse Luxe Cuddle fabrics for textures such as Fawn, Hide, and Snowy Owl.
Before you cut, confirm that you have four matching top pieces, four backing pieces, four batting pieces, and enough binding fabric for the final trimmed edges. Keep your cut pieces stacked by placemat so you don't accidentally pair a directional print upside down.
Piecing Quilting and Machine Settings for Clean Placemats
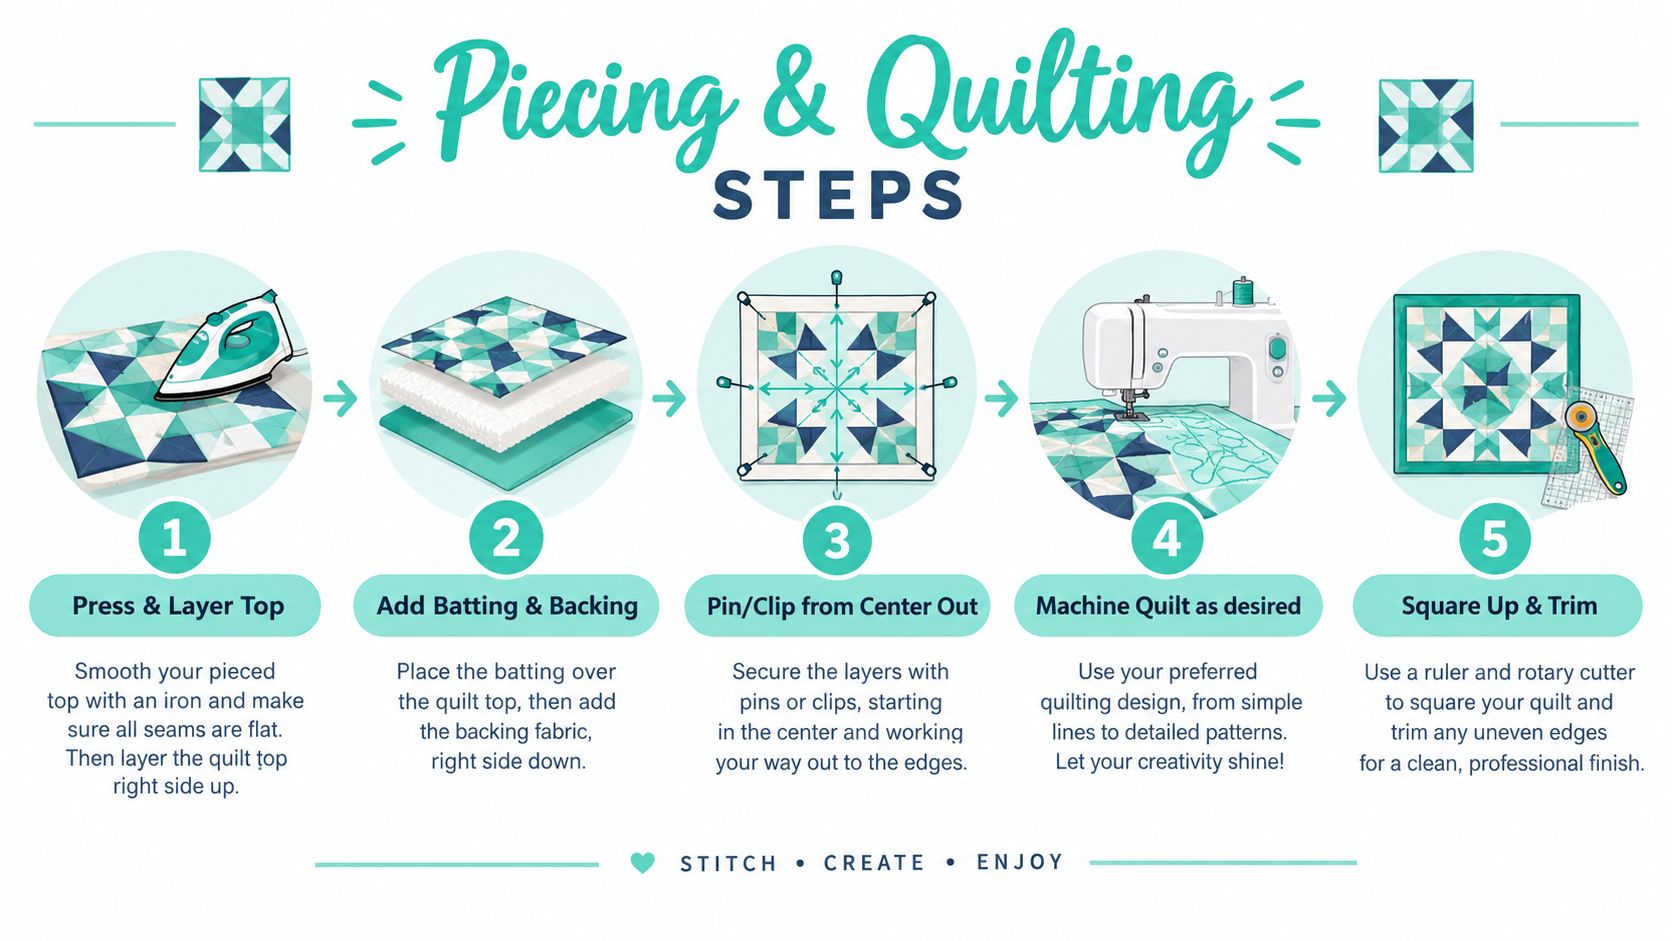
Start with the pressed top facing up. Place the batting underneath, then smooth the backing wrong side up on the bottom. Work from the center toward the edges as you pin or clip, pushing wrinkles outward instead of trapping them beneath the presser foot.
Use a walking foot or dual-feed system so the top, batting, and backing move together. Set your stitch length between 2.5 and 3.0 mm, then sew simple diagonal lines about 1 inch apart, beginning at the center and fanning toward the edges. Straight quilting is dependable here because it anchors the layers without overwhelming a small surface.
How should you adjust for minky?
Minky's nap can move even when your cotton top looks perfectly smooth. Pin or clip more closely, roughly every 2 inches, and test the feed on a layered sample first. If the backing stretches, stop and rebaste rather than trying to correct the distortion with the binding.
For comparable cotton samples, pre-wash before quilting if you're concerned about shrinkage differences. A gentle feed and a longer stitch help the machine travel across the plush surface without creating unnecessary drag.
If the bobbin thread is pulling upward, reduce the top tension by a half-turn and test again. You can also review this stitch-length guide for quilting before changing settings on your machine.
After quilting, fold the mat in half in both directions and press creases into the batting edges. Trim with a ruler and rotary cutter to true the piece to 12.5 x 16.5 inches before binding. This reverse-fold check reveals quilting distortion and gives you a straighter edge for the next step.
Binding Reversible and Bindless Finishes Compared
Your finishing method determines how much handwork you'll do and how the placemat behaves after repeated use. A traditional double-fold binding creates a defined frame around the patchwork, while an envelope-style finish removes the separate binding step.
For a bound edge, cut strips 2.25 inches wide on the bias or crossgrain and sew them with a quarter-inch seam. The method takes about 40 extra minutes for a set of four, but the result is durable and familiar, particularly when the mats will be washed often.
| Finish | Time per set | Skill level | Durability | Reversible |
|---|---|---|---|---|
| Traditional bound | About 40 extra minutes for four | Confident beginner | Strong edge that resists fraying | No, unless both sides are planned |
| Bindless envelope-back | Faster than separate binding | Beginner-friendly | Easy to repair when a layer wears | Yes |
| Fully reversible | Longest construction | Intermediate | Two finished sides protect the project's usefulness | Yes, with two distinct looks |
The bindless envelope-back finish folds the backing to the front twice, eliminating separate binding. It's quick and convenient, though the folded edge can look bulkier when minky is part of the backing.
A fully reversible design joins two quilted panels around the perimeter with the binding hidden inside. It uses more fabric and takes longer, but it gives you two seasonal faces, such as a holiday print on one side and winter neutrals on the other.
A bound finish frames patchwork cleanly. A bindless finish favors speed. Reversible construction earns its extra effort when both sides need to work at the table.
For detailed miters and joining techniques, keep this beginner quilt-binding tutorial beside your machine. Choose the finish before quilting so you can leave the correct edge allowance and avoid trimming away a design element.
Care Instructions and Seasonal Placemat Variations
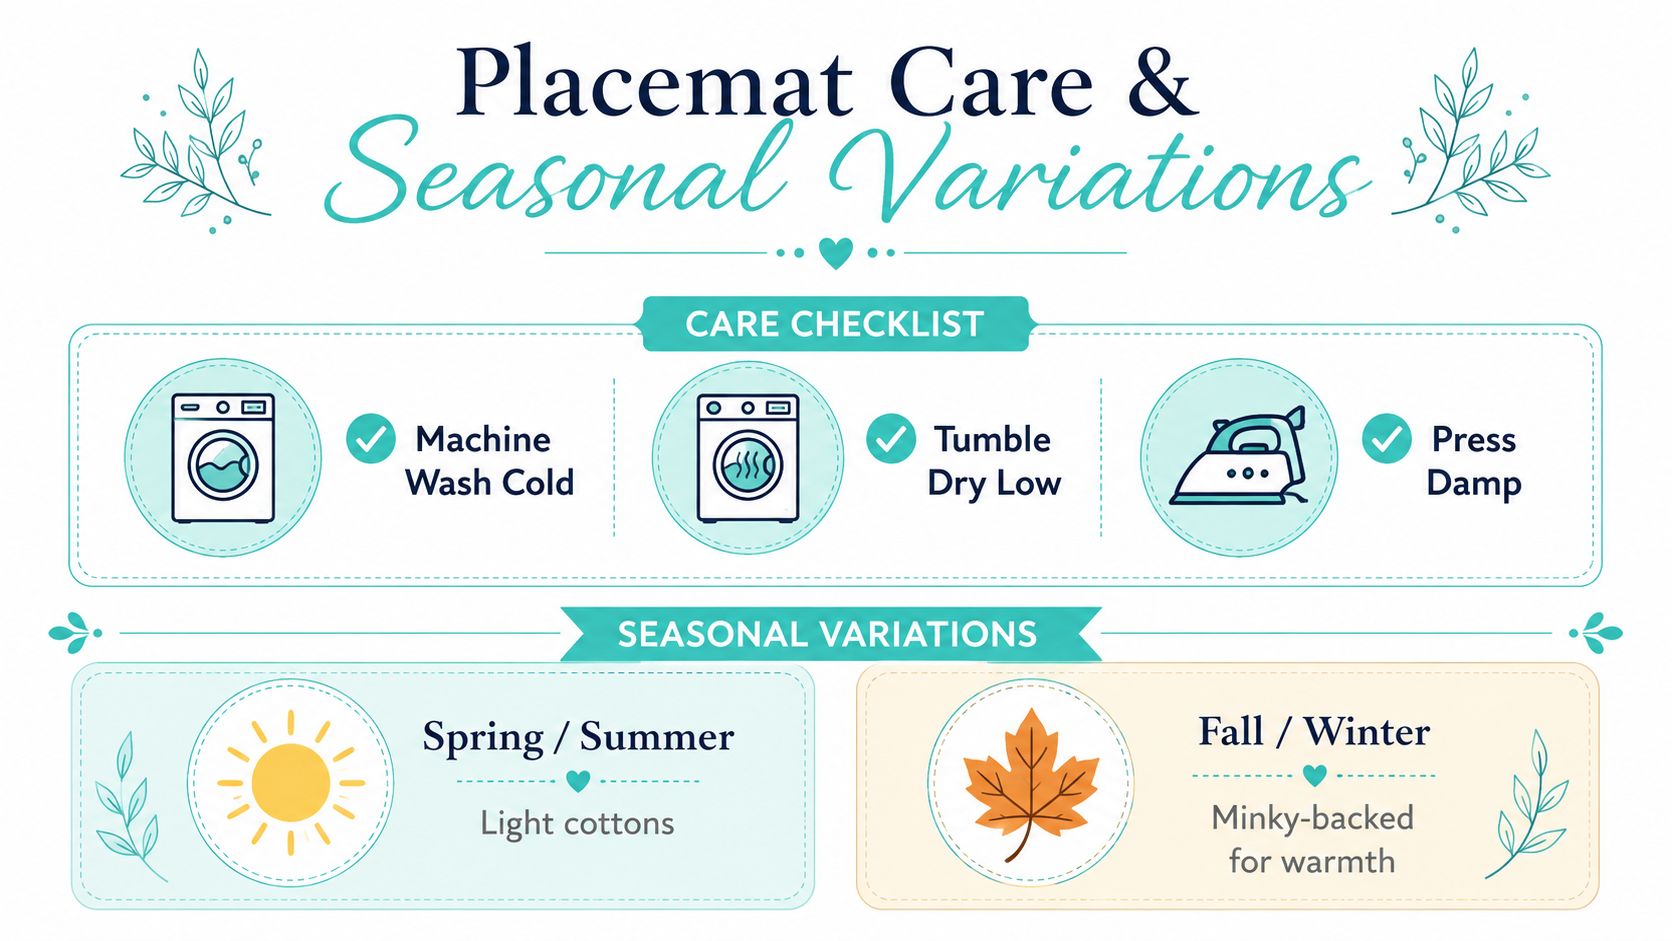
Cotton placemats fit naturally into an everyday laundry routine. Machine wash them cold on a gentle cycle, tumble dry low, and press with a warm iron while they're still slightly damp so the quilting relaxes without becoming stiff.
Minky needs a lighter touch. Wash on cold and delicate, skip chlorine bleach, and use air-dry or low heat. High heat can stiffen plush fibers and damage the backing seam, while aggressive drying can flatten the nap.
Store finished mats flat in a linen closet instead of a damp drawer. Stacking too many on edge can leave compression lines along the binding, particularly on plush-backed versions.
How can you vary the pattern?
- Breakfast mat: Cut a 10 x 13 inch rectangle for a smaller setting.
- Generous dinner mat: Add 1 inch to each dimension for more plate and cutlery room.
- Sampler top: Stitch four 5-inch squares into one mat top.
- Coaster bundle: Scale the same piecing idea to 4.5 x 4.5 inches, then bind the coasters with the placemats.
- Seasonal rotation: Use a poinsettia strip for December or soft sage for spring, and keep the binding neutral so the set transitions between seasons.
Cotton is especially practical for spring and summer tables. Minky-backed versions add a warmer visual and tactile layer to fall and winter settings, while reversible construction lets one set serve more than one decorating scheme.
Care note: Wash a test sample when combining fabrics with different textures. The sample shows how the quilting, backing, and edge finish respond before you launder the full set.
Troubleshooting FAQ and Where to Buy Supplies
Why are the layers shifting?
Rebaste with quilting pins or clips, beginning at the center. If the back forms pleats, check the walking-foot pressure and adjust it to 3 before sewing another sample.
Why does the binding pucker?
Uneven seam allowances usually create uneven binding. Recheck the quarter-inch seam, press the edge flat, and trim with a 24-inch ruler before attaching the binding.
Why is the minky edge stretched?
Use a 90/14 ballpoint needle for minky and avoid pulling the fabric behind the presser foot. Let the walking foot feed the layers while you guide them gently.
Why is the thread nesting?
Reduce the top tension to 4, then sew on a scrap sandwich. Nesting often comes from a mismatch between the tension setting, threading path, or layer feed.
Why isn't the finished mat square?
Fold it in half both ways, mark the high points, and trim again with the 24-inch ruler before binding. Squaring after quilting is more reliable than trusting the original cut edges.
For a practical supply checklist, use this guide to where to buy material for quilts. You can also shop Shannon Cuddle, Luxe Cuddle, and Warm & Natural batting, or send the quilting to OPN's mail-in longarm quilting service. The shop has hundreds of verified reviews, and its longarm service includes batting, thread, and free return shipping.
First-order offer: Use the 15% first-order coupon, and remember that U.S. orders over $70 qualify for free shipping.
On Pins & Needles Quilting Co. offers Shannon Cuddle, Luxe Cuddle, batting, quilting supplies, and mail-in longarm finishing for projects like this quilted placemats free pattern. Visit On Pins & Needles Quilting Co. to order your fabric and finish your set with confidence.