
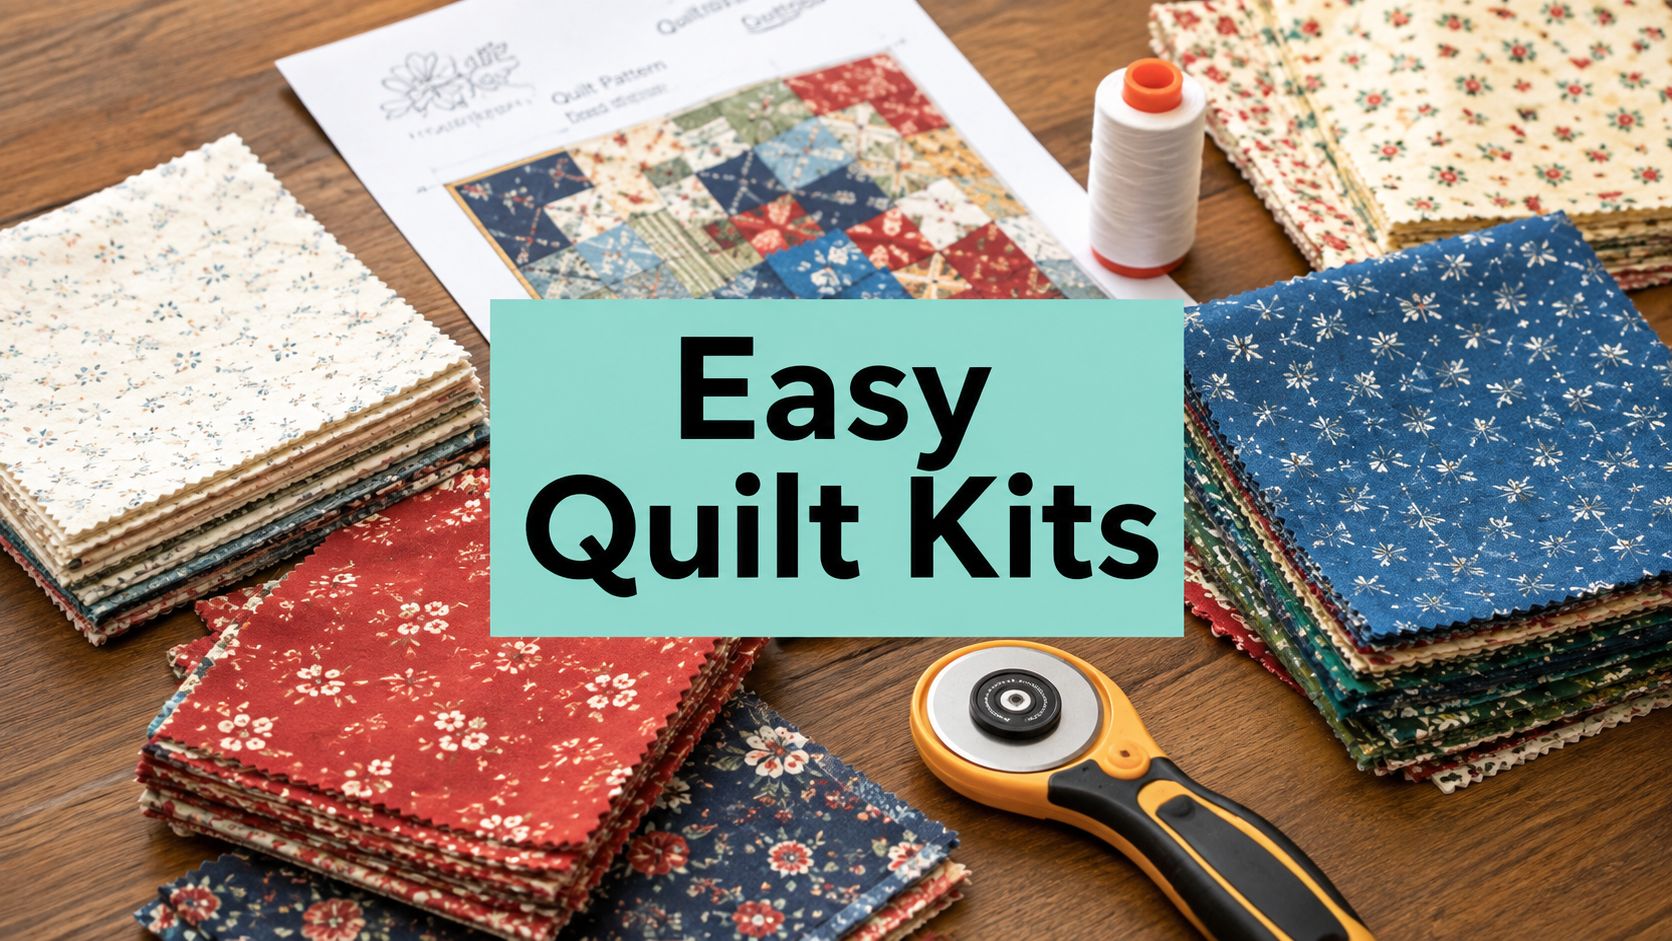
You've found a quilt kit labeled “easy,” but you're wondering what that means. The easiest quilt kits reduce cutting, measuring, tool selection, and finishing decisions, so you can focus on sewing instead of troubleshooting. For a first project, look for pre-cut fabric, visual instructions, predictable material, and a clear way to finish the quilt.
What Makes a Quilt Kit Actually Easy for Beginners
A first-time quilter often shops from the couch, phone in hand, attracted by a beautiful beginner kit. Then the package arrives and contains fabric only. There's no pattern, no backing, and no clear explanation of how much yardage to cut. The project may still be possible, but the “easy” label has shifted the difficult decisions onto you.
An easy kit removes those decisions before you begin. It should help you answer four questions:
- What do I sew? The pattern should include plain-language instructions and a layout diagram.
- What do I cut? Pre-sized pieces are easier than calculating every strip and square.
- What tools do I need? The materials list should identify thread, ruler, cutter, mat, and machine requirements.
- How do I finish it? The kit or seller should explain batting, backing, binding, and available quilting options.
Why pre-cut sizing matters
Consistent cutting and piecing cause many early frustrations. Beginner quilting guidance commonly identifies two 100% cotton fat quarters, a neutral 50-weight cotton thread, a 45 mm rotary cutter, a self-healing mat, and an acrylic ruler as part of an introductory setup, as shown in this introductory patchwork and quilting kit list.
A kit with standardized pieces reduces the amount of measuring you must do. It also lowers the chance that inaccurate cutting will produce blocks that don't align, especially when the pattern depends on consistent quarter-inch seams.
What “easy” should feel like
Easy doesn't necessarily mean a plain-looking quilt. A project can have an attractive layout and still be beginner-appropriate if it limits the number of choices and uses stable fabric.
Practical rule: Choose the kit that creates fewer panic moments, not merely the kit with the simplest photograph.
A strong first kit might include pre-cut 5-inch squares, a clear arrangement diagram, stable cotton, and a finishing plan that doesn't require owning a longarm machine. That combination turns quilting into a sequence of manageable actions rather than a long list of unknowns.
The wider craft economy supports this convenience-oriented approach. One estimate values the global sewing kit market at about USD 4.40 billion in 2025 and projects it to reach USD 7.50 billion by 2033, with a 6.7% CAGR, according to this sewing kit market estimate. Quilt kits fit that broader pattern because they bundle materials and guidance for people who want to make something without sourcing every component separately.
The Four Components Every Easy Quilt Kit Should Include
The contents matter more than the word “beginner” printed on the package. Before buying, check whether the kit includes the four elements below or clearly identifies what you'll need to add.

1. Pre-cut fabric pieces
Pre-cuts remove the most error-prone preparation task, accurate rotary cutting. Common formats include 5-inch charm squares, 10-inch layer cake squares, and 2.5-inch jelly roll strips.
You won't need to calculate every cut from yardage, and color coordination is usually already handled. That makes pre-cuts especially helpful when you're still learning how fabric grain, rulers, and seam allowances work together.
2. A coordinating pattern
A pattern should do more than show a finished photograph. Look for a layout diagram, fabric labels, pressing guidance, seam allowance information, and a skill-level description that explains what the rating means.
Instructions sized for a standard home printer are easier to keep beside the machine. If the kit includes only a link to general directions, you may spend more time searching than sewing.
3. Batting and thread guidance
Batting creates the soft middle layer between the quilt top and backing. If you're unsure what it does, this guide to what quilt batting is and how it works provides useful background before you choose a finishing method.
The kit should either include batting sized for the finished top or state the required dimensions clearly. It should also identify a suitable thread type, rather than leaving you to guess whether a heavy or lightweight thread is appropriate.
4. Backing or a precise backing requirement
Backing is where many first-time buyers make a costly sizing mistake. A kit should include backing fabric or tell you the finished top size, the backing dimensions, fabric width, and required overhang.
For longarm quilting, one guide recommends 4 inches of extra fabric on every side. Under that approach, a 60 × 80-inch quilt top requires at least 68 × 88 inches of backing, as explained by this longarm backing calculator.
If you're preparing a quilt for professional quilting, another guide recommends backing that is 6 to 8 inches larger than the top in both width and length, while some custom quilting situations call for 10 to 12 inches of extra fabric. The APQS quilt size guidance explains why the additional fabric helps with loading, clamps, and stitching beyond the quilt edge.
A complete materials list saves more frustration than an ornate pattern. Even makers who sew for a team or community project may find a resource such as embroidery for your team useful when adding personalized details to finished textile gifts.
Choosing the Right Kit Format for Your Skill Level
The best format depends on what you already know, not how confident the product photography makes you feel. A pre-cut cotton bundle is usually the gentlest entry point, while yardage and plush textures ask you to manage more variables.
| Format | Skill Level | Prep Work | Best For |
|---|---|---|---|
| Pre-cut bundle | Brand-new sewer | Arrange pieces and sew | A first quilt with stable cotton |
| Yardage kit | Returning hobbyist | Measure, rotary-cut, and organize fabric | A second or third quilt with more design control |
| Texture-rich minky kit | Confident beginner | Handle nap, stretch, and careful pressing | A soft upgrade after completing a basic cotton quilt |
Pre-cuts are the fastest start
Charm packs and jelly rolls arrive ready for layout and piecing. You'll still need to understand right sides, seam allowances, pressing, and block order, but you won't begin by converting yardage into dozens of identical pieces.
That's valuable for a first project because your attention stays on sewing accuracy. It also gives you a quick visual check. You can place the pieces on the floor or a design wall and spot an arrangement error before stitching.
Yardage builds useful skills
Yardage kits offer more control over color placement and pattern scale. They also teach skills that pre-cuts bypass, including reading a cutting diagram, aligning a ruler, following fabric grain, and planning around waste.
That makes them a sensible next step once you're comfortable with a home machine and a consistent quarter-inch seam. A yardage kit isn't automatically difficult, but it leaves more room for measuring errors.
Minky rewards a careful upgrade
Texture-rich fabrics, including Shannon Cuddle, feel luxurious but behave differently from quilting cotton. Nap direction affects appearance, and plush fabric may shift or stretch during handling.
For a first quilt, stable cotton keeps the learning curve focused. After you've completed one basic quilt, a pre-cut minky kit can provide a satisfying second project without requiring you to cut plush yardage from scratch.
Simple Step-by-Step Assembly for Your First Easy Kit
Start with the pattern photo, not the sewing machine. A few minutes spent arranging the pieces can prevent an entire block from being sewn in the wrong order.

Begin with a layout
Spread the pre-cuts on a clean surface and copy the arrangement shown in the pattern. Keep the rows in order, and use small sticky notes or labeled piles if the design contains repeated blocks.
Don't cut into pre-cut pieces unless the instructions specifically require it. Their standardized dimensions are part of what makes the kit manageable.
Sew matching pairs
Place two pieces right sides together, aligning the edges. Pin at corners if the fabric shifts, then sew with the seam allowance stated in the pattern.
A quarter-inch seam is common in patchwork, but follow your pattern rather than assuming. Backstitch at the beginning and end of each seam so the piecing stays secure during pressing and assembly.
Chain-piece when the pattern allows it
If you're sewing several identical pairs, keep feeding the next pair beneath the needle without cutting the thread between each one. This chain-piecing approach saves thread and keeps matching units organized.
Afterward, clip the connecting threads and press each unit according to the instructions. Some patterns press seams open, while others press them toward one side to help seams nest. Neither choice should be substituted casually.
Before sewing the quilt top: Make a test seam on scrap fabric and measure the finished unit. A small test can reveal an incorrect needle position or seam allowance before it affects the entire layout.
Corners deserve extra attention. Pinning where seams meet helps prevent shifting, and pressing without dragging the iron protects the shape of your pieces.
For a project using plush fabric, review this guide to making a minky baby blanket before you begin, because handling and pressing need more care than they do with quilting cotton.
You can also use this short assembly video as a visual companion:
Finishing Your Easy Quilt Kit Without the Stress
Piecing the top is only part of the project. You'll still need to combine the quilt top, batting, and backing, quilt through the layers, trim the edges, and bind the result.
You have two practical routes. A home machine gives you direct control and immediate feedback, while mail-in longarm quilting reduces the equipment burden and can create an even edge-to-edge design.
| Factor | DIY Home Finishing | Mail-In Longarm |
|---|---|---|
| Time investment | Requires basting, quilting, trimming, and binding at home | Requires preparation, shipping, and later binding |
| Skill level | Best for straight-line quilting or makers learning free-motion work | Suitable when you want professional quilting without owning a longarm |
| Equipment | Home machine, walking foot or quilting setup, basting supplies | Completed top, correctly sized backing, batting, and service order |
| Final look | Personal and hands-on, with visible home quilting character | Consistent edge-to-edge texture or a selected pantograph design |
When home finishing makes sense
Straight-line quilting can be a good first method. You can baste the layers with pins or spray, mark simple lines, and use a walking foot if your machine supports one.
The process takes patience because bulky layers can drag or bunch. If your quilt top uses plush fabric, the thickness and nap may make feeding the layers more demanding.
When mail-in quilting saves complexity
A mail-in longarm service lets you send the completed top, backing, and batting to a quilter. You select an edge-to-edge design or pantograph, the quilt is stitched, and the finished piece is returned for trimming and binding.
At OPN, our Mail-in Longarm service is designed for this finishing pathway, with batting, thread, and return shipping included according to the publisher information provided for the service. Customers can review pattern choices before sending a project, and OPN has hundreds of verified reviews for shoppers who want reassurance about the business.
Before shipping, press and square the backing. Wideback fabric can also simplify preparation. 108-inch-wide fabric can reduce or eliminate piecing for quilts up to about 100 inches across, which is why guides often recommend it for larger projects, as described in this wide quilt backing fabric guide.
For a binding refresher after quilting, use this beginner guide to binding a minky quilt.
Choose the finishing route before you buy the kit. Knowing whether you'll quilt at home or mail the top out helps you select the right backing and avoid an unfinished project.
Why Texture-Rich Minky Kits Are Easier Than They Look
Minky is often treated as an advanced material because it has stretch, nap, and a plush surface. A pre-cut minky kit removes the most demanding part of working with it at home, cutting clean, accurately sized pieces.

Why pre-cut plush pieces help
When the pieces arrive squared and sized, you can concentrate on alignment and seam control. You'll still want to handle the fabric gently, keep the nap running consistently, and avoid stretching the edges as you sew.
Use a low-heat iron only when the fabric instructions allow it, and place a pressing cloth between the iron and the plush surface. Test on a scrap first, since texture-rich fabrics can respond differently to heat.
Shannon Fabrics textures such as Hide, Snowy Owl, and Fawn create a tactile finish that suits baby blankets, comfort quilts, and gifts. Their visual texture can also soften the appearance of minor quilting irregularities, although accurate seams still make assembly easier.
When to make the switch
A minky kit is usually a better second project than a first sewing project. Once you've completed a cotton quilt, you'll understand layout, seam allowance, pressing, and how to recover when two pieces don't align perfectly.
The material choice should also match the gift and the finishing plan. A simple design with fewer seams can be more manageable than a complex patchwork layout, especially when the finished quilt will be quilted through plush layers.
Read this guide to textured minky fabric for baby blankets before choosing a texture. It can help you think beyond color and consider nap, softness, handling, and the intended use of the finished blanket.
Shopping and Savings Tips for Easy Quilt Kits
A complete first project costs less emotionally when you budget for the whole path, not just the attractive fabric bundle. Add up the kit, batting, thread, backing, binding supplies, and finishing method before placing the order.
OPN offers a 15% first-order coupon and free U.S. shipping on orders over $70, according to the publisher information. If you're already buying batting and thread, placing those items in one cart may help you reach the shipping threshold instead of ordering supplies separately.
Compare the kit with the real alternative
Calculate what you'd need to buy if you sourced every piece individually. Include cutting waste, pattern cost, batting, and the time required to coordinate colors.
Pre-cut kits may cost more at the package level than a single cut of yardage, but the comparison changes when you account for unused fabric and the convenience of ready-to-sew pieces. The cheapest-looking option isn't always the lowest-effort route.
Use a restrained buying plan
- Check the materials list: Confirm whether backing, batting, binding, and thread are included before checkout.
- Avoid early overbuying: Wait to purchase extra backing or thread until you understand the finished top dimensions and pattern requirements.
- Set stock alerts: Back-in-stock notifications can help you wait for a preferred kit instead of making a rushed substitute purchase.
- Watch promotions: Seasonal sales, including National Quilting Day and end-of-summer clearance periods, may offer useful opportunities, but verify the final contents before buying.
- Use a starter budget: Plan a complete-project budget of $80 to $120, covering the kit, batting, thread, and finishing service, as a practical editorial budgeting suggestion rather than a market statistic.
For additional savings ideas, review OPN's fabric coupon codes and discount guidance. The goal isn't to buy the most supplies. It's to buy the supplies that keep your first quilt moving from package to finished gift.
On Pins & Needles Quilting Co. offers premium Shannon Cuddle and Luxe Cuddle fabrics, curated cuts, quilt batting, and Mail-in Longarm finishing for makers who want a softer, more manageable project path. Visit On Pins & Needles Quilting Co. to choose your easy quilt kit materials, use the 15% first-order offer, and build your order toward free shipping on $70+ purchases.