
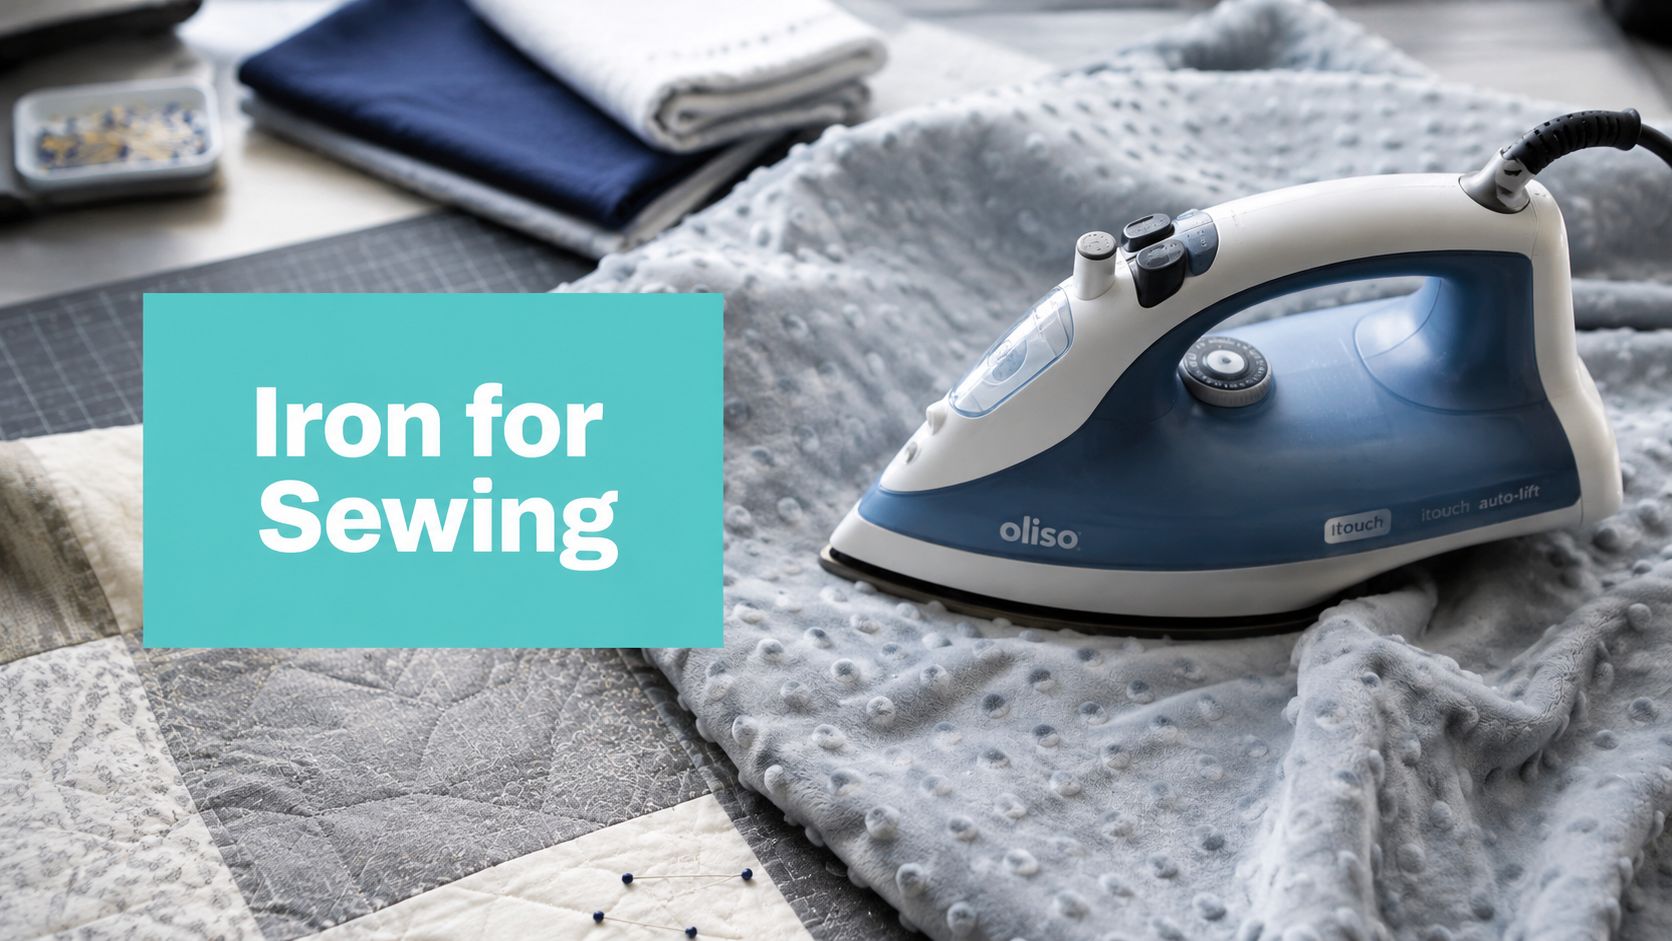
The right iron for sewing saves fabric, keeps seams flat, and protects the plush nap on minky and Luxe Cuddle. The wrong one stretches bias edges, flattens texture, and can leave a shiny or scorched patch you can't undo.
Why Pressing Is Not the Same as Ironing
You've probably had the moment where a minky project looks perfect until the iron hits it like a shirt sleeve. That sliding motion is ironing, and on sewn pieces it can drag seam allowances out of shape, especially on plush or stretchy fabrics. In quilting, the safer habit is pressing, which means setting the iron down, letting heat do the work, then lifting straight up before moving on. For a clear outside comparison of how heat tools behave, the steaming vs ironing guide is a useful reference.

What changes in the fabric
A press lifts wrinkles without skating across the surface. That matters because back-and-forth motion can distort seams before they're locked in. On quilt tops, that's how you end up with little ripples at the block edges, even when your seam allowance was accurate.
The same rule protects textured fabrics. With Shannon Cuddle, Luxe Cuddle, and other pile fabrics, sliding the iron can crush the nap and leave a visible path where the pile lies flat. Once that happens, the fabric may still function, but it won't look lush anymore.
The habit that changes finished quilts
Press each seam as soon as it's sewn. Waiting until the whole top is assembled lets small distortions stack up, and by the time you notice them, the block is already harder to square. That immediate press is one reason finished quilts look crisp instead of wavy.
Practical rule: set the seam, press it, then let it cool before you move the piece again.
That cooling step matters more than most beginners realize. Hot fibers are more flexible, so moving them too soon can undo the shape you just made. If you're checking what minky feels like before you cut or press it, our What Is Cuddle Minky Fabric guide is a good companion read.
What to Look for in a Sewing Iron
A basic laundry-room iron can work for quick touch-ups, but sewing asks more from the tool. The best iron for sewing needs fast heat recovery, steady steam, and a soleplate that glides without snagging on seam ridges. Expert sewing guidance recommends at least 1,700 W for stronger heat recovery, and sewing-focused comparisons note that some irons deliver 50 g/min or more of continuous steam with tanks around 300 mL so you're not refilling constantly. That's the kind of spec set that matters when you're pressing yardage, quilt backs, or long seams, as discussed in the irons for quilters update.
Sewing specs that matter
| Feature | Minimum for Sewing | Why It Matters |
|---|---|---|
| Wattage | 1,700 W | Heats back up faster after each seam press |
| Continuous steam | 50 g/min or more | Helps relax cotton seams and stubborn wrinkles |
| Water tank | Around 300 mL | Reduces refill breaks during long sessions |
| Soleplate holes | 400+ steam holes | Spreads steam more evenly across wider fabric |
| Soleplate material | Stainless steel or ceramic | Slides more cleanly over seams and reduces snagging |
Those numbers are useful, but they don't tell the whole story. A higher-wattage iron can still frustrate you if the plate catches on bulk, and a lower-end iron can be perfectly fine if you mainly piece small blocks and press lightly. For serious quilters working on premium backings, though, heat recovery and steam consistency usually matter more than portability.
When a simple iron is enough
If you sew occasionally, press mostly cotton, and don't mind refilling often, a dependable household iron can do the job. You don't need a luxury appliance just to set a seam.
If you work with large quilt backs, dense batting, or plush fabric, the trade-off shifts. Better steam control and a larger tank save time, and a smoother plate reduces the drag that can leave seams distorted. The key is to buy for the fabric you sew, not for the label on the box.
A sewing iron should feel steady, not fussy. If you're fighting the tool, you're already losing precision.
Temperature and Steam Settings for Every Fabric
Heat selection is where most fabric damage starts. Cotton tolerates high heat and steam well, while pile fabrics like minky, Luxe Cuddle, and velvet-like textures need restraint. One sewing resource specifically warns that velvet shouldn't be ironed on the right side, recommends a pressing cloth, and says to start on the lowest temperature and test scraps first, which is the right mindset for any heat-sensitive fabric such as Hide, Snowy Owl, and Fawn.

A practical temperature mindset
Use high heat and steam for cotton, linen, and general seam pressing when the fabric can handle it. Switch to medium or low heat for synthetics and textured fabrics, and keep a pressing cloth nearby for anything that shines or flattens easily. For fusibles and appliqué, choose dry pressing so the adhesive stays where it belongs.
Steam has a place, but not on every task. In general seam pressing, steam relaxes cotton and helps seams lie flatter. With adhesives, though, steam can shift edges or weaken placement before the bond sets.
How to test before you commit
Always test a scrap first. Press the sample for a few seconds, lift, and look for shine, flattening, or any sign that the pile is changing direction. If the surface looks crushed, the setting is too hot or the contact time is too long.
For minky and similar pile fabrics, I'd rather press conservatively than try to rescue a scorched nap later. A lower temperature and a pressing cloth are slower, but they protect the texture that makes the fabric worth buying in the first place. For readers comparing pile options, the compare plush and regular fleece guide is a helpful outside comparison, and our Is Minky Fabric Breathable for Baby Quilts post answers a common comfort question.
Pressing Techniques for Seams Hems and Quilt Backs
A quilt back that looks smooth on the cutting table can still buckle under the iron if it's handled roughly. For seam work, I press immediately after stitching, then use a straight lift instead of scrubbing the iron over the fabric. That keeps the seam allowance where I put it and avoids stretching the edge.
Seams, hems, and bulky joins
Seams can be pressed open or to one side, and the right answer depends on the project. Open seams reduce bulk in some quilt blocks, while pressing to one side can strengthen the join in areas that need a little more structure. Hems need a different touch, because the goal is a crisp fold without a wavy edge.
For bulk, a pressing cloth protects delicate surfaces, and a tailor's clapper helps flatten seam ridges after steam. A mini iron is useful for tiny appliqué pieces or tight corners, but it's not magic. If the fabric is heat-sensitive, a mini tool can still overdo the contact if you linger too long.
Quilt backs need a different workflow
Extra-wide backings deserve patience. If you're prepping 90-inch or 110-inch minky for mail-in longarm work, press in sections from the center outward, and don't drag the iron across the pile. That approach reduces fold memory and keeps the backing flat enough for smooth loading.
Our 90-inch wide minky fabric for quilt backs update is worth a look if you're planning a large finish. For a textile comparison outside our shop, the heavy fleece quilted blanket product page shows why weight and texture change how heat behaves on thick fabrics.
Press, don't scrub. Let the iron set the shape, then let the fabric cool before shifting it again.
That one habit does more for accuracy than most gear upgrades.
Do You Really Need a Mini Iron or Specialty Pressing Tools
A lot of pressing problems aren't solved by buying another tool. A mini iron helps with tiny seams and appliqué, and it's handy when the full-size soleplate feels clumsy. But for most everyday quilting, the bigger improvement comes from how you press, not what you press with.

What earns a place on the table
- Mini iron: Great for small pieces, tight corners, and appliqué. It's less helpful on yardage, and the smaller surface can scorch if you hover too long.
- Pressing ham: Useful for curved seams like sleeves and darts. A rolled towel can substitute if you don't sew those shapes often.
- Steam generator: Strong steam, good for large pressing jobs. It takes up more space and only makes sense if you do a lot of heavy pressing.
Technique beats gadget creep
Setting seams first, then pressing them open or to one side, improves results more than most accessories. So does letting fabric cool under pressure and keeping the soleplate clean. Those habits are free, repeatable, and they protect your fabric every time.
For heat-sensitive pile fabrics, some sewists skip direct contact altogether and use finger-pressing or a steam-hover method. That keeps the nap from flattening while still helping the seam settle. If you're building a toolkit around specialty fabric, our Luxe Cuddle Collection and Shannon Cuddle fabric selection are natural places to start, especially if you want texture without guesswork.
Iron Maintenance Safety and Troubleshooting Common Problems
A dirty iron ruins good fabric faster than people expect. Adhesive residue, starch buildup, and mineral scale can all leave marks or make the plate drag, so keep the soleplate clean and empty the reservoir after use if you fill it with water. If you need a practical cleaning reference, the iron soleplate cleaner post is a smart bookmark.
Safety and simple fixes
Keep the iron upright when you set it down, and use auto-shutoff if your model has it. Put the cord away from your cutting mat, because one careless tug can pull hot metal right onto your project.
If the iron spits water, the reservoir may be overfilled or the unit may need descaling. If heat feels uneven, the soleplate may have buildup on one side, or the iron may be too weak to recover quickly between presses. If fabric shines, the temperature is too high or the plate stayed in one spot too long.
Clean iron, clean press. That's one of the fastest ways to protect texture on minky and quilt backs.
For stubborn wrinkles that don't respond to steam, slow down and press from the wrong side with a cloth. If that still doesn't work, the fabric may need a lower temperature, not more force.
Need help choosing the right fabric, backing, or finishing path for your next project? Visit On Pins & Needles Quilting Co. to shop premium minky, explore mail-in longarm finishing, and take advantage of 15% off your first order plus free shipping on orders over $70. If you're ready to make pressing easier and your finished work cleaner, start there today.