
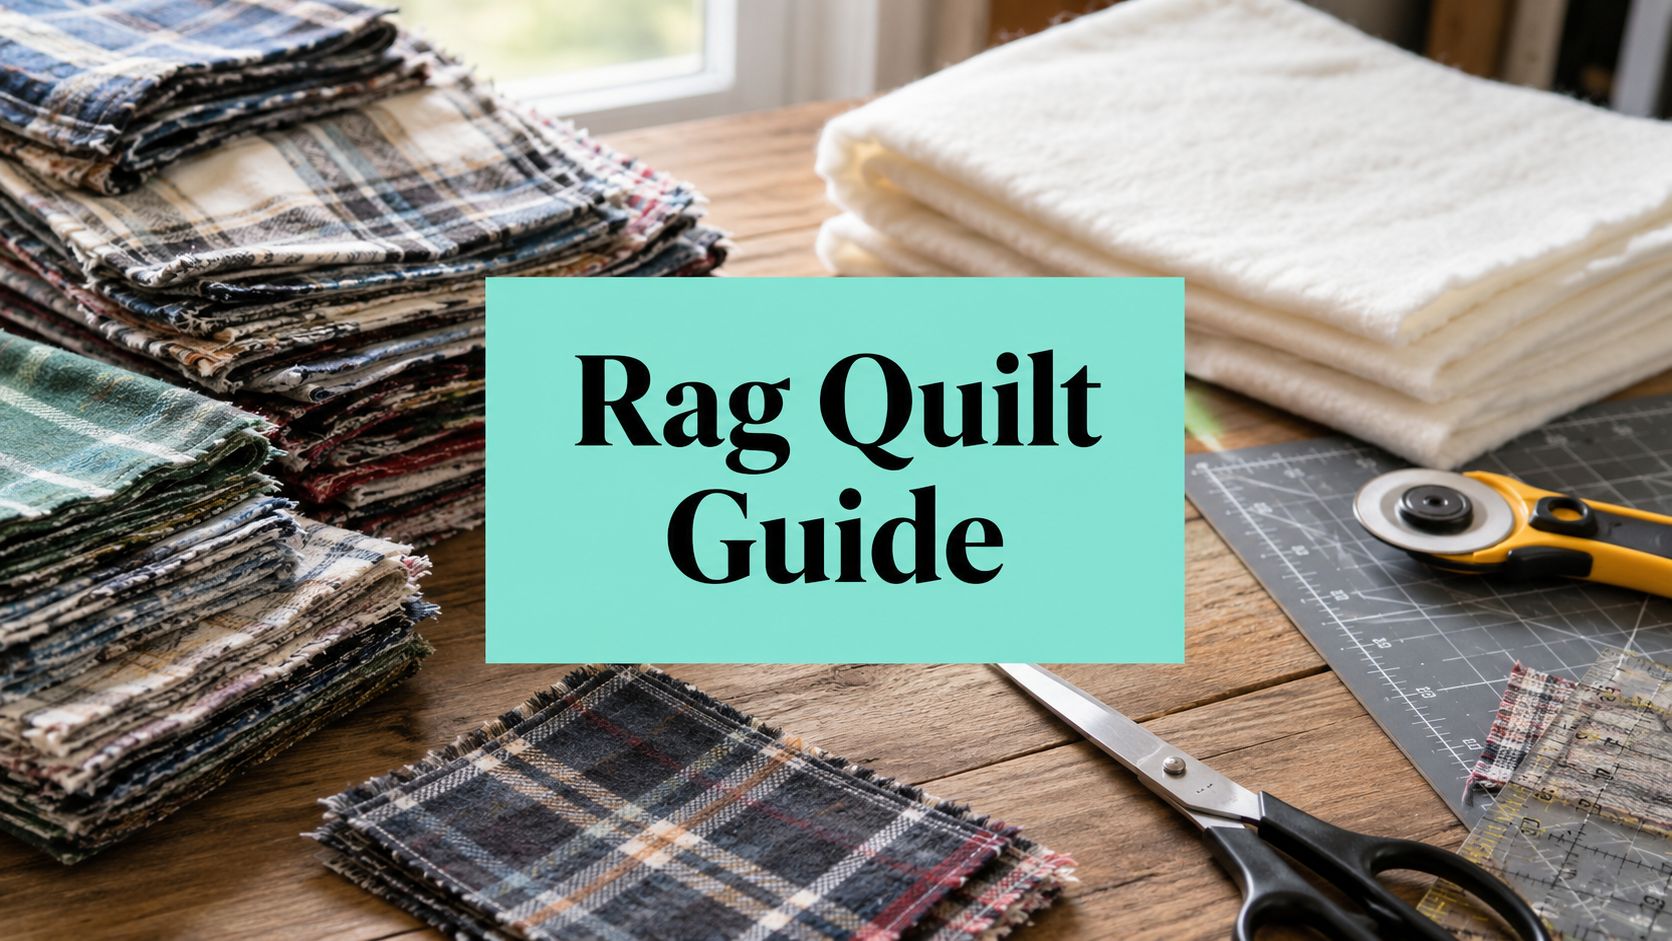
You've cut the squares, stacked the layers, and sewn the first seams, but the quilt still looks flat and unfinished. The reliable method is a three-layer sandwich, sewn with a 1/2-inch seam allowance, clipped without cutting the stitching, then washed and dried so the exposed edges fray.
These instructions for a rag quilt focus on the parts that decide whether the finished blanket looks deliberately ragged or damaged. Cotton flannel is the easiest starting point, while minky and Luxe Cuddle require different handling because plush fabric shifts, stretches, and won't create the classic frayed edge.
What a Rag Quilt Actually Is
The first rag quilt often begins at a cutting table covered with squares, batting scraps, and a little uncertainty. Each unit is a three-layer sandwich, with a top fabric square, a middle batting layer, and a backing square, then the layers are sewn together with a 1/2-inch seam allowance so the raw edges have room to become the fringe. This basic construction is described in beginner quilting guidance and in detailed rag-quilt tutorials such as this step-by-step construction guide.
The top might be printed cotton or flannel. The middle can be low-loft cotton or polyester batting, and the backing is usually a coordinating fabric. Keep the three pieces the same overall size when you stack them, but position the batting so it stays inside the seam allowance. The result is intentionally sewn with the fabric surfaces facing outward, rather than assembled as a traditional quilt that gets turned right-side out.
Practical rule: The exposed seam is the decoration. If you hide it, you've removed the feature that makes a rag quilt a rag quilt.
A regular quilt often uses a narrower seam, but rag quilts need the extra width. After the blocks or strips are joined, the exposed allowances are clipped, and laundering opens those cuts into a soft, uneven border. Before the first wash, the quilt can look stiff, messy, and underwhelming. That's normal. The texture develops through washing and drying, not during the initial stitching.

The technique has practical roots in North American reuse sewing. Rural women and settlers often worked with worn clothing, denim, and leftover scraps, turning available fabric into bedding rather than treating every material as precious. Modern makers still benefit from that utility-first logic because repeated squares and strips make it easy to use mixed leftovers without complex drafting.
That simplicity is why this remains such a good first quilt. You don't need perfect points, elaborate quilting designs, or a complicated binding technique. You need consistent cutting, a dependable seam, careful clipping, and patience through the laundry stage.
Picking Fabrics That Fray Well
Fabric choice determines the character of the finished rag. Cotton flannel gives the fullest, softest fray, quilting cotton produces a cleaner and slower edge, and plush fabrics such as minky or Luxe Cuddle provide softness without fraying. The safest beginner combination uses flannel where the exposed seams will show and plush fabric only as a backing.
| Fabric | Fray Behavior | Pre-Wash Needed | Best Position |
|---|---|---|---|
| Cotton quilting weight | Tighter weave, cleaner and slower fray | Yes | Top or backing |
| Cotton flannel | Fast, full fray and a soft rag edge | Yes, especially before cutting | Top, middle, or backing |
| Luxe Cuddle or minky | Doesn't fray like woven cotton | Leave unwashed while preparing cotton layers | Backing only |
Pre-washing flannel is not a corner to cut. Flannel can shrink differently from batting, and washing it before cutting reduces the chance that the finished blocks pull out of shape later. Dry the cotton layers as you plan to care for the finished quilt, then press them flat before measuring.
A tightly woven quilting cotton is easier to cut accurately and usually behaves predictably under the presser foot. Its trade-off is a less dramatic fringe. Very loose-weave flannel may look attractive on the bolt, but it can distort during sewing and leave uneven seam allowances after clipping.
What changes with plush backing
Minky and Luxe Cuddle are excellent for warmth and touch, but they don't provide the exposed rag effect. That makes them useful on the back, where their pile can add comfort without being asked to unravel. Review the practical differences in minky and Cuddle fabric before choosing a plush backer.
Pile direction matters. Run your hand across the fabric and mark the direction on the wrong side with painter's tape. Keep that direction consistent across the quilt, especially when combining textures such as Shannon Fabrics Hide, Snowy Owl, and Fawn.
Buy extra fabric for test squares and seam samples. A small trial reveals whether your flannel stretches, whether the plush pile hides the seam, and whether your chosen layers feed smoothly before you've cut the whole project. Directional prints deserve the same attention. If the design has an obvious top and bottom, mark it before cutting so rotated squares don't face different directions.
Cutting Squares, Batting, and Strip Sizes
Accurate cutting begins with a rotary cutter, a self-healing mat, and a ruler that's large enough to keep the fabric stable. A 6.5-inch square ruler is practical for beginner strip and block work, and it helps you check that corners remain square rather than relying on a slightly shifting tape measure.
Common fabric square sizes include 7, 8, 9, and 10 inches. Smaller squares create a denser patchwork appearance, while larger squares make the quilt come together faster and create broader areas of color. A 7-inch square can be used for a 54 by 72 inch throw with 9 by 12 blocks, while a 10-inch square can finish closer to a 78 by 98 inch throw, as specified in the project sizing guidance.
The numbers describe a planning framework, not a substitute for measuring your own seam width. Every joined seam consumes fabric, so make a sample block before committing to a full layout.
Why batting is cut smaller
The reliable rule is to cut each batting square 2 inches smaller than the fabric square. For example, a 6.5-inch fabric square pairs with a 4.5-inch batting square, a pairing shown in rag-quilt batting instructions. This keeps the batting away from the seam allowance, allowing the fabric layers to form a cleaner, more even fringe.
Cut batting with attention to its grain or crossgrain. Packaged batting cut off a bolt may skew, so don't assume the package edge is perfectly straight. A quick tug across both directions tells you whether the material stretches more easily one way, which helps you orient the squares consistently.
Strips offer a different visual rhythm from blocks. A practical beginner strip cut is 6.5 inches wide by the desired block length, allowing you to build long rows before joining them. Strips can be efficient for leftovers, but long pieces are more likely to shift, so stabilize them before sewing.

Keep each fabric stack organized with painter's tape. Label the top, batting, and backing before sewing, especially if your top and backing are similar in color. For additional batting selection guidance, use this overview of quilt batting before you start cutting.
Stacking, Quilting, and Joining the Rows
Lay the backing square wrong-side up on the table. Center the batting on top, leaving the fabric border exposed, then place the top square right-side up. You're looking at the finished orientation already, because a rag quilt isn't turned after sewing.
The exposed fabric edges should align as closely as possible. Minor movement isn't a disaster, but large shifts create thin or bulky fringe. A shallow X across each stack keeps the layers connected before assembly. You can mark the diagonals with a water-soluble pen or stitch one long diagonal line from corner to corner.
How to keep seams stable
Sew the stacks together with a consistent 1/2-inch seam allowance, backstitching at the beginning and end of each seam. The allowance needs to be wide enough for clipping, but inconsistent seam depth will make some fringes fuller than others.
Chain-piece when possible. Feeding one stack after another without cutting the thread saves handling and helps you maintain the same seam depth across the row. Press or finger-press each seam open before adding the next row, because open seams distribute the bulk more evenly.
When four squares meet, stagger the direction of nearby seams instead of stacking every allowance in the same place. Trim stray backing corners flush with the batting before joining another row. That small cleanup keeps the finished fringe from developing thick, awkward clumps.
What plush layers need
Luxe Cuddle and minky behave differently from cotton. The pile can shift under the needle, and the backing may stretch before the seam catches it. Use a walking foot, reduce presser-foot pressure, and lengthen the stitch to 3.0 to 3.5 mm. Sew more slowly than you would through plain cotton, and test the settings on a sample.
For a deeper look at machine handling, consult guidance for quilting with a regular sewing machine. If the plush layer keeps creeping, clips or temporary basting can hold the edge more securely than widely spaced pins.
Clipping, Washing, and Building the Rag
Clipping is where the quilt earns its name. Use small, sharp scissors and make short cuts into every exposed seam allowance, working along the allowance without crossing the stitched seam.
The useful spacing range is about 1/4 to 1/2 inch, and the correct choice depends on the fabric. A denser cotton can tolerate closer clipping for a fuller edge, while thicker flannel may be easier to handle with cuts closer to 1/2 inch apart. The important boundary is the stitch line. Cutting into it weakens the join and can create an opening that laundering makes worse.

Work around the internal seams first, then clip the perimeter if you're leaving the outer edge raw. Keep your scissors perpendicular to the seam so the cuts remain short and controlled. Spring-loaded rag scissors can reduce hand fatigue, but any sharp pair that opens cleanly will work.
Cutting boundary: Clip close enough to encourage fraying, but never close enough to gamble with the stitching.
Once the clipping is complete, wash the quilt by itself on a warm cycle with gentle detergent, then dry it on medium heat. The first cycle begins the fraying, but a second wash and dry develops the fuller ragged texture recommended by several rag-quilt tutorials. Avoid fabric softener during the first wash because it can coat the fibers and slow the opening of the cut edges.
Inspect the seams after the first drying cycle. Flat spots sometimes need a few additional snips before the second cycle. Expect lint, and clean the washer and dryer filters after laundering.
For plush fabric care beyond this project, compare the recommendations in this guide to washing Luxe Cuddle blankets. Minky won't create the same fringe as flannel, so the wash is mainly for the woven layers and the overall finished texture.
Minky, Cuddle, and Plush Adjustments
A plush backing doesn't behave like softer cotton. The pile can slide beneath the foot, the base fabric may stretch, and the seam allowance can wave before it becomes secured. That's why a cotton-only method often produces skipped stitches, shifting layers, or a backing that extends beyond the quilt top.
Prepare the cotton top and batting as planned, but leave minky and Luxe Cuddle unwashed while you assemble the quilt. Washing the plush first can disturb the pile, while the pre-washed cotton layers may still change differently during later care. Keep a sample nearby and test the direction of the pile before cutting the full backing.
Pin or clip the layers more closely than you would for stable cotton. A washable basting spray can also hold the sandwich together, provided it's compatible with your fabrics and used in a ventilated workspace.
| Setting | All-Cotton Rag Quilt | Minky or Cuddle Backing |
|---|---|---|
| Layer control | Standard pins or clips may be sufficient | Use closer clips or temporary basting |
| Feeding | Regular foot can work for stable layers | Walking foot or dual feed is preferred |
| Stitch length | Standard machine setting | 3.0 to 3.5 mm |
| Presser-foot pressure | Normal setting | Reduce pressure to limit drag |
| Sewing speed | Moderate speed | Slow speed prevents waves and skipped stitches |
| X quilting | Diagonal lines or an X can secure the stack | A single diagonal can keep the plush flatter |
| Batting position | Keep it inside the seam allowance | Trim it close to the fabric edge, leaving the allowance clear |
Where plush construction fails
The first common failure is stretching. If the backing arrives at the needle longer than the top, stop and redistribute the layers instead of forcing them together. Stretching usually becomes a wavy seam that won't lie flat after washing.
The second is skipped stitching. A longer stitch, slower speed, and walking foot reduce the chance that the pile gets pulled into the feed dogs. Lower presser-foot pressure also helps the foot travel over the raised texture.
The third is excessive bulk. Keep the batting close to its intended inner area rather than letting it crowd the seam. A puffy allowance is difficult to clip cleanly and can leave the rag edge looking uneven.
Finishing Touches and Sending It Out
After the final wash and dry, examine the perimeter in good light. Trim long loops with sharp embroidery scissors, but don't chase every loose thread. A rag quilt is supposed to retain a relaxed edge, and over-trimming can make the border look unnaturally uniform.
You can leave the outer edge raw for maximum softness, add a structured binding, or shape the corners with a more refined finish. If you bind the quilt, 2.5-inch strips are a practical choice for a standard half-inch finished look. Binding adds control and durability, but it also reduces the soft, casual character that makes a raw rag edge appealing.
When professional quilting helps
The sewing machine work may be complete once the top, batting, and backing are assembled, but a large project can still be awkward to quilt evenly. A mail-in longarm service can make sense when you want controlled stitching without wrestling a bulky quilt under a domestic machine.
OPN's mail-in longarm service includes batting, thread, and free return shipping, with patterns selected from a broad gallery. Send the finished top according to the service's preparation requirements, include your preferred thread weight and quilting pattern, and pack the quilt loosely so it doesn't arrive heavily creased.
Mention this rag-quilt guide when requesting a quote to receive 15% off your order and free shipping on orders over $70, as offered by OPN. The company also has hundreds of verified reviews, which gives makers a useful reference point when choosing a service for a carefully made quilt top.
Whether you finish the blanket yourself or send it out, inspect the seams before calling the project complete. The best result balances a stable seam, a controlled fringe, and a backing that feels good without distorting the patchwork.
On Pins & Needles Quilting Co. offers premium Shannon Cuddle and Luxe Cuddle fabrics, including textures such as Hide, Snowy Owl, and Fawn, along with mail-in longarm quilting for finished rag-quilt tops. Visit On Pins & Needles Quilting Co. to choose your plush backing or book a professional finish, then use these instructions for a rag quilt to send a top that's ready for dependable quilting.