
You can absolutely quilt with a regular sewing machine, even on bulky minky, if you control the sandwich, the feed, and the throat space. The trick isn't forcing the machine to do what a longarm does, it's setting up the quilt so the domestic machine can move it cleanly, one measured pass at a time.
A quilt top and a pile-backed backing can feel like a wrestling match the first time you try it. With the right batting, a walking foot, and a sane basting plan, the whole job becomes predictable instead of chaotic.
Preparing Your Minky Quilt Sandwich
A bulky quilt only behaves after the layers are prepared to behave. Minky stretches, shifts, and wants to grow under the presser foot, so the quilt sandwich has to be assembled with more discipline than a cotton project. The standard stack is still the same, backing, batting, and quilt top, but the way you cut and align those layers matters a lot more with plush fabric. What batting does in a quilt sandwich
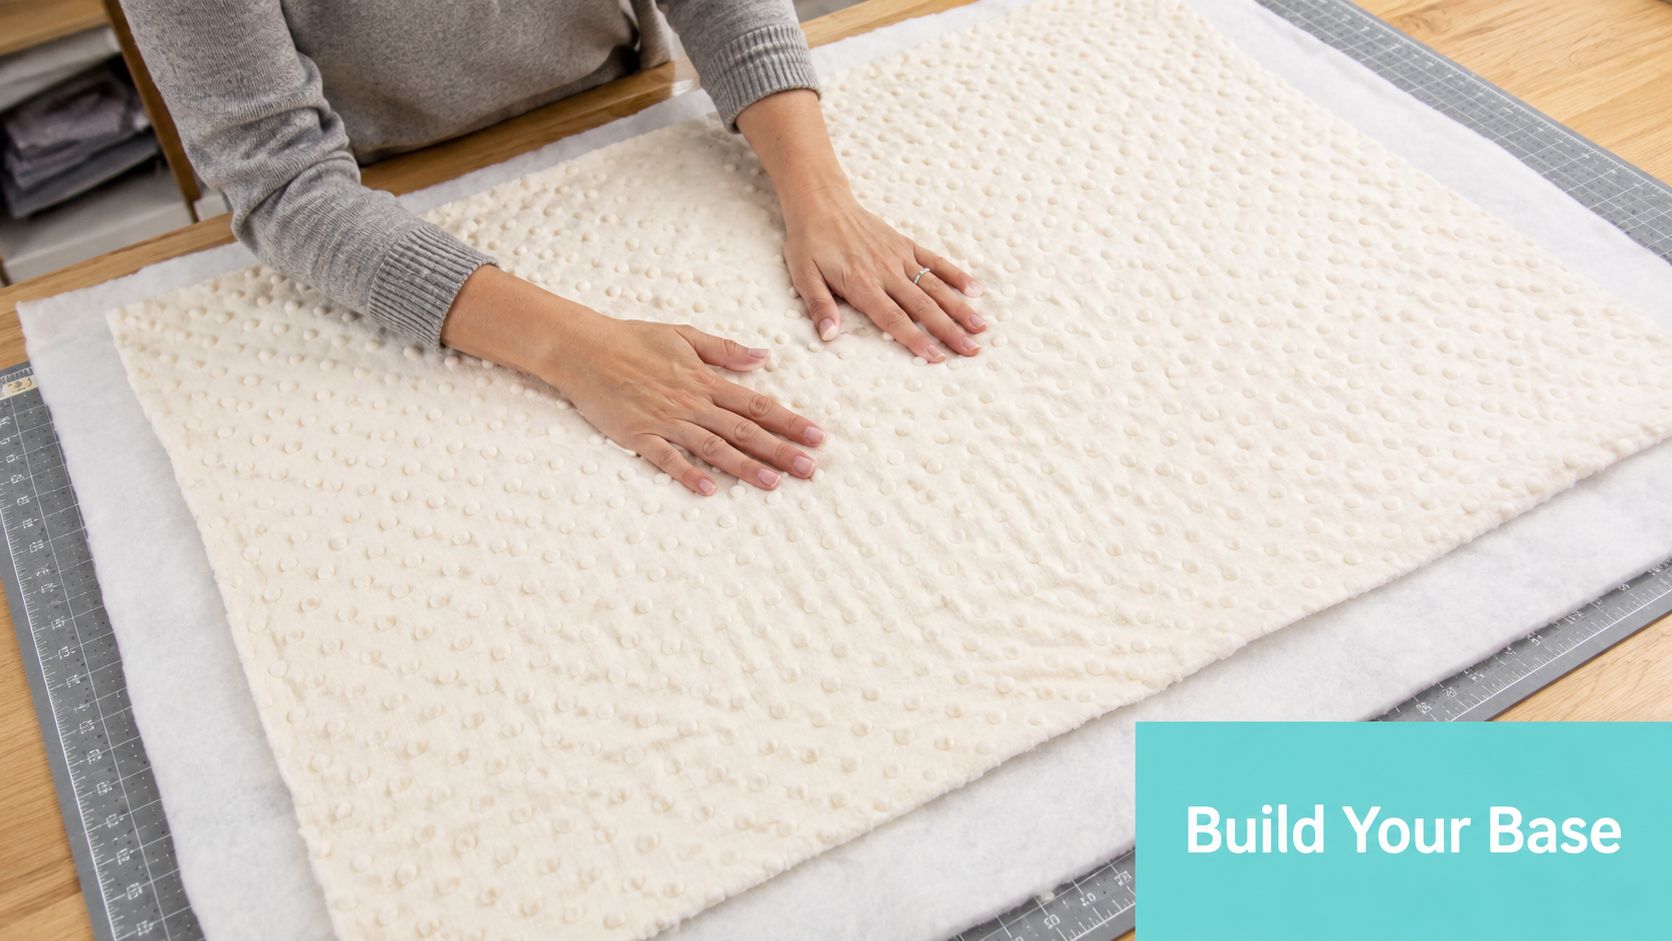
Start with the backing before the top touches the table
For beginner quilt construction, a small quilt can start from 8 to 10 fabric squares or rectangles, with batting cut slightly larger than the quilt top and backing cut 2 to 3 inches larger on all sides for layering and trimming (source). That extra room isn't wasted space. It gives you enough grip to baste securely and enough margin to trim away distortion after quilting.
With minky, I treat that margin as insurance. The backing needs room to stay flat while the pile wants to move, and that mismatch is what creates a wavy edge if you cut too close. If you're using a Shannon Cuddle backing for a larger project, give yourself enough space that the quilt can be corrected, not just enclosed.
Why the batting choice changes the feel of the whole quilt
The most useful batting for domestic quilting is the one that helps the layers stay together without fighting the needle. In practice, 80/20 or 100% cotton batting is a strong place to start because it gives the quilt more grip than a slippery batt. You're not trying to make the quilt stiff, you're trying to make it stable enough for straight-line passes.
Practical rule: if the layers can shift when you lift one edge, they'll shift under the needle too.
That's why the sandwich has to be flat before you ever start quilting. Smooth the batting, square the backing, and keep the top centered so you aren't chasing distortion later. Once the layers are lined up, baste from the center outward and keep the edges supported, not hanging over the table.
Machine Setup for Plush Fabrics
A regular sewing machine can handle plush fabrics, but only if you set it up like you mean it. Minky punishes lazy setup fast, because the pile resists feeding and the thickness can expose every weak setting on the machine. If you want the stitches to stay even, the hardware has to match the material. Needle sizing for Shannon Cuddle fabric
Needle, foot, and stitch length need to work together
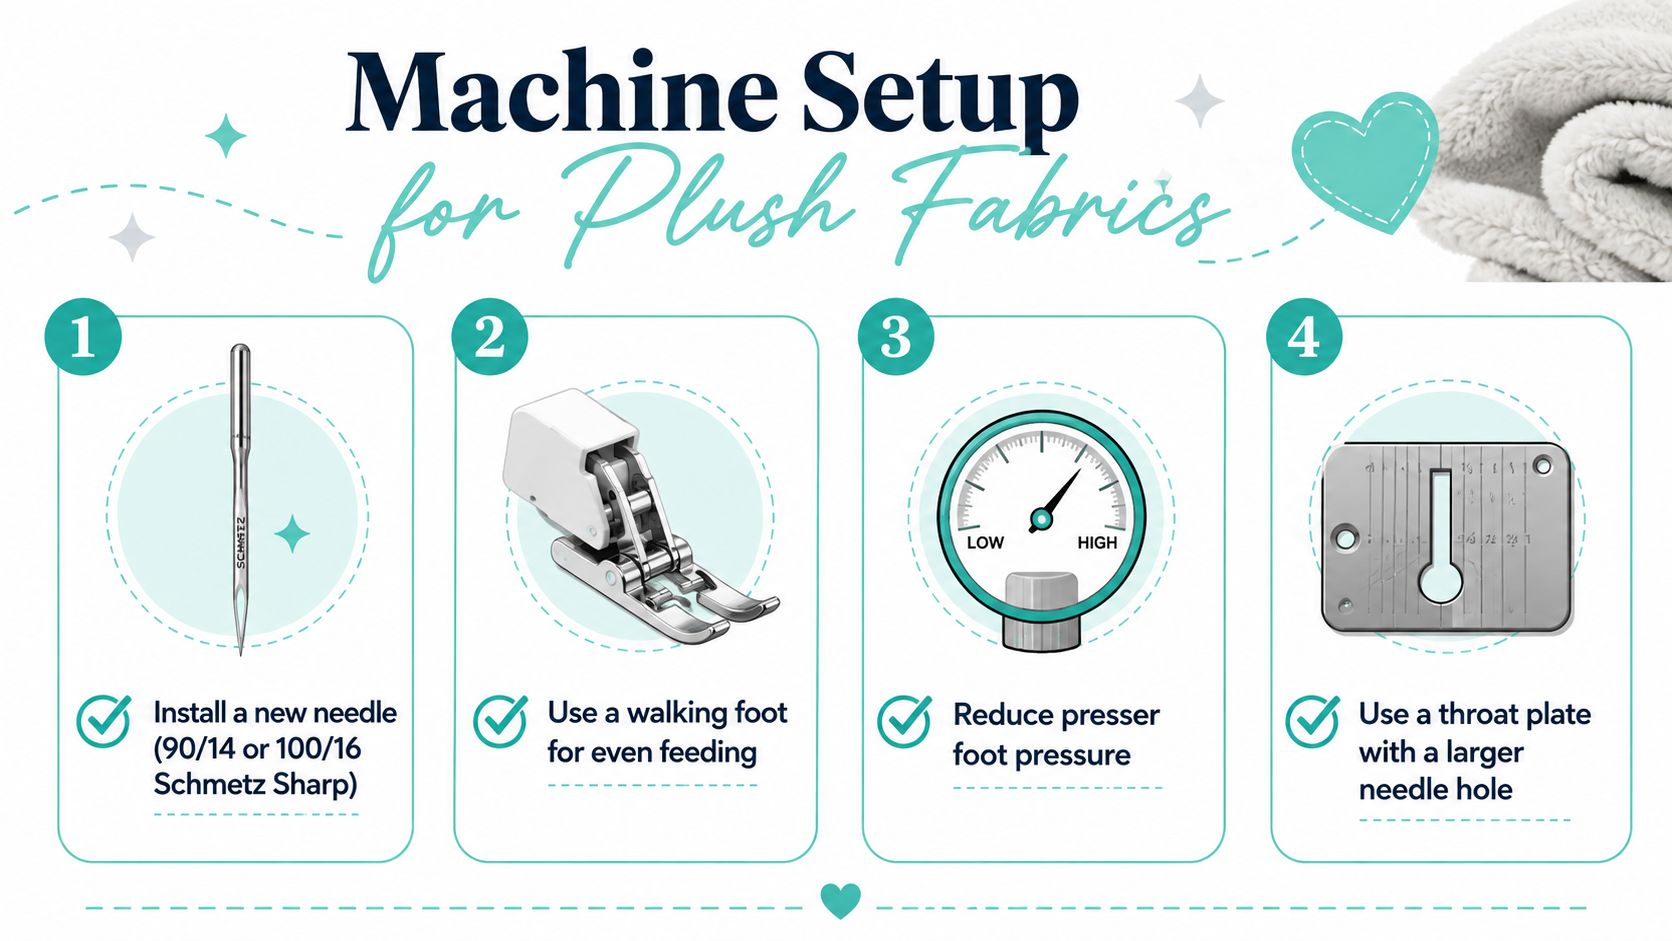
A 90/14 quilting needle is a common beginner recommendation, and a 90/14 or 100/16 needle is a practical choice for dense plush layers when you want more penetration through the pile. Pair that with a walking foot, because a walking foot feeds the top and bottom evenly instead of letting the top drift ahead. For straight-line quilting, the goal is steady movement, not speed.
Stitch length matters more than many new quilters expect. A 3.0 stitch length is a widely taught starting point, and a 3.5 setting can be useful when the fabric wants to perforate or feel cramped under the needle. Short stitches make plush fabric feel crowded, and crowded stitches can show every wobble.
Test the machine on a scrap sandwich first
Do not skip the test sandwich. A scrap of the same backing, batting, and top tells you more than guesswork ever will, especially with minky where tension can look fine from the front and ugly on the backing. You want the top thread and bobbin thread to meet inside the layers, not pull the bobbin thread up to the surface.
A few adjustments make the test more meaningful:
- Install a new needle first: A fresh needle reduces skipped stitches and edge damage.
- Use the walking foot for straight lines: The feed stays more even and the quilt drags less.
- Ease presser foot pressure if your machine allows it: Too much pressure crushes the pile and adds resistance.
- Check the underside after several inches: That's where tension problems usually show up first.
If the bobbin thread is showing on the plush backing, stop and adjust before you commit to the full quilt. That one test saves more frustration than any shortcut.
Basting Methods That Prevent Shifting
Minky likes to creep. The top looks lined up, the sandwich feels flat, and then the layers shift just enough to throw off the quilting line. That's why basting on plush fabric has to be firm, even, and boring in the best possible way. 505 spray baste for quilt layers
Spray baste gives the most controlled start
For home-machine quilting, 505 spray adhesive is useful because it gives a temporary bond without forcing you to wrestle with a heavy pin load. I like to secure the backing to a hard floor first with painter's tape, smooth the batting over it, and then spray-baste the top in sections. That keeps the layers from stretching while you work.
Thread basting tends to be too slow for high-pile fabric and too easy to distort if the quilt keeps sliding around. Plush backing has enough weight and movement that a weak baste often feels secure until the first long quilting pass. After that, the layers reveal every loose spot.
Pins still work if they're dense enough
Curved safety pins are a solid backup when spray baste isn't practical. The key is density, because sparse pinning lets the fabric shift between anchor points. Use one pin every 3 to 4 inches, especially on larger sections where the backing can drift.
When you're pin basting, check the quilt after each stitched section and remove pins as soon as the area is locked in place.
That matters because every pin left behind adds drag. With minky, drag isn't a small inconvenience, it's the thing that turns smooth feeding into uneven stitches and sore shoulders. If you're using pins, keep the quilt supported and don't try to sew through a section that still feels loose.
Managing Bulk and Throat Space
Most domestic quilters get humbled here. The quilt isn't failing, the machine isn't broken, and you're not doing anything wrong; the bulk is just bigger than the throat space likes to handle. On a regular machine, success comes from making the quilt smaller in the sewing zone, not from wishing it would act smaller. 110-inch extra-wide minky for seamless backs
Roll the sides and keep the working area small
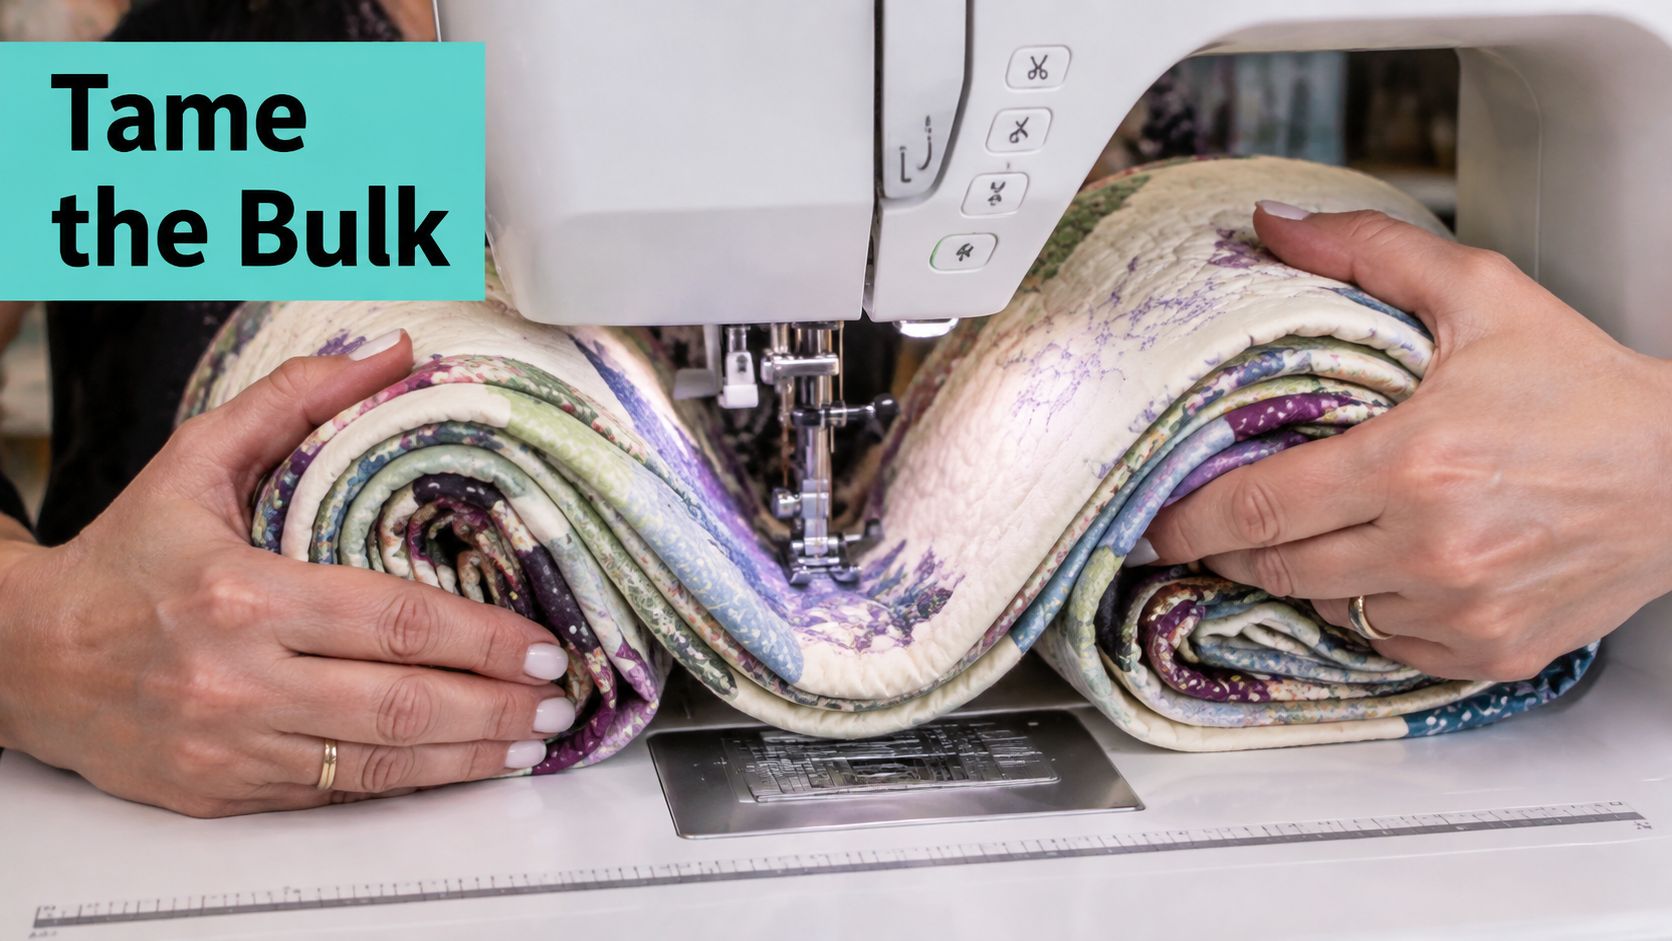
For large quilts on a home machine, the practical move is to roll the quilt toward the center so only a 6 to 8 inch working section sits under the needle at a time (source). That's the primary constraint, not just the quilt size itself. The machine can usually handle more than it looks like it can, as long as the rest of the quilt is contained and supported.
I keep the quilt rolled on both sides and stitch in one direction so the fabric gets pushed outward instead of trapped in the middle. Center-out stitching helps reduce puckering because any little shift spreads toward the edges. If you try to trap the bulk by turning too often, the quilt starts fighting back.
Support the quilt or the needle pays for it
A flat extension table helps, but any stable surface that keeps the quilt from hanging can improve the feed. The left side matters a lot because that's where the weight tends to drag as you sew. If the quilt falls off the table, the machine feels it immediately.
Practical rule: support the quilt with your hands, your table, and your setup, not with your shoulders.
If you want a direct, visual walkthrough of domestic-machine bulk management, this home quilting guide fits the same problem from a fabric-first angle. It's also where a lot of quilters realize that a wide backing saves more wrestling than almost any other choice. One smooth backing means one less place for the quilt to shift.
When to Choose Mail-In Longarm Services
Some quilts are a great fit for a domestic machine, and some are only technically possible on one. When the project is oversized, heavily layered, or built from a slippery plush like Shannon Luxe Cuddle Hide, the throat space becomes the limiting factor long before your enthusiasm does. That's the point where finishing the quilt yourself and getting a cleaner result can pull in opposite directions. Mail-in longarm quilting service
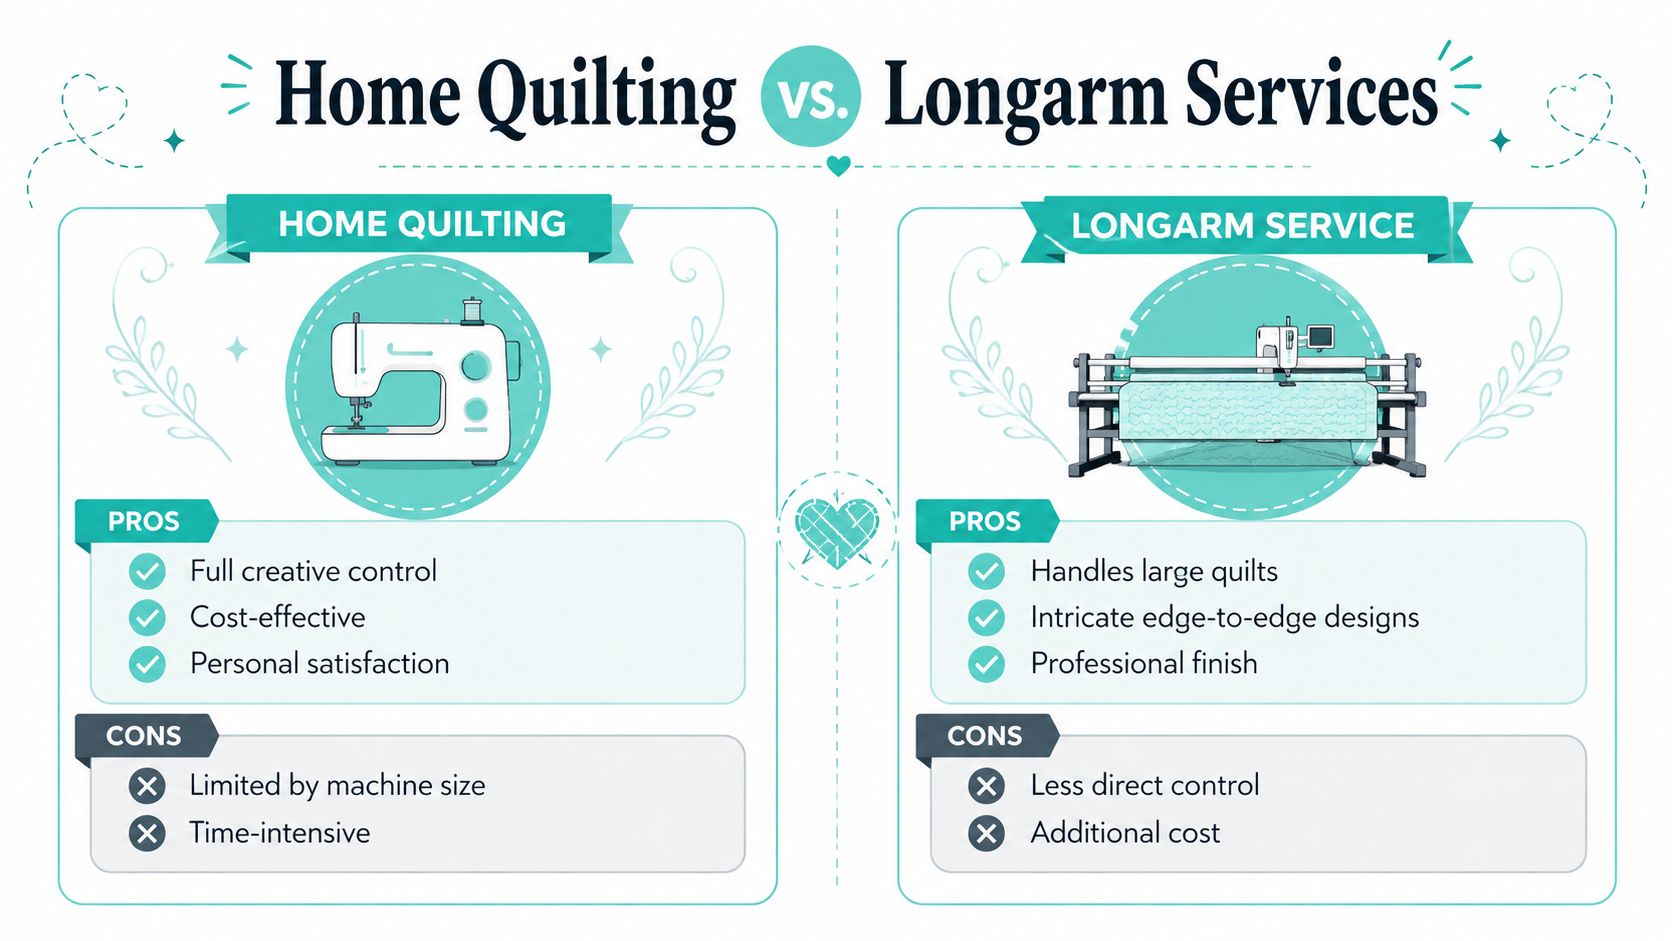
Home quilting rewards control, longarm finishing rewards scale
A domestic machine gives you full control over the stitch path, the spacing, and the feel of the quilt. That makes it satisfying for straight-line work and for smaller projects where the bulk stays manageable. It's also where you learn the mechanics of the quilt, which matters when you want the finish to match the piecing.
Longarm finishing solves a different problem. It handles larger quilts more easily, supports edge-to-edge designs, and removes the strain of dragging heavy fabric through a small throat. For quilters who want professional finishing without buying a longarm frame, a mail-in option is often the simplest answer.
What an outsource option changes in the workflow
A professional finishing service changes the job from physical wrestling to planning. You still choose the top and backing, but the actual quilting work moves off your machine and out of your time block. That can matter a lot if the project has already sat long enough.
On Pins & Needles Quilting Co. offers mail-in edge-to-edge longarm quilting, and it includes batting, thread, and free return shipping. That puts the finishing choice in the same conversation as your time and your machine's capacity, not just your design preference. If you want to compare textures before you commit to a backing, browse the Luxe Cuddle collection and the extra-wide minky selection alongside the longarm service page.
Good fit: domestic quilting for control and small-to-mid projects, longarm service for size, consistency, and less machine strain.
If you're deciding between finishing it yourself or sending it out, the right choice is usually the one that preserves the quilt and your shoulders.
Troubleshooting Common Minky Quilting Issues
Most minky problems show up fast, and that's useful. Skipped stitches, tension loops, and backing “eyelashes” usually mean something in the setup is out of balance, not that the quilt is doomed. The fix is usually mechanical, not emotional. How to sew with minky fabric without sliding
Fix the machine before you blame the quilt
Start with the bobbin case if the stitches look messy. Minky sheds lint, and lint changes how the bobbin tension behaves. Cleaning the case and rethreading the top often solves more than people expect.
If the needle is dull or the quilt is especially thick, move to a fresh needle right away. A titanium-coated needle can hold up better in dense layers, especially when you're pushing through a plush backing and a firmer batting at the same time. If the feed feels jerky, recheck the walking foot and the presser foot pressure before you keep going.
Watch the backing edge and finish with intention
Back issue marks usually come from tension or from the fabric shifting during the pass. If you see loops on the underside, slow down and test again on scraps before you continue the quilt. That small pause is better than quilting an entire border with the wrong setting.
For binding, a self-binding edge using the backing fabric can give the quilt a clean finish without adding another bulky seam. It's a tidy option when you want the back to look as polished as the front. On a minky quilt, that clean finish often feels right because it keeps the edge soft without adding unnecessary thickness.
If your quilt still resists you after the setup is right, the issue is probably bulk management, not skill. At that point, reducing the size of the working section or moving the finish to a professional longarm service is the practical move, not a compromise.
On Pins & Needles Quilting Co. keeps the minky side of quilting practical, from Shannon Cuddle yardage to mail-in longarm finishing. If your next quilt is fighting you at the machine, visit On Pins & Needles Quilting Co. for plush fabrics, extra-wide backing options, and a finishing path that fits the project instead of forcing the project to fit the machine.