
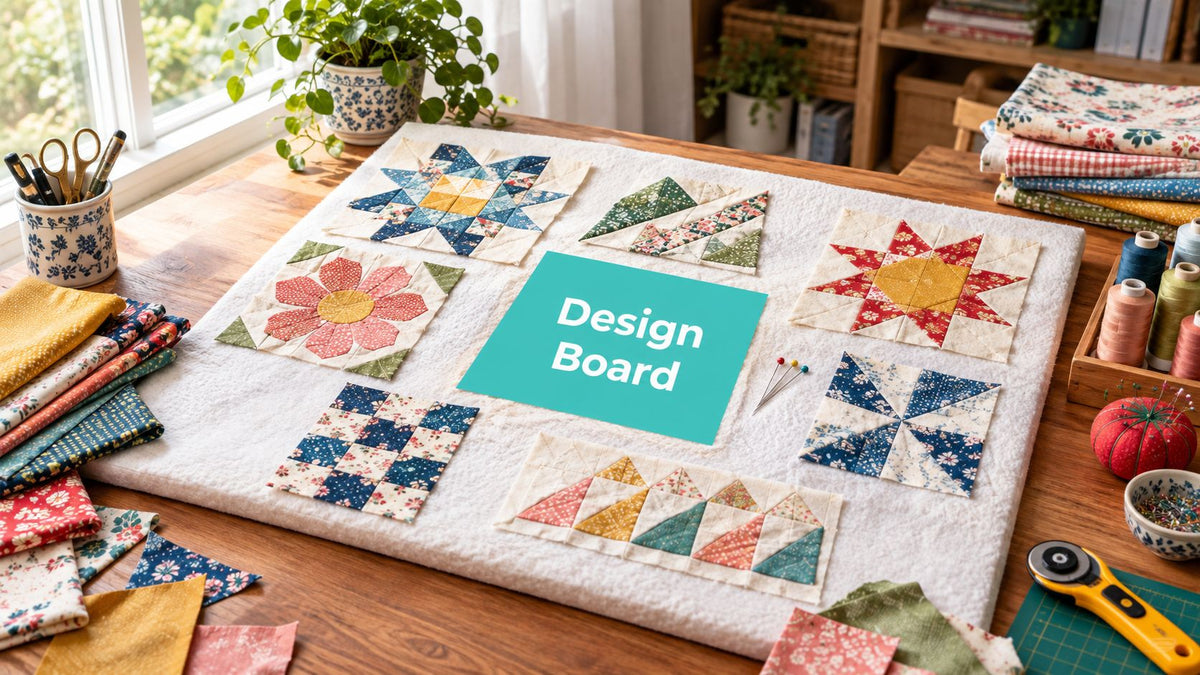
You've arranged the blocks, stepped back, and spotted the problem: two neighboring colors fight, a directional print turns the wrong way, and the row order no longer feels balanced. A design board for quilting gives you a lightly tacky, visible planning surface where blocks stay in place without pins, so you can correct layout and color decisions before sewing creates rework.
What a Design Board for Quilting Does and Why It Saves Time
A quilting design board is usually a foam-core or insulation-foam surface covered with felt, batting, or flannel. Fabric pieces cling to the covering while you test block placement, row order, value, and overall movement. You're not stitching yet, so a weak arrangement can be changed with a simple lift and move instead of a seam ripper.
That planning role isn't a modern novelty. Quilting evidence dates to about 3400 BCE, and quilting spread across centuries from ancient Egypt to medieval Europe, where quilted garments were in use by the 12th century. A design board continues the same practical purpose, reducing planning mistakes before construction begins, as described in this quilt tools reference.
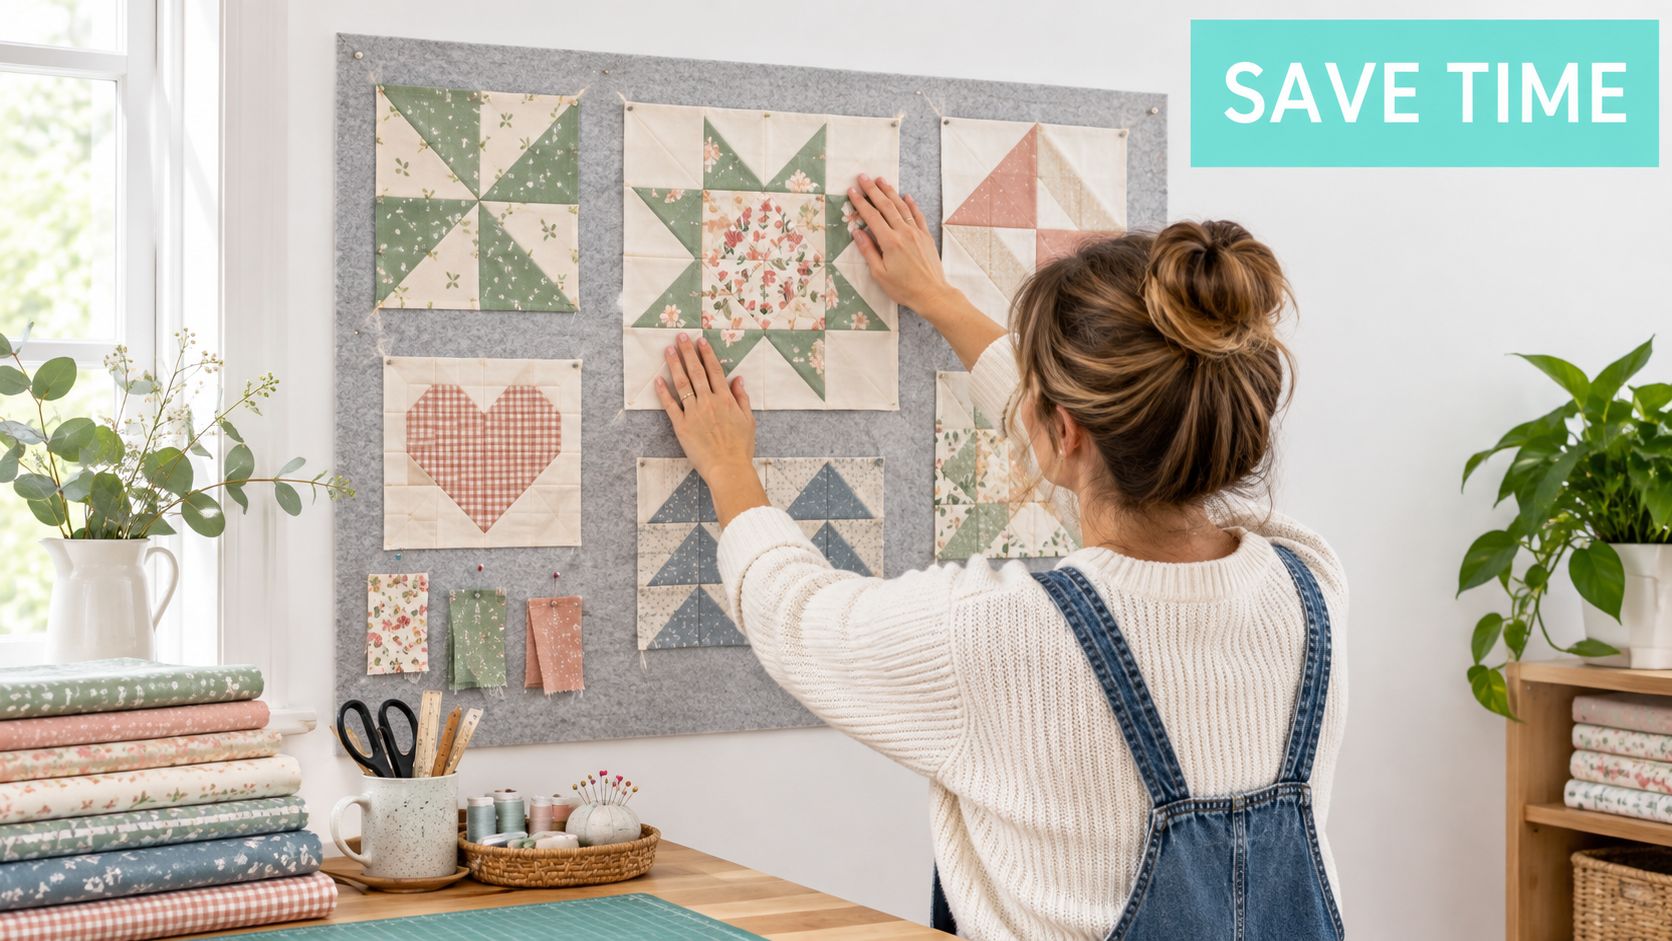
Why does a design board prevent rework?
The board lets you make visual decisions at the same scale as the quilt top. You can notice an overly dominant block, a missing contrast point, or a row that needs to rotate before those choices become seams. Research on improvisational quilting describes design walls as a staging surface for experimenting with arrangements before construction, while practitioner guidance emphasizes stepping back and refining the composition iteratively, as shown in this research on quilt design practice.
That matters even more when the finished quilt will receive professional quilting. A clear top layout makes it easier to prepare a quilt for OPN's mail-in longarm service, especially when the backing is a plush fabric such as Shannon Cuddle. Textures including Hide, Snowy Owl, and Fawn have visual and directional character, so planning the top carefully helps you choose a backing that supports rather than competes with it.
What will you be able to do with one?
A useful board should help you:
- See the whole composition: Evaluate relationships between blocks instead of judging them only at the sewing machine.
- Move pieces safely: Keep unfinished blocks visible without pinning every component.
- Protect your sequence: Photograph and label rows before taking the layout down.
- Match the board to the room: Choose a wall panel, tabletop board, or modular system that fits your storage reality.
The right design board isn't necessarily the largest one. It's the surface you'll keep accessible, use repeatedly, and store without damaging the foam or fabric covering.
How to Choose the Right Design Board for Your Space and Projects
The ideal board depends on where it lives when you aren't quilting. A dedicated sewing room can support a wall-mounted panel, while an apartment or shared craft space may need something that slides behind a door or folds beside a table. Treat storage footprint, weight, surface stability, and project scale as buying criteria, not afterthoughts.
Contemporary products illustrate the range. One portable design wall uses 16 x 12 x 0.5 inch panels, with a six-panel set covering 8 square feet. Another uses 31.5 x 23.6 x 0.6 inch panels, with four panels covering 20.65 square feet. The same product data lists panel weights of 0.47 pounds in one listing and 1.9 pounds in another, showing how modular systems can prioritize portability while still scaling to a larger layout, as documented in this portable quilt design wall listing.
Which board type fits your room?
| Board Type | Best For | Storage Footprint | Portability |
|---|---|---|---|
| Wall-mounted panel | Dedicated sewing rooms and frequent large layouts | Uses vertical wall space, but stays installed | Low once mounted |
| Tabletop foam core | Block-by-block work and small projects | Slim and easy to place on a shelf | High |
| Tri-fold display board | Shared spaces where the board must close away | Folds into a narrower package | High |
| Modular interlocking panels | Expanding layouts without a permanent wall | Stores as separate panels | Medium to high |
A wall-mounted board gives the strongest big-picture view, but it takes over a section of the room. Mount it securely and confirm that the wall can support the installation. It's a practical choice when you regularly lay out large quilt tops and don't need to clear the wall for another activity.
A tabletop or tri-fold board works better when the sewing room doubles as an office, dining area, or guest space. The trade-off is viewing area. You may need to arrange the quilt in sections, photograph each section, and preserve row labels carefully.
How should project size influence the choice?
For a baby quilt or a block study, a smaller board is often more useful than a large wall. It stays near the cutting table and encourages frequent layout checks. For a queen or king-size project, modular panels let you build a broader working area without committing to a permanent installation.
Look at the practical storage ideas in these sewing room organization suggestions before buying. The useful question isn't “How large a board can I fit?” It's “Where will this board go during cutting, sewing, meals, and cleanup?”
Buying rule: Choose the largest surface you can store flat or mount safely, not the largest surface you can temporarily assemble.
For fabric and finishing supplies, browse OPN's minky fabric collection only after you've considered how the board will support your actual workflow. A stable, accessible board will save more frustration than an oversized surface that spends most of its life leaning in a closet.
How to Build a Quilting Design Board That Holds Blocks Without Pins
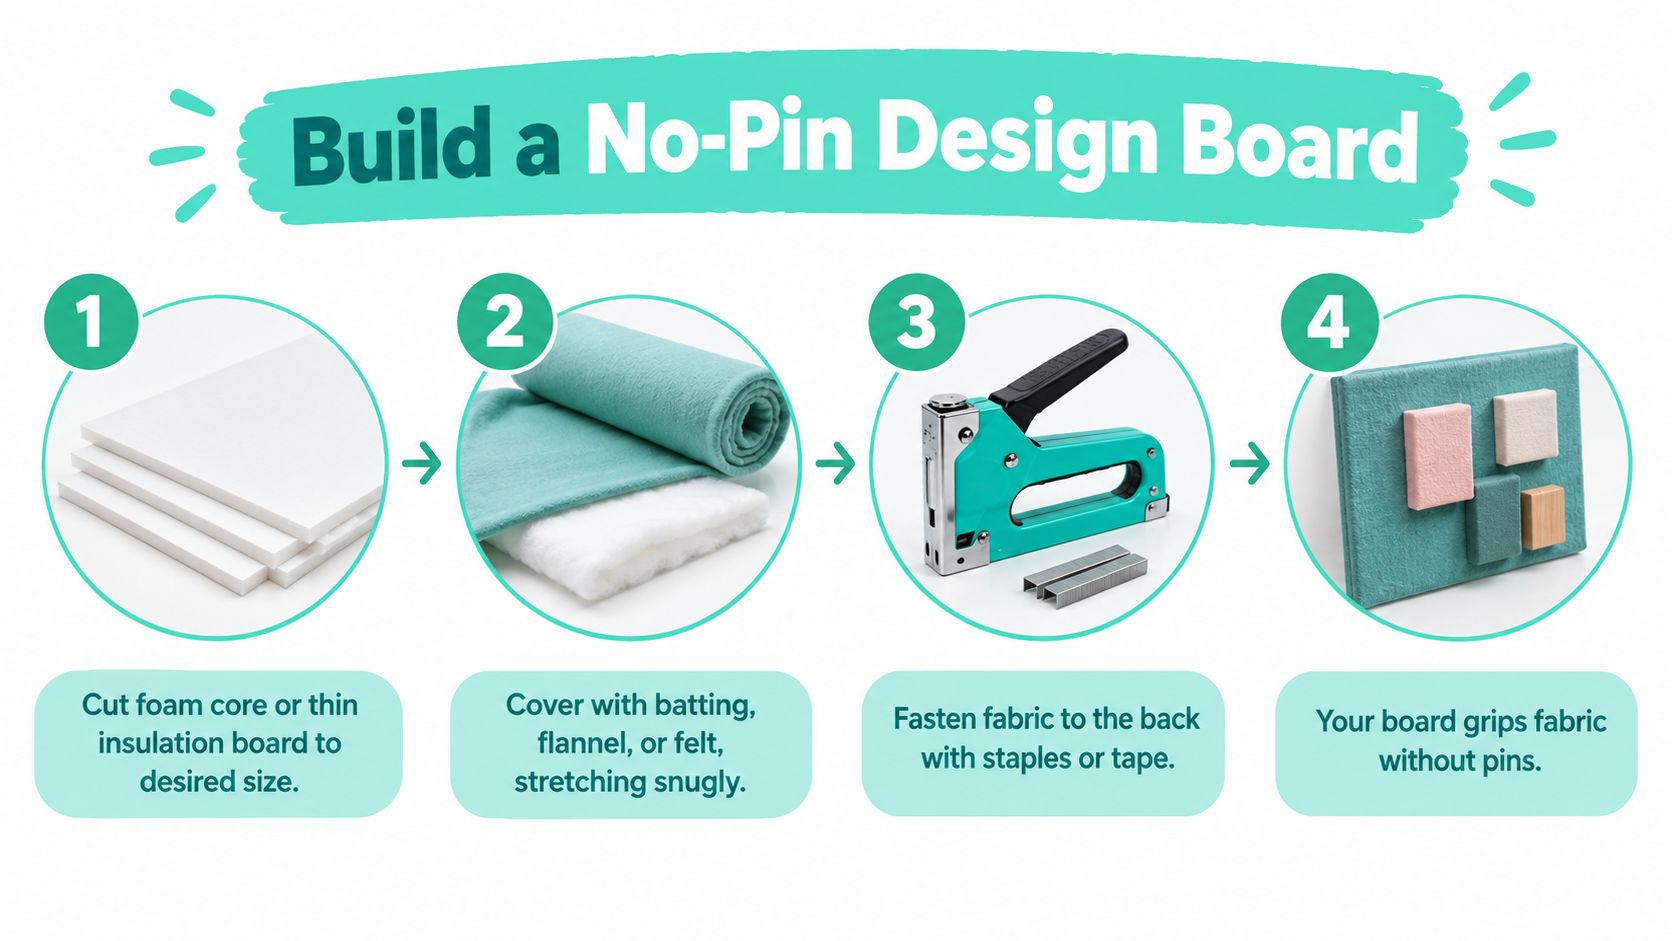
A dependable DIY board needs three things: a lightweight rigid base, a slightly grabby cover, and even tension. Foam core and thin insulation board are common choices because they're easy to cut and move. Batting, flannel, or felt creates the surface that holds fabric pieces in place without pinning.
For a small portable board, use the size that suits your blocks and storage space. For a large wall, quilt-room tutorials describe joining two 4 x 8 foot sheets into an 8 x 8 foot layout surface, then covering the joined base with fabric cut several inches oversize. Those dimensions and the tensioning method are documented in this DIY design wall tutorial.
What materials should you gather?
- Base board: Foam core or thin insulation board with a flat face.
- Covering: Batting, flannel, or felt. Choose a material that grips fabric without leaving loose fibers.
- Fasteners: Tape or staples, depending on whether the board will be wall-mounted or frequently recovered.
- Cutting tools: A straightedge and a sharp utility blade for clean edges.
- Optional finish: Quilter's cotton and binding for a washable, finished version.
The cover needs to be larger than the base so you can secure it behind the board. Center it before fastening. If you start at one edge, the fabric can pull crooked and create a wrinkle that makes blocks sit unevenly.
How do you keep the surface smooth?
- Lay the cover face down. Place the board on top, centered over the batting, flannel, or felt.
- Secure from the center outward. Tape or staple the middle of one side, then work toward the corners. Repeat on the opposite side before finishing the remaining edges.
- Keep tension moderate. The cover should be smooth, but excessive pulling can bow the base or create edge bulges.
- Inspect the face. Turn the board over and look across it at an angle. Correct wrinkles before completing the fastening.
- Trim only after tension is right. Leave enough material to hold securely at the back.
For a washable variation, a tutorial specifies sturdy cardboard measuring 8 1/2 inches, two pieces of white quilter's cotton measuring 10 inches, and binding cut at 2 1/2 inches by the width of fabric, folded lengthwise. That repeatable material list appears in this washable design-board tutorial.
A design board is also useful beside a block reference tool. The Little Black Block by Deb Karash can help you evaluate block structure while the board handles placement and sequence.
Avoid lumpy adhesive. Uneven glue can telegraph through the covering and create bumps that distort your layout. If you need spray adhesive for a related basting task, follow the preparation guidance in OPN's 505 basting spray article, and keep adhesive away from the board's working face unless the product is intended for that use.
How to Lay Out Blocks and Rows for Better Color Balance
Start with the blocks spread across the board in their rough positions. Don't sew the first arrangement that looks acceptable. A design board earns its place when you use it as an audition space, moving pieces through several small tests before committing to rows.
What should you check first?
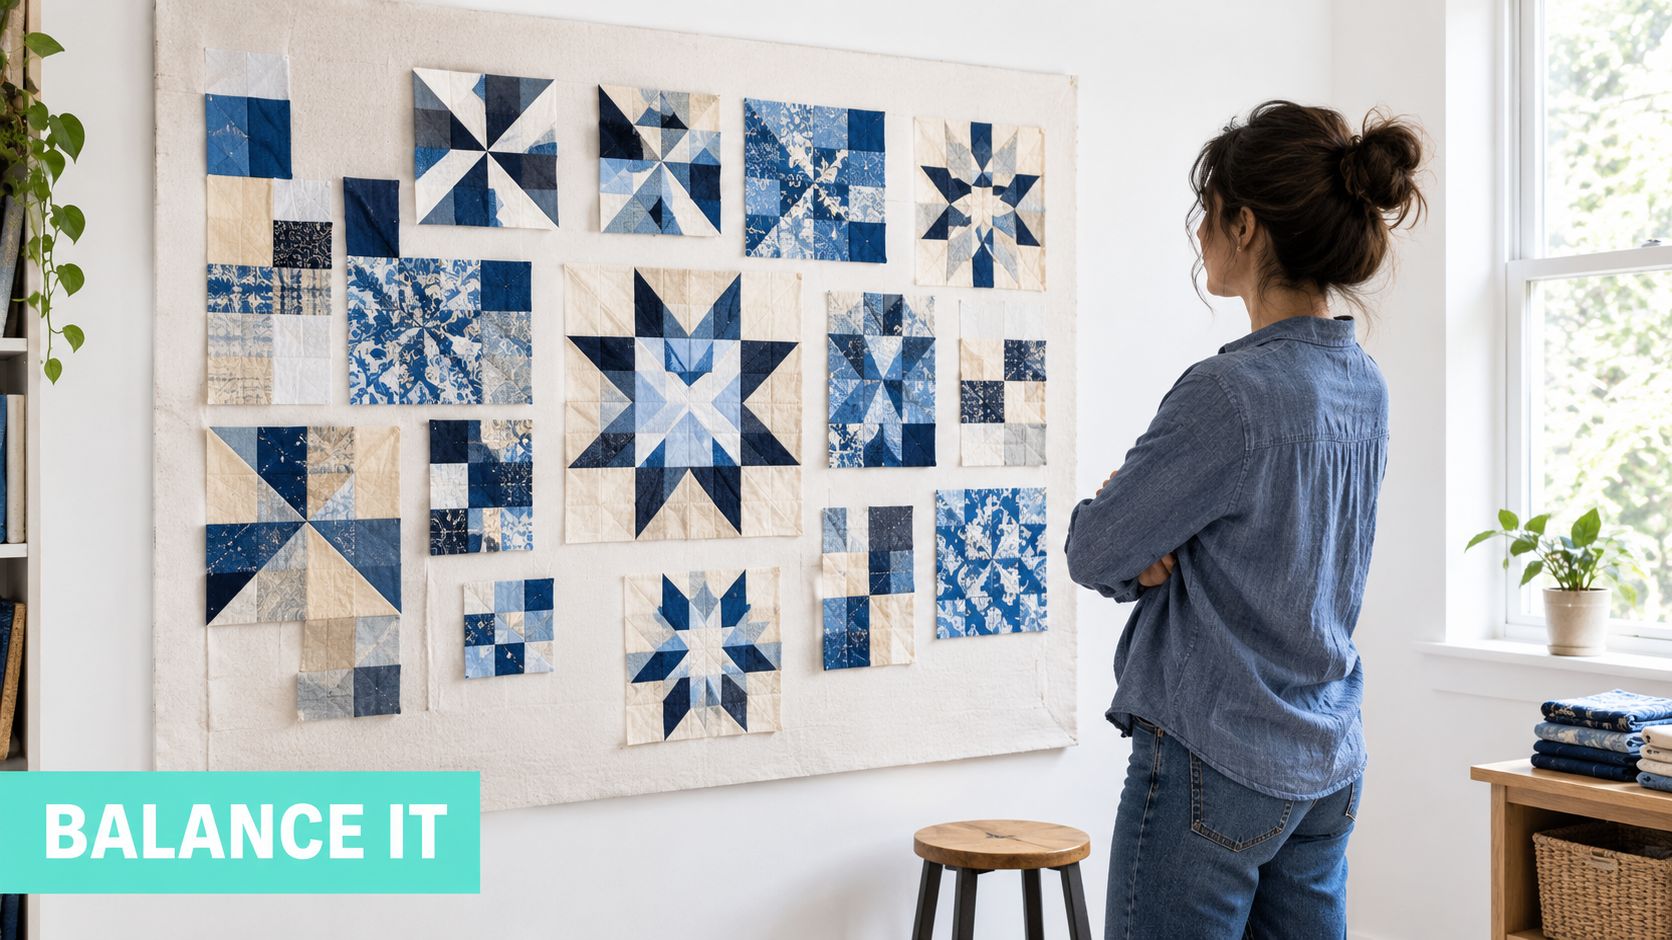
Begin with value and contrast, not individual fabric favorites. Step back far enough that the blocks become a pattern of light, medium, and dark shapes. If one area looks heavy, exchange a block with a quieter section and reassess from the same distance.
Then inspect color flow. A bright accent may need to travel across the quilt rather than collect in one corner. You don't need every color evenly distributed, but the eye should have a comfortable path through the arrangement. OPN's guide to modern quilt color schemes offers a useful companion when your fabric pull needs a clearer visual direction.
Place row markers along the side of the board. Use paper labels, removable notes, or a simple photographed numbering system. Photograph the full board before removing anything, then take closer images of complicated areas where similar blocks could be confused.
The most useful question is not “Do I like this block?” It's “Does this block help the neighboring blocks make sense?”
How should you handle directional or high-pile fabrics?
Directional prints need a deliberate orientation check. Rotate each block and confirm that motifs point consistently, unless an intentional rotation is part of the design. High-pile textures deserve the same attention because their nap can change how light lands across the composition.
Shannon Luxe Cuddle Hide, Snowy Owl, and Fawn can add softness and visual texture to a finished project, but a plush surface may not read like a flat quilting cotton during planning. Keep the top's value structure clear on the board, and don't let a tactile backing choice distract you from the pieced design.
After the first review, rearrange only a few blocks at a time. This makes cause and effect easier to see. When the arrangement feels balanced, label the rows, record the direction of any directional prints, and move to the machine with a visual reference instead of relying on memory.
Use the following visual guide after you've made your first arrangement. It's more helpful once you have real blocks on the board and specific decisions to evaluate.
Setup and Care Tips That Keep Your Board Flat and Ready
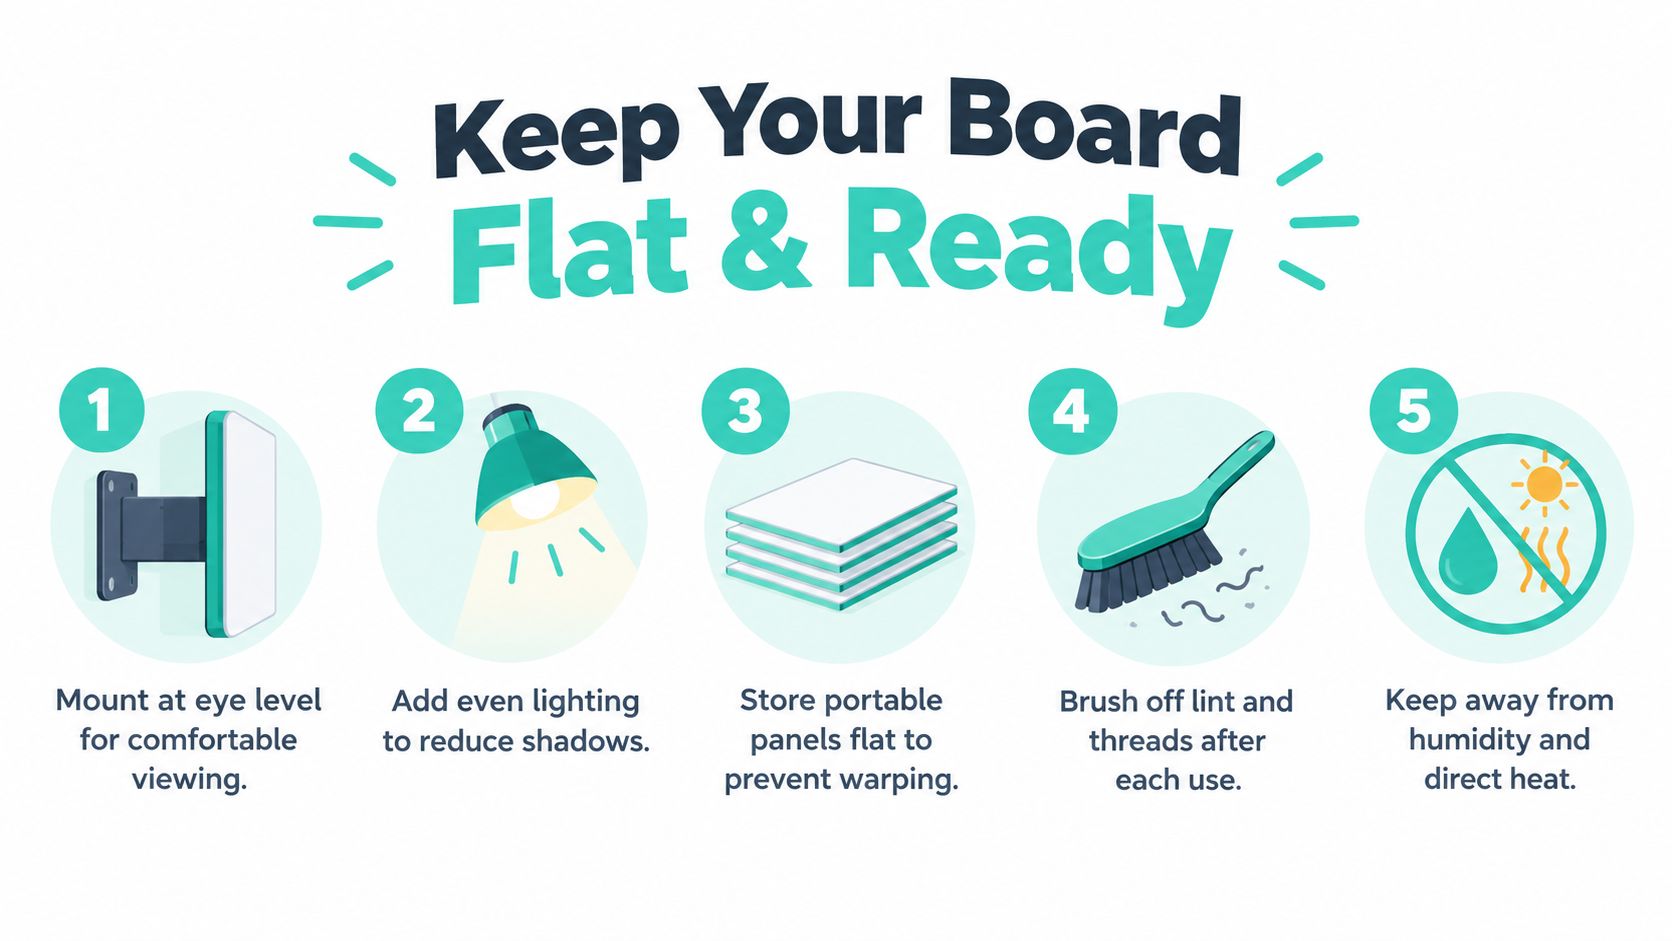
A design board only improves accuracy when its surface stays flat. Wall-mounted boards should sit at a comfortable viewing height, with lighting that doesn't cast strong shadows across textured fabric. Shadows can make a light block appear darker or hide a wrinkle in the covering.
Portable panels need a storage plan. Keep them flat when possible, rather than leaning them for long periods against a wall or shelving unit. In a small room, a tri-fold board can slide behind a door, while separate panels may fit under a bed or beside a cutting table. An easel gives a tabletop-sized board a useful display position without permanent mounting.
How do you keep the surface clean?
Brush away loose thread, lint, and batting fibers after each project. Use a soft brush or a gentle hand sweep rather than aggressive scraping, which can roughen felt or pull batting loose. If the covering develops pills, flatten them carefully instead of cutting into the surface.
Recover the board when the fabric has become smooth, stretched, or contaminated with adhesive. Replace the foam when it has warped, crushed edges, or no longer provides a stable plane. A fresh cover won't correct a bowed base.
How does board care affect quilt finishing?
A flat board helps you confirm the top's final proportions before you choose backing. That matters with plush fabrics, where extra bulk can make seams more noticeable. OPN's quilt prep instructions provide the preparation details needed before sending a top for mail-in longarm quilting.
Practical storage habit: Finish photographing and labeling the layout before folding or dismantling the board. Storage should never erase the sequence you just solved.
When you're ready to gather backing or project supplies, OPN's quilt backing fabrics and quilt kits keep the next decision connected to the layout rather than treating finishing as an afterthought.
Plan your order: New customers can use the 15% first-order coupon, and OPN offers free U.S. shipping on orders over $70. Confirm the current offer details at checkout before placing your supply order.
Bring Your Layout to Life With the Right Backing and Finishing
Once the top is arranged, the board has done its main job. You've checked block order, corrected color balance, marked directional details, and created a reliable reference for assembly. The final choices now involve proportion, backing, and quilting rather than guesswork at the design wall.
Extra-wide Shannon Cuddle can solve a common finishing problem, bulky seams in a pieced quilt back. OPN carries 90-inch and 110-inch wide options, which can support backing plans for larger quilts when the selected width fits the project. Review the practical considerations in how to choose quilt backing before ordering.
A board can also help you judge how the backing's texture relates to the top. A calm backing may let a highly structured top lead, while a rich texture such as Luxe Cuddle Hide, Snowy Owl, or Fawn changes the tactile character without requiring additional piecing.
What should you do before sending the quilt?
Use this short finishing check:
- Confirm the top: Look for missing blocks, rotated pieces, and uneven row order.
- Record the layout: Keep full and close photographs with row labels.
- Select the backing: Match width, texture, and handling requirements to the quilt.
- Prepare the package: Follow the mail-in longarm preparation requirements before shipping.
- Choose the quilting pattern: Review an edge-to-edge design that supports the top's scale and movement.
OPN's mail-in edge-to-edge longarm service includes batting, thread, and free return shipping, giving quilters a way to finish a prepared top without operating their own longarm machine. For technical quilting decisions, digital patterns can use exact repeat geometry. One published pattern specifies a row height of 11.528 inches, a gap of -2.53 inches, and an overall pattern height of 14.059 inches, while pantograph placement instructions describe horizontal guide lines in 1/4-inch intervals, as documented in this pantograph placement guide and repeat-geometry reference.
A design board for quilting is most valuable as part of a complete workflow: choose the right footprint, build a flat surface, audition the arrangement, protect the layout, then finish with a suitable backing and quilting plan. When the visual decisions are settled early, the machine work becomes more controlled and the finished quilt better reflects the design you intended.
On Pins & Needles Quilting Co. offers premium Shannon Cuddle and Luxe Cuddle fabrics, extra-wide backing options, curated kits, and mail-in longarm quilting for prepared quilt tops. Visit On Pins & Needles Quilting Co. to shop the Luxe Cuddle Collection, choose backing, or book your longarm service today.