
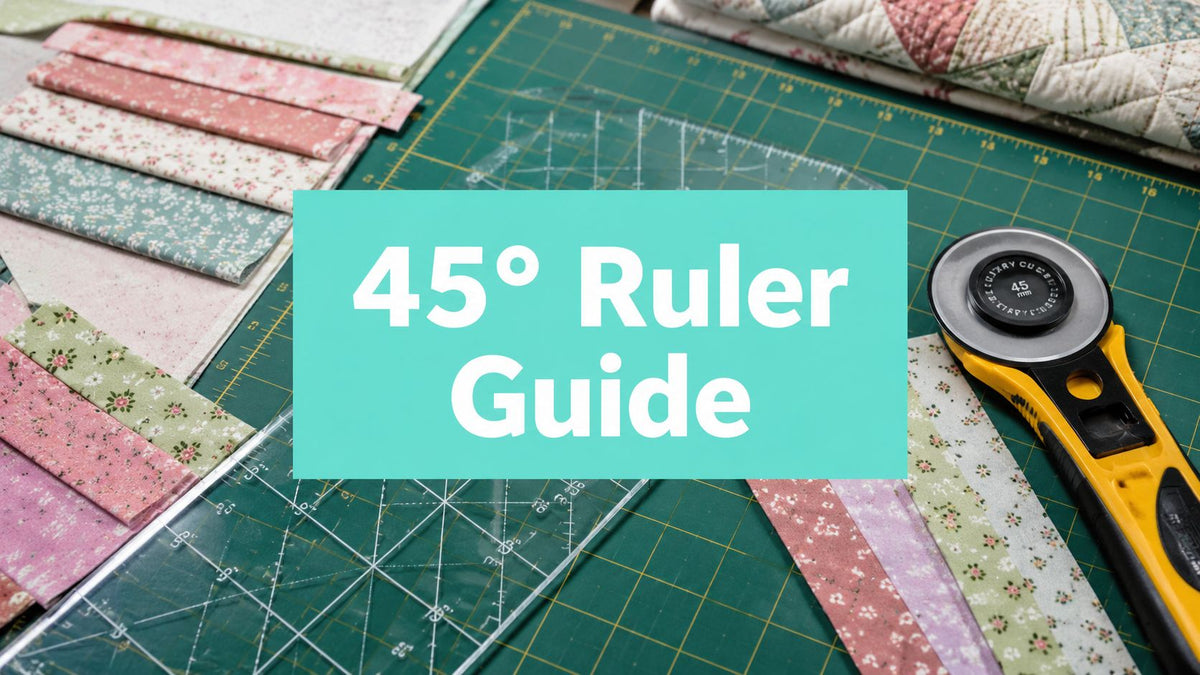
You're halfway through a quilt and the diagonal cuts are drifting. A binding strip won't follow a curve, an HST point looks off-center, or an on-point block refuses to square up. A 45-degree ruler solves the alignment problem by giving you a reliable diagonal reference for bias strips, half-square triangles, diamonds, and angled layouts.
The tool is simple, but the workflow changes by project. Binding depends on fabric grain, HST trimming depends on the seam, and on-point work depends on corner and center alignment. Choosing the right reference before cutting keeps your fabric, time, and finished quilt in better shape.
The 45-Degree Ruler in Your Quilting Journey
Cutting a diagonal line by eye seems harmless when you're working on one small piece. The trouble appears later, when several slightly different strips or triangles must meet at the same angle. A small error at the cutting table can become a visible mismatch at the seam.
A 45-degree ruler removes that guesswork. Its diagonal guide creates the same angle repeatedly, while its straight edges and measurement grid help you turn that angle into usable strips, triangles, and block components. The result is less time spent marking fabric and fewer decisions made from visual estimation.

Why does 45 degrees matter so much?
The angle sits at the center of several familiar quilting tasks. A bias binding strip needs a true diagonal relationship to the selvedge, an HST uses the diagonal seam as its trimming reference, and an on-point square depends on accurate diagonal orientation.
The broader tool history helps explain why this angle feels so universal. The 45-45-90 triangle is one of the two core angle families built into set squares, alongside 30-60-90 triangles, and it allows users to draw horizontal, vertical, and diagonal lines efficiently. Contemporary sources trace this family of drafting tools to early Meiji-period usage in Japan, while protractors have measured and drawn angles accurately since about the 13th century and early parallel rulers date from the 16th century (Musashino Art University's triangle glossary).
For a beginner, the practical lesson is straightforward:
- Bias binding: Align the 45-degree line with the selvedge or a straight grid edge.
- HST trimming: Align the diagonal guide with the sewn seam.
- On-point layouts: Use the diagonal line to preserve the block's intended orientation.
- Repeated shapes: Keep the same angle while changing the width or finished size.
If you're still building confidence with rotary cutting, pair this technique with a practical quilting guide for beginners. The ruler won't replace careful fabric handling, but it gives your hands a dependable boundary to follow.
Anatomy of a Precision Quilting Ruler
A ruler can show a 45-degree line and still be frustrating to use. The useful question isn't only whether the angle is present. You also need to know whether the markings are readable, the surface stays stable, and the ruler offers enough room for the cuts you make most often.
What should you inspect before buying?
Start with the material. Clear acrylic lets you see fabric motifs, seams, and grain lines beneath the ruler, while a rigid construction helps the edge stay consistent during rotary cutting. One quilting ruler specification describes 3 mm thick clear acrylic, a 1/4-inch measurement grid, and a central 45-degree bias line on an 8.5 by 8.5 inch square ruler (Quilters Rule ruler instructions).
Look for these features:
- A distinct 45-degree line: It should be easy to separate from horizontal, vertical, and other diagonal markings.
- A practical grid: Quarter-inch divisions are useful when you're cutting strips or checking seam allowances.
- Clear visibility: Transparent acrylic helps you inspect the fabric underneath instead of hiding the cutting area.
- A stable edge: The ruler should sit securely while your guiding hand applies even pressure.
- A suitable footprint: A small tool is nimble for corners, while a larger square covers more of a block.
How do you align the line correctly?
Place the ruler on the fabric without cutting first. Decide what the line must follow, then rotate the ruler until the 45-degree mark sits exactly on that reference.
For bias work, the reference is the selvedge or a straight fabric edge. For an HST, the reference is the seam, not necessarily the outside edge of the unit. For an on-point square, inspect both the diagonal direction and the location of the center before trimming.
Alignment rule: Trust the line that controls the cut. Don't choose a ruler mark simply because it looks close to the fabric edge.
Some tools include multiple 45-degree marking systems. One example uses white lines for whole-inch HST trimming and black lines for half-inch increments, with applications that include flying geese and on-point squares (Creative Grids ruler listing). That kind of distinction can prevent a common mistake, using the right angle but the wrong sizing system.
For more ways to reduce shifting and improve repeatability, keep a quilting accuracy guide beside your cutting mat.

Mastering True Bias Cuts for Binding
Binding is where grain direction matters most. A straight-grain strip may work well along a straight edge, but it can resist a rounded corner or curved border. A true bias strip has more stretch and drape, so it can bend around those shapes with less resistance and less risk of puckering.
The first cut establishes the entire orientation. If that cut is wrong, every later strip can look consistent while still running in the wrong direction.
How do you cut bias strips?
- Flatten the fabric. Smooth it on the cutting mat so folds and ripples don't change the edge you're using as a reference.
- Identify the selvedge. Treat it as your straight-grain guide.
- Place the ruler. Align its 45-degree line with the selvedge or another confirmed straight edge.
- Make the first diagonal cut. This creates the true bias reference edge.
- Rotate or reposition for strip cutting. Use the ruler's straight measurement marks to cut consistent strips, such as 2.5-inch strips when that width suits your binding plan. The relationship between the width and the bias angle is described in bias binding guidance.
- Check the first strip before batching. Confirm that the cut follows the intended diagonal and that the strip stretches across its width as expected.
The ruler's job changes after the first cut. The 45-degree line establishes direction, while the square grid controls repeatable width. That separation makes the process faster and easier to troubleshoot.
What if the ruler doesn't span the fabric?
Don't force the fabric or assume the angle will continue automatically. Make the first cut in sections, then move the ruler along the same established line and realign the 45-degree guide before continuing. This approach is especially useful when a smaller ruler meets a broad piece of backing fabric.
Bias strips can stretch while you handle them, so support them rather than pulling them taut. Sew and press with the strip's natural flexibility in mind, particularly around rounded corners. A beginner quilt binding tutorial can help you connect accurate cutting with a smooth finishing sequence.

Effortless Half-Square Triangle Production
HSTs require a different kind of trust. For binding, you align the 45-degree guide with the fabric grain or edge. For trimming an HST, you align it with the diagonal seam. Confusing those two references is one of the quickest ways to trim a triangle out of square.
The finished size determines where the ruler's straight measurement marks land. The diagonal line preserves the seam's angle, while the outer edges remove excess fabric and help establish the final shape.
How do you trim an HST accurately?
Begin with the pressed HST flat on the cutting mat. Place the ruler over the unit and find the size marks that match the required finished dimensions, allowing for the seam allowance specified by your pattern.
Then follow this sequence:
- Locate the diagonal seam. Don't align by eye with the outside edge if the seam is your construction reference.
- Rotate the ruler as needed. Move it until the 45-degree line follows the seam from corner to corner.
- Set the size marks. Position the ruler's measurement lines so the unit will trim to the intended size.
- Confirm the corners. Both seam endpoints should meet the corresponding diagonal reference points.
- Trim the first sides. Hold the ruler firmly and cut along its edge.
- Turn the unit or ruler. Use the newly cut edges to position the remaining sides, then remove the excess.
Some 45-degree corner tools can trim excess while incorporating a 1/4-inch seam allowance, which can reduce mat repositioning during repeated work (45-degree corner tool guide). The advantage isn't limited to one block. Consistent trimming helps HSTs meet more cleanly in checkerboards, stars, and other layouts.
Corner check: If the seam endpoints are wrong, the center of the unit can look aligned while the finished point still misses.
Use a dedicated triangle ruler when the project calls for repeated units from strips. One Creative Grids model is designed to cut HSTs from strips up to 8.5 inches wide, while another 45-degree tool is intended for kaleidoscope and Dresden Plate blocks made from eight separate 45-degree triangle units (Creative Grids 45-degree ruler).
Watch the process before starting a large batch:
For approachable block ideas that let you practice controlled trimming, browse easy quilt block patterns.

Choosing the Right Tool for Your Projects
The best ruler is the one that matches the decision you make most often. A compact corner tool may be perfect for trimming a finished unit, but it won't replace a larger square when you're checking an on-point layout. Likewise, a triangle template can speed repeated HST work while offering fewer options for general cutting.
| Ruler Type | Best For | Key Feature |
|---|---|---|
| Simple 45-degree triangle | Basic diagonal cuts and triangle units | Clear angled edge |
| Square ruler with diagonal lines | On-point blocks, HST trimming, and general layout work | Multiple reference edges and a visible 45-degree guide |
| Dedicated HST ruler | Repeated half-square triangles | Purpose-built sizing and diagonal alignment |
| Corner trimmer | Removing excess from sewn units | Compact shape and seam-allowance guidance |
| Specialty triangle ruler | Dresden Plate and kaleidoscope designs | Repeated 45-degree triangle geometry |
Which ruler suits your workflow?
Choose a square ruler if your projects move between cutting, trimming, and on-point layouts. Its broader surface gives you more ways to check corners and preserve the orientation of a block before you cut.
Choose a dedicated HST ruler when your project contains many matching triangles. The sizing marks reduce repeated measuring, but you'll still need to align the diagonal guide with the sewn seam rather than treating the ruler as a generic straightedge.
A corner trimmer makes sense for small corrections and production-style work. It can remove excess and account for a quarter-inch seam allowance in one controlled action, which is useful when several units need the same cleanup.
What makes a ruler dependable?
Clear markings matter more than decorative features. Look for lines that contrast with the fabric without obscuring the seam, and check that the grid includes the increments your patterns use. Grip strips can help reduce movement, but they don't replace a firm, flat hand position and a sharp rotary blade.
Your cutting mat and rotary cutter are part of the same system. A rotary cutter guide can help you evaluate blade handling and cutting posture alongside the ruler, especially if you're preparing repeated strips or units.
For shoppers comparing products, remember that rulers themselves descend from the basic measuring rod. The first known ruler is described as a copper-alloy measuring rod dating to about 2650 BC, with ruler-like tools also appearing in ancient Egypt and India (history of rulers). The modern quilting ruler specializes that old measuring function by combining length marks with repeatable geometric angles.
Finishing Strong: Turning Precise Cuts into Professional Quilts
A 45-degree ruler earns its place by supporting the whole workflow, not by serving as a single-purpose triangle. For binding, it establishes the bias direction needed for flexibility. For HSTs, it helps preserve seam orientation during trimming. For on-point layouts, it keeps diagonal relationships accurate.
Start by identifying the reference that controls the cut. Align the 45-degree guide with that reference, check the corners, then cut. This sequence prevents a common error: using the correct angle while aligning the ruler to the wrong edge.
Final quality check: Test one strip or unit before batching cuts. If the grain, seam, or corner alignment is wrong, correct the setup before repeating it throughout the project.
A controlled cut also protects your fabric choices. Cotton, Quilting Cuddle, and textured Shannon Cuddle surfaces such as Hide, Snowy Owl, or Fawn can each require thoughtful handling. Accurate planning helps use fabric efficiently, especially on larger quilts where a clean backing plan can prevent unnecessary piecing.
Once the quilt top is complete, finishing choices shape the final result. A mail-in longarm service can provide edge-to-edge quilting without requiring you to manage the equipment, particularly when the project has a soft backing or demanding layout.
Choose the tool according to the project's controlling task. Use the bias guide for binding, seam references for HSTs, and diagonal relationships for on-point work. Then carry that same accuracy from the first cut through the final edge.
On Pins & Needles Quilting Co. offers premium Shannon Fabrics Cuddle, textured Luxe Cuddle options, and convenient mail-in longarm quilting for quilts that need a polished finish. Visit On Pins & Needles Quilting Co. to choose your backing or service, use the 15% first-order coupon, and qualify for free U.S. shipping on orders over $70.