

You've found the perfect heart print, but the first cut feels intimidating. A beginner-friendly heart quilt block becomes manageable when you choose one construction method, protect the bias edges, and check the block's size before making more. Cotton patchwork is the easiest starting point, while paper piecing gives crisp points and appliqué works especially well with soft Cuddle fabrics.
What You Need Before You Cut
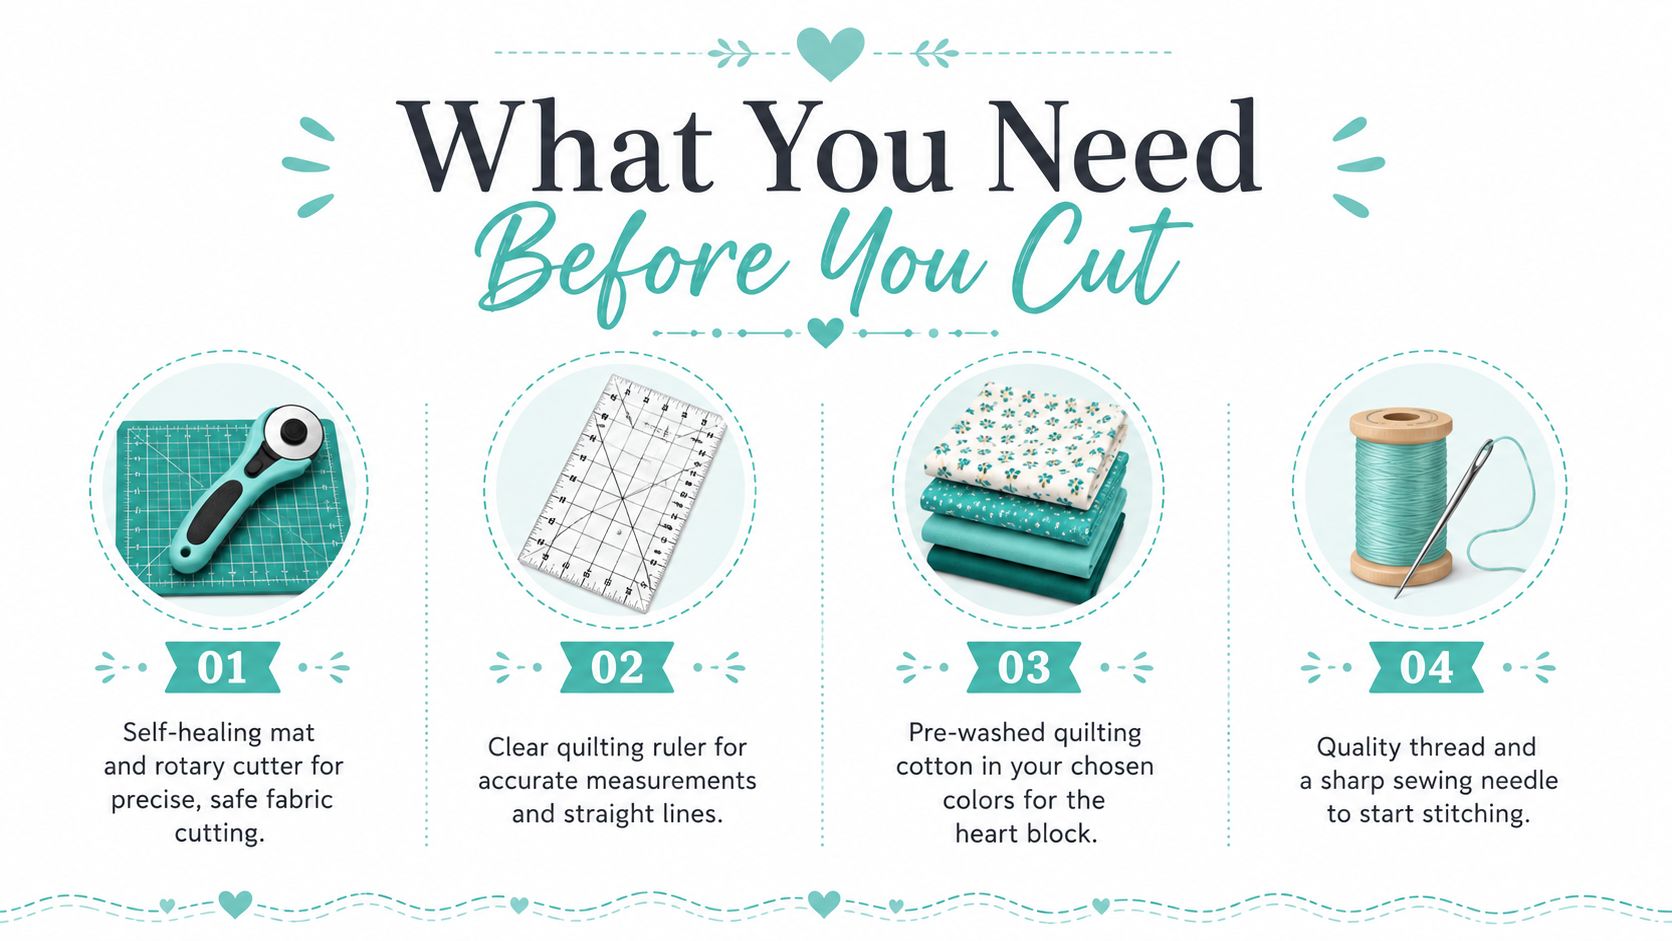
Start with a clear cutting table and gather everything before your rotary cutter touches fabric. For a traditional cotton heart, you'll need a self-healing mat, a rotary cutter, a clear acrylic ruler, quilting cotton, a sewing machine, a sharp needle, and reliable thread. A 28mm rotary blade is useful for small pieces and curved details, but it must be sharp. A dull blade can snag the weave, force you to press harder, and leave cuts that aren't straight.
Your ruler should have visible quarter-inch markings and diagonal lines. Those diagonal markings become especially useful when you're creating stitch-and-flip corners or checking that a heart point is centered. Keep a fabric marker, small scissors, pins, and an iron nearby, but leave the iron stationary when pressing. Moving it from side to side can distort bias edges.
Which fabrics and threads belong together
Pre-wash quilting cotton before cutting. Cotton can shrink or release excess dye, and washing it first means the pieces you measure are closer to the fabric's settled size. Skip pre-washing minky and Shannon Cuddle unless the manufacturer's care guidance specifically tells you otherwise. Washing plush fabric before construction can change the nap and make handling more difficult.
For piecing, 50 wt cotton thread gives a fine, dependable seam. Some quilters prefer 40 wt polyester for construction, particularly when they want added flexibility in seams. Save hand-quilting thread for the final hand stitches. It's heavier and isn't the best choice for ordinary machine piecing.
Light backgrounds make pink and red prints stand out. A tonal cream-on-blush combination looks gentler and more modern, especially when you want the heart to work beyond Valentine's Day.
Before cutting, sort scraps by color, label each group of pieces, and keep background and heart fabrics in separate stacks. A light application of starch can help cotton lie flat and make accurate cutting easier. If minky is on your supply list, review this guide on cutting minky fabric without the mess before you begin.
Choosing Your Heart Block Method
The best method depends on the point you want, the fabric under your needle, and how comfortable you feel with diagonal seams. Don't cut fabric until you've chosen one approach. Mixing methods halfway through a block usually creates confusion about seam allowances and orientation.
| Method | Best For | Skill Level | Point Sharpness |
|---|---|---|---|
| Patchwork | First cotton blocks and scrap projects | Beginner | Soft to crisp |
| Paper piecing | Precise points and miniature blocks | Confident beginner | Very crisp |
| Appliqué | Minky, Cuddle, fleece, and plush layers | Beginner with stabilizer practice | Rounded and controlled |
Patchwork is the most forgiving entry point. You sew rectangles and squares, use stitch-and-flip corners, and can see the heart forming as you work. It's an excellent choice when you're learning to maintain a quarter-inch seam or using scraps that already have a compatible color family.
Paper piecing is the precision option. The paper foundation controls the shape, which is helpful when the lower V must be sharp or the block is small. It does require careful printing, accurate fabric placement, and a willingness to remove paper at the end.
Appliqué avoids assembling many small seams. That makes it particularly practical for minky, Cuddle, or fleece, where plush layers can shift, stretch, or bunch under a traditional piecing technique. The finished heart has a soft outline rather than a patchwork point.
Choose the method you'll enjoy repeating. A slightly rounded appliqué heart made confidently is more useful than a technically sharp block that makes you dread the next one.
Beginners should start with patchwork on cotton, try paper piecing after they understand seam control, and reserve appliqué for a soft baby quilt or a project where texture matters more than a geometric point. For more low-stress ideas before committing, browse these easy quilt block patterns.
Sewing a Classic Patchwork Heart Block
A four-square heart is a friendly first project because the shape comes from familiar units rather than a complicated template. For a 10-inch finished heart quilt block, cut two 5-inch background squares and two 5-inch heart-color squares for the upper heart. For the lower point, cut four background squares and one heart-color square, then trim the heart-color square diagonally as needed for the point units.
Your exact layout matters more than speed. Place every piece on the design surface before sewing, and check that the heart color is facing the same direction in both upper lobes.
Build the upper heart
Place one heart-color square and one background square right sides together. Mark a diagonal line on the wrong side of the background square, sew just beside that line, and press the corner open. Trim the excess fabric, leaving the seam allowance intact.
Repeat for the second upper unit. Press both units toward the darker heart fabric if that direction keeps the center flatter, then join the two sections. Nesting the center seams helps reduce bulk and gives the cleft a cleaner meeting point.
Create the lower point
The lower portion uses four stitch-and-flip corners. Place a background square on a heart-color or background unit, mark the corner-to-corner diagonal, stitch, press, and trim the dog ear. Repeat on the remaining sides according to your layout.
Use a consistent scant quarter-inch seam throughout. A published heart-block tutorial recommends checking the small heart section immediately and re-sewing with narrower seams if it measures under 5 1/2 inches, or trimming it to exactly 5 1/2 inches if it's oversize. You can review that measurement check in the heart quilt block construction guide.
Join the lower units to the upper heart, matching the center point before sewing. Pin at the V, sew slowly, and trim dog ears after every seam. Square the completed block to 10 inches, then press it flat from the wrong side.
Chain piecing can speed up a group of matching blocks because you sew one unit after another without cutting the thread between pieces. Make one test block first, measure it, and only then cut fabric for the entire quilt.
Paper Piecing a Heart Block With Sharp Points
Paper piecing is a good choice when your heart needs a crisp lower point or when you're working with a small block. A published multi-size pattern includes charts for 6-inch, 8-inch, and 10-inch finished blocks, so the same shape can suit a small gift project or a larger modern layout. See the Block-Lock ruler guide for additional squaring-up guidance.
Print your foundation template at 100% scale. Before cutting fabric, measure the printed 1-inch test square. If it isn't accurate, stop and correct the printer setting. A foundation that prints too large or too small will affect every finished section.
Add each piece in order
Number the foundation sections and cut fabric generously, extending roughly 1/2 inch beyond each printed section. Place the first fabric piece behind the paper, right side up from the fabric side, and hold it in position with a pin outside the seam area or a small dab of temporary adhesive.
Sew the first seam in numerical order. Use a short stitch length so the perforated paper releases cleanly later. Fold the paper back along the sewn line, trim the seam allowance to 1/4 inch, and press the new fabric flat.
Repeat the process for each numbered piece. Always check that the next piece covers the entire printed section after the seam is opened. If it doesn't, remove it before sewing and reposition it. This simple check prevents the most frustrating paper-piecing mistake, an uncovered corner.
Press between additions instead of dragging the iron across the fabric. Before joining the final two segments, fold the paper back and check that the bottom point sits in the center. If the point has shifted, correct the section now rather than hoping the joining seam will hide it.
Remove the paper carefully, pull out any foundation threads, and press from the back. Square the block to 6.5 inches or 12.5 inches unfinished, depending on the pattern size you're assembling. A common heart block finishes at 12 inches from a 12.5-inch unfinished unit, while a simpler patchwork design measures 6.5 inches unfinished for a 6-inch finished block. Confirm your pattern's intended size before trimming.
Appliqué Heart Blocks on Minky and Cuddle
Plush fabric changes the rules. Shannon Cuddle and minky have a soft nap and can shift under the presser foot, so raw-edge appliqué is often easier than forcing them through a multi-seam patchwork design.
Skip pre-washing the Cuddle. Instead, brush the nap in one direction and keep that direction consistent across the heart and background. If the pile runs in opposite directions, the color can appear different even when you're using the same fabric.
Stabilize before stitching
Choose a light tear-away stabilizer for stable cotton blends. Stretchier Cuddle benefits from a wash-away or cut-away stabilizer because it needs more support while the stitching forms the outline.
Trace the heart template onto the stabilizer backing and cut the heart with a 1/4-inch margin. Position the appliqué on the background, then pin it securely or use a temporary fabric adhesive. Avoid placing pins where the needle will cross them.
A wide straight stitch or blanket stitch works well around a raw edge. Sew slowly at the cleft and the bottom point, lifting the presser foot with the needle down when you need to adjust the curve. Keep the stitch line close enough to contain the edge, but don't pull the plush fabric as you sew.
Let the needle guide the curve. Stretching the heart to make it lie flat usually creates tunneling. Stabilize it instead, then ease the fabric with your hands.
Trim the stabilizer close to the stitching. Press from the wrong side over a thick towel so the nap doesn't flatten. If you'd like a hand-finished alternative, this hand sewn appliqué guide offers useful preparation and edge-control ideas.
For additional help with plush layers, follow these techniques for sewing with minky without sliding. They're useful for hearts destined for baby blankets, pillow fronts, and tactile nursery décor.
Troubleshooting Common Heart Block Mistakes
A heart block usually goes wrong for a clear reason. Look at the symptom before unpicking anything, then correct the process that caused it.
- The bottom point pulls or stretches: Diagonal cuts create bias edges that can distort. Handle the piece as little as possible, press without sliding the iron, and use a test strip before repeating the unit.
- The center seam puckers: Excess bulk or uneven seam allowances can force the cleft upward. Mark the quarter-inch seam, sew slowly through the V, and press the seams toward the background when that direction keeps the heart flatter.
- The lobes don't match: One stitch-and-flip corner may have been sewn in the wrong orientation. Lay the units out before sewing, compare their diagonal lines, and pin at the V before joining.
- The finished block is the wrong size: Seam drift accumulates across multiple units. A quilting-accuracy guide notes that a seam error of only 1/16 inch can accumulate to about 2 1/2 inches across a quilt top. Square up after each major unit rather than waiting until the whole top is assembled, as explained in this accurate quarter-inch seam guide.
- The fabric shifts while sewing: Plush fabric, bias edges, and insufficient stabilization can all cause movement. Reduce handling, use suitable stabilizer, and test your presser-foot pressure on a scrap.
The same diagnostic habit works across methods. Patchwork needs bias control and seam checks, paper piecing needs orientation checks and careful trimming, and appliqué needs stabilization and gentle pressing.
Turning Heart Blocks Into Finished Quilts
Finished blocks become a project when you choose a layout that matches the time and fabric you have. A single oversized heart can become a wall hanging, while repeated blocks create a baby quilt or a seasonal throw. Larger-scale arrangements also leave more background visible, giving the motif a calmer modern appearance.
The sizing below uses the project dimensions specified for each layout. Treat them as planning guides, and confirm your own block's finished measurement before cutting borders or backing.
| Project | Layout | Blocks | Finished Size | Backing Yardage |
|---|---|---|---|---|
| Wall hanging | One oversized heart block | One | Confirm from the finished block | Measure after quilting plan |
| Baby quilt | 3 × 3 grid | Nine | 36 inches square | Measure finished top plus quilting allowance |
| Valentine throw | Alternating sashing | Use blocks that fit your chosen throw layout | Confirm after sashing | Measure finished top plus quilting allowance |
A 2.5-inch border strip works for many beginner layouts, but calculate the border from the assembled top rather than assuming every block is identical. Standard quilting cotton is easiest for a first backing. Shannon Cuddle minky needs a walking foot, a 90/14 or larger needle, and basting spray to reduce shifting during quilting.
For binding, cut strips at 2.5 inches, fold them, and attach them with a quarter-inch seam. If the finishing stage feels less comfortable than the piecing, follow this guide on binding a quilt for beginners.
Stack your finished blocks tonight, choose one layout, and cut the sashing and backing tomorrow. If you'd rather have the quilting handled professionally, a mail-in longarm service can finish the top while preserving the soft feel of Shannon Cuddle backing.
Make the next decision small. Pick the layout first, then measure the assembled top. Don't buy or cut backing based only on a hoped-for finished size.
On Pins & Needles Quilting Co. offers premium Shannon Cuddle and Luxe Cuddle fabrics, including plush textures such as Hide, Snowy Owl, and Fawn, along with mail-in longarm quilting for completed heart quilt blocks and tops. Visit On Pins & Needles Quilting Co. to choose soft backing or finishing support, and use the 15% first-order coupon or free U.S. shipping on orders over $70 when eligible.